Want a private ChatGPT
you control? You cannot install OpenAI's ChatGPT on your own VPS — it is a closed-source hosted service. But you can self-host a near-identical experience using Open WebUI and Ollama, running open models like Llama 3, Mistral, and Qwen locally with full data privacy and no per-token billing.
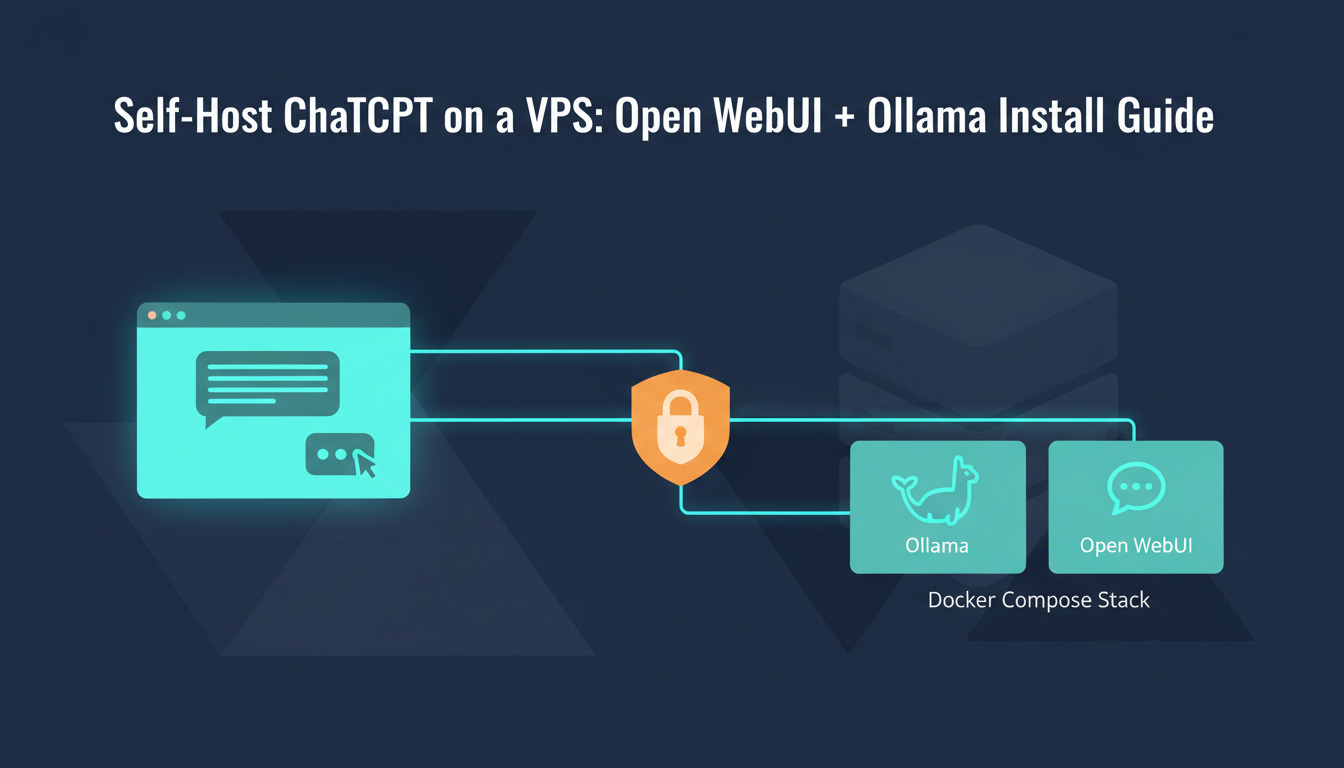
This is the canonical install guide for the Ollama + Open WebUI stack: Docker Compose, Nginx with TLS, your first model, and a CI/CD pipeline so config changes deploy automatically. By the end you will have a self-hosted chat UI on your domain, talking to a local model, with zero prompts leaving your VPS.
If you are still deciding whether to self-host at all, start with our foundational primer on the Ollama + Open WebUI stack — it covers the architecture, model-picking matrix, and self-hosted vs hosted trade-offs before you spin up any infrastructure. For a deeper look at why developers move workloads off third-party APIs, see our piece on self-hosting AI models for privacy and control.
Why ChatGPT on a VPS
really means Open WebUI + Ollama
Searches like chatgpt vps
, can you self host chatgpt
, and chatgpt open source alternative
all point to the same need — a private, web-based chat UI you control. ChatGPT itself is closed-source, but Open WebUI replicates the experience down to the streaming responses and chat history, while Ollama provides the model runtime.
| Cloud API (OpenAI, Anthropic) | Self-hosted (Ollama + Open WebUI) | |
|---|---|---|
| Privacy | Prompts sent to third-party servers | Everything stays on your VPS |
| Cost model | Per-token billing, scales with usage | Fixed VPS cost, unlimited local inference |
| Model choice | Locked to provider's models | Run any open model (Llama 3, Mistral, Qwen, DeepSeek, Gemma) |
| Latency | Network round-trip + queue time | Local inference, no network dependency |
| Customisation | Limited to API parameters | Full control over system prompts, RAG pipelines, tools |
| Offline capability | None | Works without internet once models are downloaded |
This guide is model-agnostic — we install the stack and demo with Llama 3.2 because it is small and runs comfortably on a CPU-only VPS. If you specifically want to run DeepSeek-R1 (reasoning model) with hardware sizing, GPU vs CPU benchmarks, and a production-hardened Nginx config, see the model-specific deep-dive linked in the closing section once you have the stack running.
Architecture overview
flowchart LR
    Browser["Browser"]
    Nginx["Nginx\n(TLS + reverse proxy)"]
    OW["Open WebUI\n(:3000)"]
    Ollama["Ollama\n(model runtime)"]
    Models["Local Models\n(Llama 3, Mistral, etc.)"]
    CloudAPI["Cloud APIs\n(OpenAI, Anthropic)\n(optional)"]
    DeployHQ["DeployHQ"]
    Git["Git Repo"]

    Browser -->|HTTPS :443| Nginx
    Nginx -->|HTTP :3000| OW
    OW -->|HTTP :11434| Ollama
    Ollama --> Models
    OW -.->|optional| CloudAPI
    Git -->|push| DeployHQ
    DeployHQ -->|SSH deploy| OW
Three roles, three containers: Nginx terminates TLS and proxies WebSocket traffic, Open WebUI serves the UI on 127.0.0.1:3000, and Ollama runs models on 127.0.0.1:11434. Only Nginx is exposed to the public internet.
Prerequisites
- A VPS with at least 4 vCPUs and 8 GB RAM (16 GB recommended for larger models)
- Ubuntu 22.04 or 24.04
- A domain name pointed at your VPS (e.g.
chat.example.com) - SSH access with a sudo-capable user
- Docker Engine and Docker Compose v2
GPU is optional. Ollama runs on CPU with quantised models (Q4/Q5). A 7B parameter model like Llama 3.2 runs comfortably on 8 GB RAM without a GPU. For faster inference or larger models (70B+), a GPU with 24 GB+ VRAM is recommended. New to VPS sizing? Our VPS 101 guide covers what to look for in a provider before you spin one up.
Step 1: Install Docker
sudo apt update && sudo apt upgrade -y
curl -fsSL https://get.docker.com | sudo sh
sudo usermod -aG docker $USER
Log out and back in, then verify:
docker compose version
If you are new to containerised deployments, our beginner's guide to Docker explains the moving parts you will see throughout this stack.
Step 2: Create the project structure
mkdir -p ~/ai-chat/{nginx,ollama-data,webui-data}
cd ~/ai-chat
The three subdirectories map to the three containers and keep model files, chat history, and Nginx config in clean, backup-friendly bind mounts.
Step 3: Write docker-compose.yml
services:
  ollama:
    image: ollama/ollama:latest
    restart: unless-stopped
    volumes:
      - ./ollama-data:/root/.ollama
    environment:
      - OLLAMA_HOST=0.0.0.0
    ports:
      - "127.0.0.1:11434:11434"
    healthcheck:
      test: ["CMD", "ollama", "list"]
      interval: 30s
      timeout: 10s
      retries: 3

  open-webui:
    image: ghcr.io/open-webui/open-webui:main
    restart: unless-stopped
    depends_on:
      ollama:
        condition: service_healthy
    environment:
      - OLLAMA_BASE_URL=http://ollama:11434
      - WEBUI_SECRET_KEY=${WEBUI_SECRET_KEY}
      - ENABLE_SIGNUP=false
    volumes:
      - ./webui-data:/app/backend/data
    ports:
      - "127.0.0.1:3000:8080"

  nginx:
    image: nginx:alpine
    restart: unless-stopped
    depends_on:
      - open-webui
    ports:
      - "80:80"
      - "443:443"
    volumes:
      - ./nginx/default.conf:/etc/nginx/conf.d/default.conf:ro
      - /etc/letsencrypt:/etc/letsencrypt:ro
Key decisions:
- Ollama and Open WebUI bind to
127.0.0.1only — Nginx handles all external traffic. This is why search queries like127.0.0.1:3000:8080are common: it is the safe, recommended bind pattern, not a misconfiguration. ENABLE_SIGNUP=falseprevents strangers from creating accounts on your instance.- Persistent volumes ensure models and chat history survive container restarts.
depends_onwithservice_healthymeans Open WebUI waits until Ollama is actually responsive, not just started.
Step 4: Configure Nginx with TLS
Obtain a certificate:
sudo apt install certbot -y
sudo certbot certonly --standalone -d chat.example.com --email you@example.com --agree-tos --no-eff-email
Create nginx/default.conf:
upstream webui {
    server open-webui:8080;
}

server {
    listen 80;
    server_name chat.example.com;
    return 301 https://$host$request_uri;
}

server {
    listen 443 ssl http2;
    server_name chat.example.com;

    ssl_certificate     /etc/letsencrypt/live/chat.example.com/fullchain.pem;
    ssl_certificate_key /etc/letsencrypt/live/chat.example.com/privkey.pem;

    ssl_protocols TLSv1.2 TLSv1.3;
    ssl_ciphers HIGH:!aNULL:!MD5;

    add_header Strict-Transport-Security "max-age=31536000; includeSubDomains" always;

    client_max_body_size 50m;

    location / {
        proxy_pass http://webui;
        proxy_set_header Host $host;
        proxy_set_header X-Real-IP $remote_addr;
        proxy_set_header X-Forwarded-For $proxy_add_x_forwarded_for;
        proxy_set_header X-Forwarded-Proto $scheme;

        # WebSocket support (required for streaming responses)
        proxy_http_version 1.1;
        proxy_set_header Upgrade $http_upgrade;
        proxy_set_header Connection "upgrade";
        proxy_read_timeout 300s;
    }
}
The WebSocket upgrade headers are non-negotiable — without them, streaming chat responses hang at thinking…
forever. This is the single most common gotcha when self-hosting Open WebUI.
For longer-running model inference (think 70B models or reasoning models like DeepSeek-R1), bump proxy_read_timeout to 600s and add proxy_buffering off so tokens stream to the client as they arrive rather than buffering server-side. We cover the production-hardened Nginx config (with the longer timeouts and disabled buffering) in the model-specific guide linked at the end.
Step 5: Start the stack and pull your first model
Set a secret key and start:
cd ~/ai-chat
echo "WEBUI_SECRET_KEY=$(openssl rand -hex 32)" > .env
docker compose up -d
Wait ~30 seconds for the containers to become healthy, then pull a model:
docker exec ollama ollama pull llama3.2:3b
This downloads the Llama 3.2 3B model (~2 GB). For a more capable model:
docker exec ollama ollama pull llama3.1:8b     # 4.7 GB, good general purpose
docker exec ollama ollama pull mistral:7b       # 4.1 GB, strong at code
docker exec ollama ollama pull qwen2.5:7b       # 4.7 GB, multilingual
Model sizing guide
| Model | RAM needed | Best for |
|---|---|---|
| Llama 3.2 3B | ~4 GB | Quick responses, light tasks, low-resource VPS |
| Llama 3.1 8B | ~8 GB | General purpose, good quality/speed balance |
| Mistral 7B | ~8 GB | Code generation, technical writing |
| Qwen 2.5 14B | ~12 GB | Complex reasoning, multilingual |
| Llama 3.1 70B | ~40 GB | Maximum quality (requires GPU) |
A practical rule of thumb: leave at least 2 GB of RAM headroom above the model size for the OS, Docker, Nginx, and Open WebUI itself. An 8 GB VPS comfortably runs 7B models in Q4 quantisation but will OOM-kill on 13B+ without swap.
Step 6: Access the interface
Open https://chat.example.com in your browser. On first visit:
- Create your admin account (since
ENABLE_SIGNUP=false, only you can do this on first access) - Select a model from the dropdown (you should see
llama3.2:3bor whichever you pulled) - Start chatting
Open WebUI provides:
- Multiple model switching — swap between models mid-conversation
- Document upload with RAG — upload PDFs or text files and ask questions about them
- Web search integration — augment model responses with live web results
- System prompts — customise model behaviour per conversation
- Chat history and export — full conversation management
- Multi-user support — create accounts for your team with role-based access
Step 7: (Optional) Connect cloud APIs
Open WebUI can also act as a unified interface for cloud APIs. In the admin panel:
- Go to Settings > Connections
- Add an OpenAI-compatible endpoint:
- URL:
https://api.openai.com/v1 - API Key: your OpenAI key
- URL:
- You can also add Anthropic, Google, or any OpenAI-compatible API
This lets you compare local model responses against cloud models side-by-side, or fall back to cloud APIs for tasks that exceed your local model's capability — the best of both worlds without two separate UIs.
Step 8: Automate deployments with DeployHQ
As you customise Open WebUI (system prompts, model configurations, Nginx rules, Docker Compose changes), you want those changes version-controlled and automatically deployed. Manually scp-ing config files breaks the moment two people are involved.
8a: Repository structure
ai-chat-config/
  docker-compose.yml
  nginx/
    default.conf
  scripts/
    deploy.sh
    pull-models.sh
  .env.example
8b: Connect to DeployHQ
- Sign up for DeployHQ or log in to your existing account
- Create a new project and connect your repository — DeployHQ supports deploying from GitHub, deploying from GitLab, Bitbucket, and self-hosted Git
- Add an SSH server pointing to your VPS
- Set the deploy path to
/home/deploy/ai-chat/ - Add a config file for
.envso secrets likeWEBUI_SECRET_KEYand any cloud API keys stay out of Git
8c: Post-deploy command
In DeployHQ's SSH Commands section:
cd /home/deploy/ai-chat && bash scripts/deploy.sh
Your scripts/deploy.sh:
#!/usr/bin/env bash
set -euo pipefail

# Pull latest images
docker compose pull

# Restart with updated configuration
docker compose up -d --remove-orphans

# Pull any new models defined in the model list
bash scripts/pull-models.sh

echo "AI chat stack deployed successfully"
Now every git push updates your configuration, restarts services if needed, and ensures new models are pulled. If you want to extend this into a fuller build pipeline — running tests, building custom Open WebUI images, gating on lint — the same hooks plug straight in.
Performance tuning
CPU inference optimisation
If running on CPU only, these environment variables can improve Ollama's performance:
# Add to the ollama service in docker-compose.yml
environment:
  - OLLAMA_HOST=0.0.0.0
  - OLLAMA_NUM_PARALLEL=2      # concurrent requests
  - OLLAMA_MAX_LOADED_MODELS=1 # keep 1 model in memory
OLLAMA_NUM_PARALLEL=2 works well on a 4-vCPU VPS — higher values create thread contention and actually slow down responses. Always benchmark on your specific hardware.
Memory management
Ollama unloads models after 5 minutes of inactivity by default. On a RAM-constrained VPS, this is desirable. To keep models loaded longer:
environment:
  - OLLAMA_KEEP_ALIVE=30m  # keep model loaded for 30 minutes
Monitoring
Add a simple health check to your monitoring:
# Ollama health
curl -sf http://localhost:11434/api/tags > /dev/null && echo "Ollama OK" || echo "Ollama DOWN"

# Open WebUI health
curl -sf http://localhost:3000/health > /dev/null && echo "WebUI OK" || echo "WebUI DOWN"
For production setups, also track first-token latency (time from prompt sent to first token streamed) and tokens-per-second — these matter far more to perceived performance than total response time. Open WebUI exposes both in the admin panel under Settings > Models.
Backup strategy: the 3-2-1 rule for self-hosted AI
Self-hosting means you own the backup story. Apply the industry-standard 3-2-1 rule: three copies of your data, on two different media, with one offsite copy. For this stack:
webui-data/— chat history, user accounts, RAG documents (back this up nightly, it's small)ollama-data/— pulled models (these are reproducible fromollama pull, lower priority)nginx/default.confanddocker-compose.yml— version-controlled in Git (the Git remote is your offsite copy).env— encrypted secrets, back up separately to a password manager or secrets vault
A simple nightly rsync of webui-data/ to S3 or Backblaze B2 covers RPO ≤24 hours. Combined with the DeployHQ-deployed config in Git, recovery is spin up new VPS → run deploy → rsync data back
— a clear RTO of under an hour.
Security checklist
- Disable public signup (
ENABLE_SIGNUP=false) — only you should create accounts - Set a strong
WEBUI_SECRET_KEY— used for session token signing - Keep Ollama off the public internet — bind to
127.0.0.1only (done in our Compose file) - Enable automatic TLS renewal:
sudo certbot renew --deploy-hook "docker compose -f /home/deploy/ai-chat/docker-compose.yml restart nginx" - Update regularly:
docker compose pull && docker compose up -d - Rate-limit at Nginx — add
limit_req_zoneto prevent prompt-flooding attacks if your instance is multi-user - Back up chat data — the
webui-data/volume contains all conversations and user data
Troubleshooting
| Symptom | Likely cause | Fix |
|---|---|---|
No models availablein Open WebUI |
Models not pulled yet | Run docker exec ollama ollama pull llama3.2:3b |
| Open WebUI cannot connect to Ollama | OLLAMA_BASE_URL wrong |
Verify it is http://ollama:11434 (Docker service name, not localhost) |
Streaming responses hang at thinking… |
Missing WebSocket proxy config | Add proxy_http_version 1.1 and Upgrade headers in Nginx |
| Out of memory when loading model | Model too large for available RAM | Use a smaller quantised model (3B or 7B) |
| Slow inference (~1 token/sec) | CPU-only with large model | Switch to a smaller model or add GPU passthrough |
| 502 Bad Gateway from Nginx | Open WebUI not bound on 127.0.0.1:3000 |
Check docker compose ps and the ports: mapping |
| Long-running prompts timeout at ~60s | proxy_read_timeout too low |
Bump to 600s for large reasoning models |
What to do next
- Pick the right model for your workload — try Mistral 7B for code, Qwen 2.5 for multilingual, Llama 3.1 8B for general-purpose chat
- Run a model-specific guide — to put DeepSeek-R1 reasoning models on the same stack with production-grade Nginx tuning, follow Run DeepSeek on a VPS with Ollama
- Set up RAG — upload your documentation and create a knowledge-augmented assistant
- Create team accounts — Open WebUI supports multi-user with role-based access
- Explore function calling — Open WebUI supports tool use with compatible models
- Add GPU acceleration — if you need faster inference, look into NVIDIA Container Toolkit for Docker GPU passthrough
- Revisit the architecture — if you skipped the primer above and want the self-hosted-vs-hosted decision framework before going to production, the foundational guide linked at the top covers it in depth
If you have questions or need help, reach out at support@deployhq.com or on X (formerly Twitter).