Deploy Rails App Easily with DeployHQ
This guide is going to walk you through setting an Ubuntu 16.04 server for a Ruby on Rails application by installing and configuring the following:
- Ruby w/ Bundler.
- MySQL
- Nginx
Once the server is ready we’re going to automate deployments with DeployHQ.
Note: If you’re starting from scratch, check out our Ubuntu 16.04 server setup guide.
Installation
Login as root or your sudo user before running any of the following commands.
Ruby
Only two packages need to be installed, ruby and ruby-dev.
sudo apt-get install ruby ruby-dev
After that’s finished installing, confirm that Ruby has been installed successfully:
ruby -v
Note: If you’re running multiple applications on the same server which require different versions of Ruby, you’ll need to install something like rbenv or RVM.
MySQL
To install MySQL, run the following command:
sudo apt-get install mysql-server
During the installation process, you’ll be prompted to enter a password for the root MySQL user. Make sure it’s something secure and noted down in a password manager.
After mysql-server has finished installing run mysql_secure_installation.
Enabling the Validate Password Plugin is entirely optional, and changing the root password can be skipped, however I’d suggest entering y in response the remaining questions — they are all rather sensible.
Additionally, the MySQL client library needs to be installed:
sudo apt-get install libmysqlclient-dev
Nginx
sudo apt-get install nginx
If you followed the server setup guide, you’ll need to allow incoming connections to Nginx through the firewall.
sudo ufw allow "Nginx Full"
Confirm that the rules have been added by running sudo ufw status.
Status: active

To                         Action      From
--                         ------      ----
OpenSSH                    ALLOW       Anywhere
Nginx Full                 ALLOW       Anywhere
OpenSSH (v6)               ALLOW       Anywhere (v6)
Nginx Full (v6)            ALLOW       Anywhere (v6)
If you enter the IP address to your server in the browser, you should see the default welcome page.
Node
Finally, we’ll also going to need to install Node for asset compilation.
sudo apt-get install nodejs
If your project uses Webpacker, run the following command as well:
sudo apt-get install yarn
Preparation
There are a few things that need to be done before deployment.
Create a production database
To create a production database, run the following command:
mysql -u root -p
Enter the password you noted down during the installation process.
Use the following command to create a database and user for the application.
CREATE DATABASE application_production DEFAULT CHARACTER SET utf8 COLLATE utf8_unicode_ci;
GRANT ALL ON application_production.* TO 'deploy'@'localhost' IDENTIFIED BY '<password>';
FLUSH PRIVILEGES;
EXIT;
Enter a secure password and note it down somewhere. You’ll need it later!
Preparing the application directory
Create a deployment user.
Why?
sudo adduser deploy
Log in as the new user by running su - deploy.
Now, create a directory for the application to be deployed to.
mkdir ~/example
After that, type exit and press Enter to return to the original user.
Configuring Nginx
To configure Nginx, we’re going to need to create a new configuration file inside /etc/nginx/sites-available.
cd /etc/nginx/sites-available
sudo nano example.com
Paste the following configuration:
server {
  listen [::]:80;
  listen 0.0.0.0:80;

  root /home/deploy/example/public;

  server_name example.com;

  try_files $uri @app;

  keepalive_timeout 10;

  error_page 500 502 503 504 /500.html;

  location @app {
    proxy_set_header Host $http_host;
    proxy_set_header X-Forwarded-For $proxy_add_x_forwarded_for;
    proxy_pass http://127.0.0.1:3000;
    proxy_redirect off;
  }
}
When you’re finished editing, press Ctrl + X, press y then hit Enter to save.
If you run ls you should now see default and example.com.
To enable the configuration, we need to symlink the file into the /etc/sites-enabled directory. To do this, run the following command:
sudo ln -s /etc/nginx/sites-available/example.com /etc/nginx/sites-enabled/example.com
To disable the default configuration:
cd /etc/nginx/sites-enabled
sudo rm default
Finally, we need to reload Nginx for the changes to take effect:
sudo service nginx reload
Deploying with DeployHQ
DeployHQ is a service that allows you to easily deploy applications to your servers. You can write config files, define custom commands and deploy automatically whenever you push.
The free plan allows you deploy 1 project up to 10 times a day!
Create a project
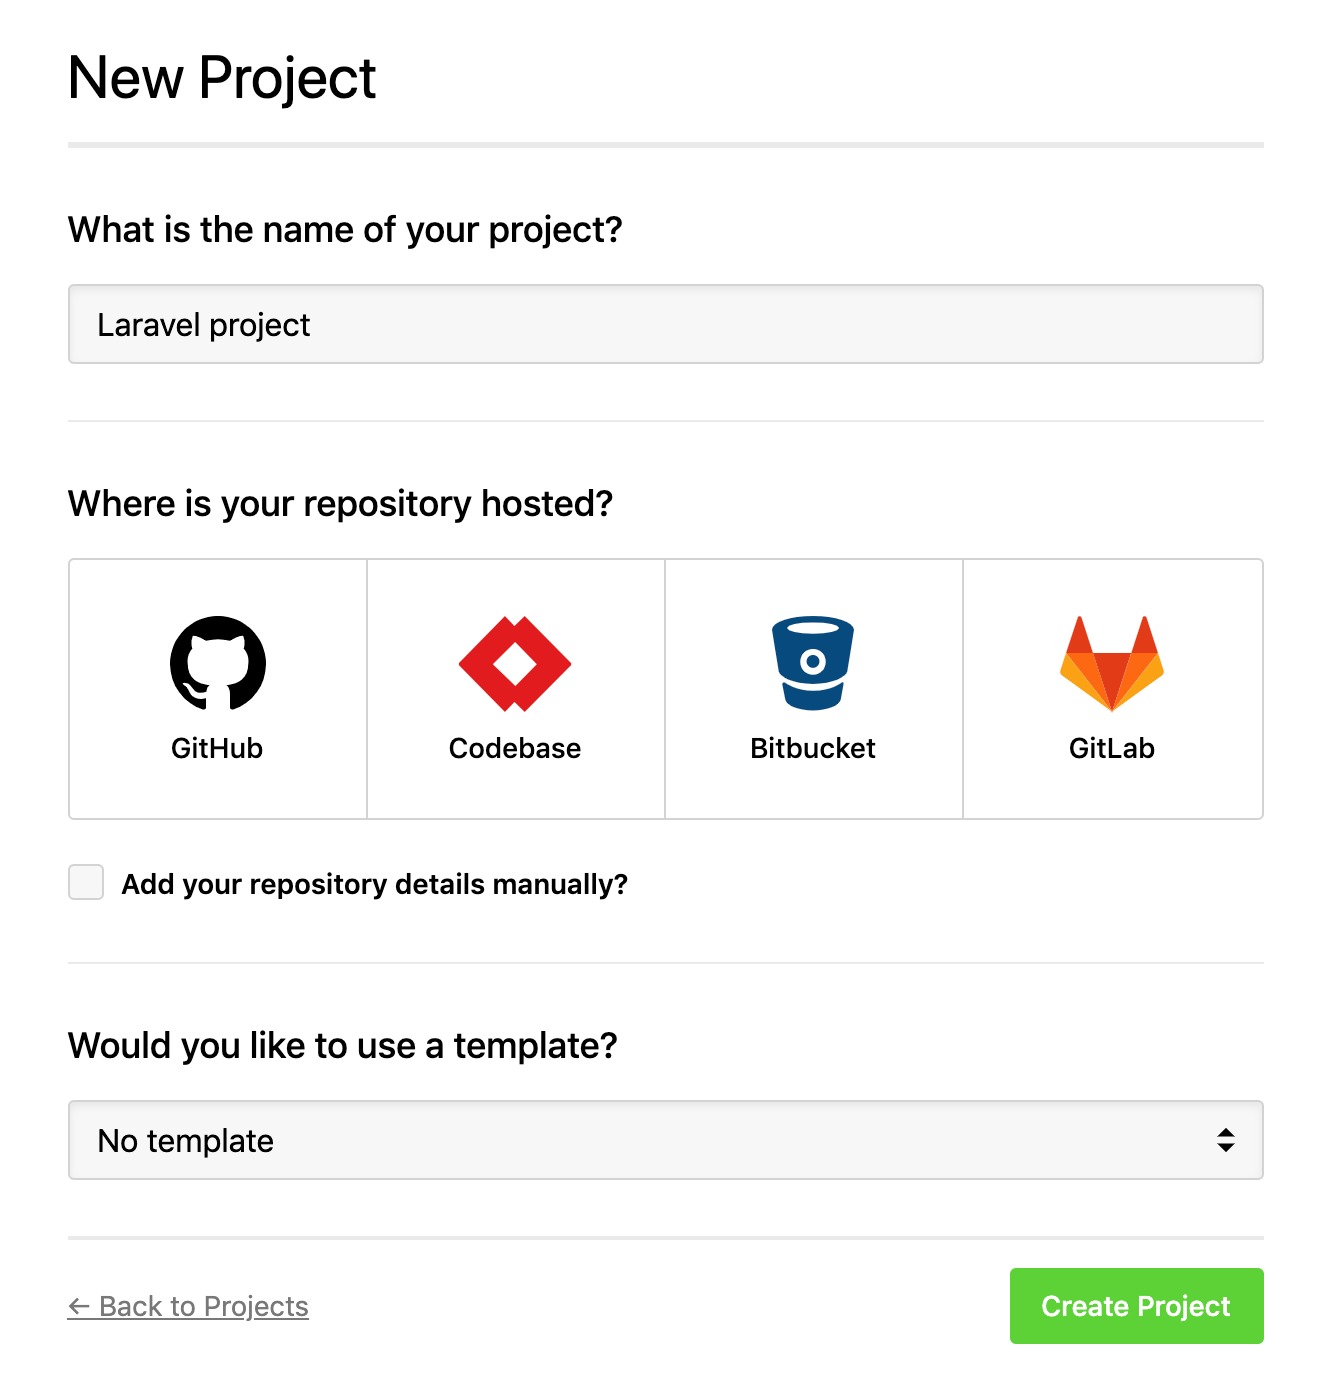
After signing up and logging in, you’ll need to create a project by going to Projects > New Project. Follow the wizard and choose your repository.

If you have any trouble connecting your repository, please see our support page.
Configure a server
Now we need to tell DeployHQ where to deploy the application to. To do this, we need to create a server by going to Servers > New Server.
Enter a memorable name for your server and select SSH from the list of protocols.

Enter the IP address for your server into the Hostname field. The Username should be deploy.

Check Use SSH key rather than password for authentication? then run the following commands on your server:
su - deploy
mkdir ~/.ssh
chmod 700 ~/.ssh
nano ~/.ssh/authorized_keys
Paste DeployHQ’s public key, then press Ctrl + X, y then Enter to save.
Finally, run the following command to set the correct permissions on the authorized_keys file.
chmod 600 ~/.ssh/authorized_keys
Set the Deployment Path to /home/deploy/example and enter production in the Environment field.
Once that’s all done, press Save.
Note: If you have any trouble connecting to your server, please check out our support page.
Add config files
Config files in DeployHQ are files that you want to upload during a deployment, but not keep in your repository. This is particularly useful for configuration files that might contain sensitive data.
Go to Config Files and create two config files:
config/database.yml
We only need to specify database credentials for the production server.
production:
  adapter: mysql2
  database: application_production
  encoding: utf8
  password: <password>
  pool: 5
  socket: /var/run/mysqld/mysqld.sock
  username: deploy
Replace <password> with the password you entered earlier when creating the production database.
config/secrets.yml
production:
  secret_key_base: <secret>
To create a secret key, on your development machine inside your project run the following command.
bundle exec rails secret
Add excluded files
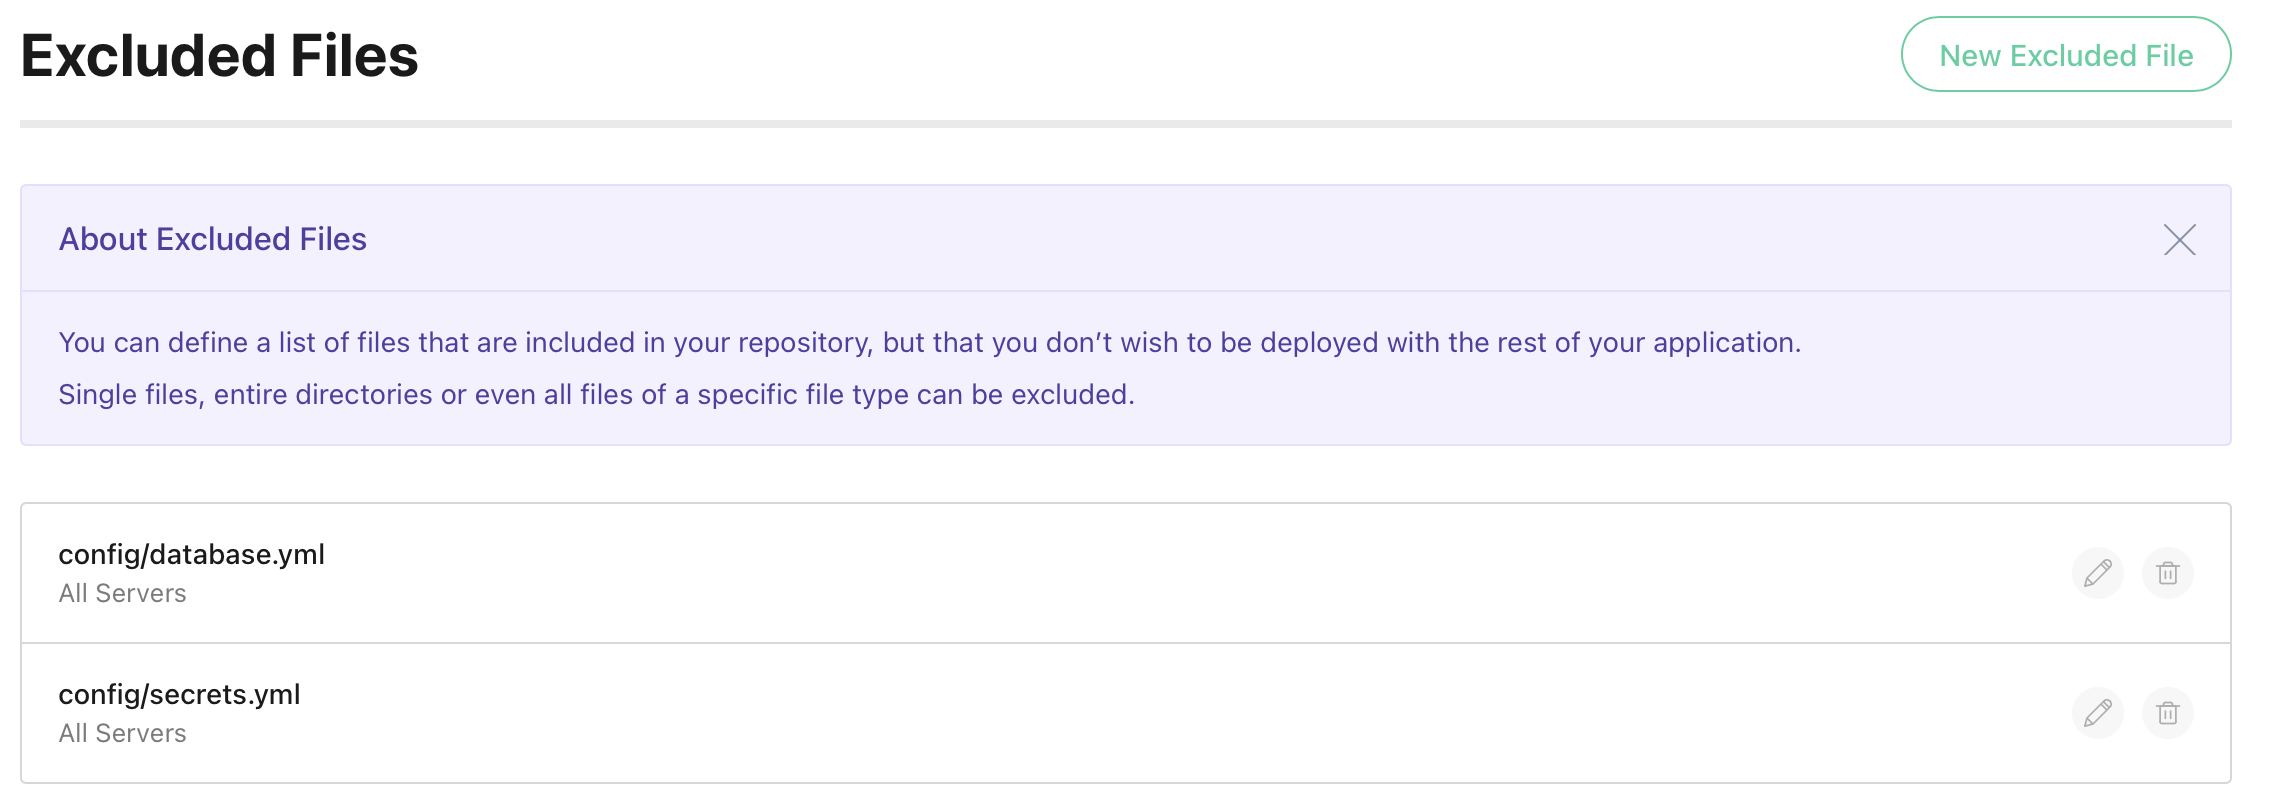
We need to let DeployHQ know that both config/database.yml and config/secrets.yml don’t need to be uploaded.
Go to Excluded Files and create exclusion rules for both.

Set up commands
To start with, create the following build commands.
Note: Make sure they all run after changes are pushed.
Bundle
cd %path% && RAILS_ENV=production bundle install --deployment`
Migrate
cd %path% && RAILS_ENV=production bundle exec rails db:migrate
Precompile
cd %path% && RAILS_ENV=production bundle exec rails assets:precompile
Start a deployment
That’s all the configuration done — time to deploy!
Click Deploy Project in the header.
The server you created should be preselected, along with the correct start and end revisions for your repository.
Once you’re happy with everything, scroll down and click Deploy to begin the deployment.
Now sit back, relax and look very smug. You’ve just saved yourself bags of time.

If you’ve got any other projects you’d like to automate deployments for, we’ve written lots of guides for deploying the most popular application frameworks and content management systems.