Gitea is quietly becoming the go-to self-hosted Git service. It's lightweight (runs on a Raspberry Pi), easy to install, and gives you full control over your source code without depending on GitHub or GitLab's infrastructure.
But Gitea has one notable gap: no built-in CI/CD. Gitea Actions exists but is still maturing and requires a separate runner instance. For teams that just want to push code and have it deployed to their server, that's a lot of infrastructure for a simple requirement.
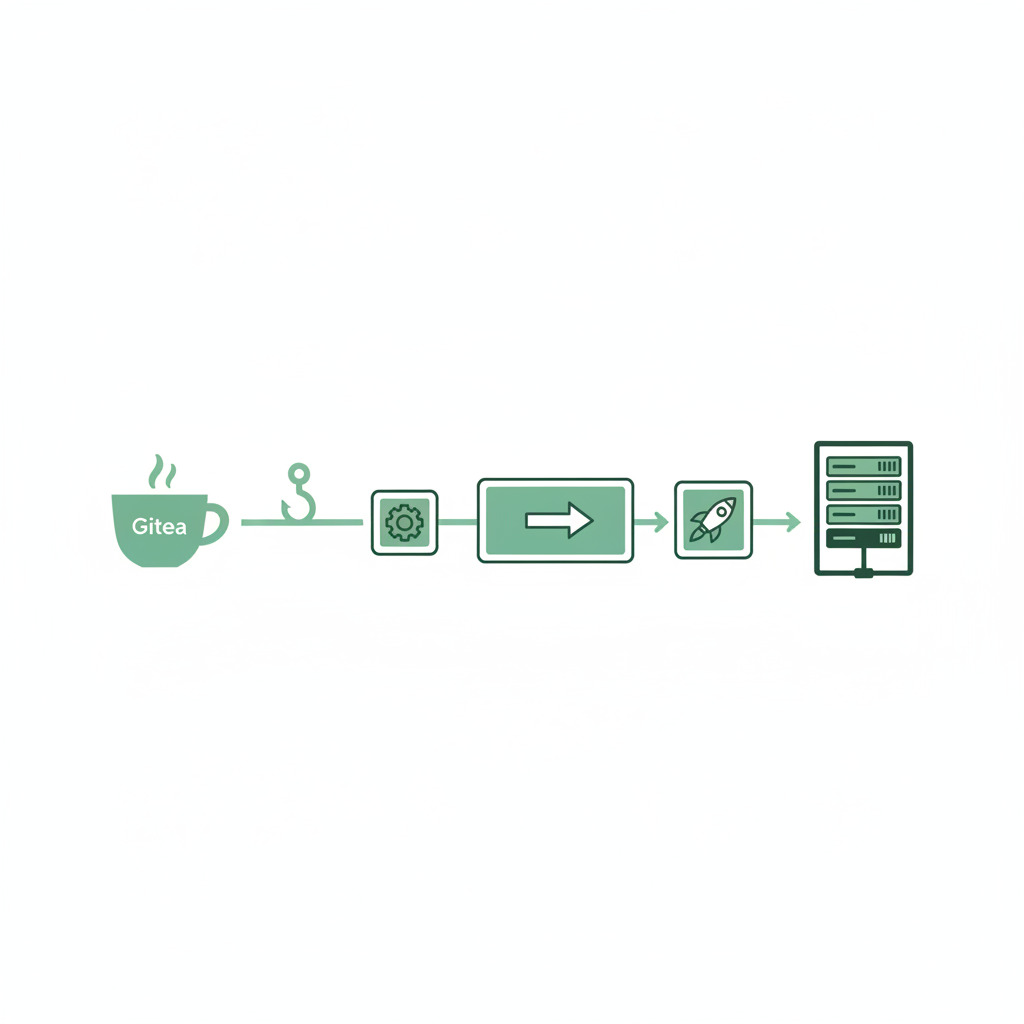
Here's how to add fully automated deployments to your Gitea workflow in under 10 minutes, using webhooks and DeployHQ.
Why Gitea Needs an External Deployment Tool
Gitea is intentionally minimal — it's a Git hosting service, not a DevOps platform. That's a feature, not a bug. But it means deployment is left as an exercise for the user.
The common approaches:
- Gitea Actions — still in development, requires a dedicated runner, modelled after GitHub Actions but with fewer marketplace actions available
- Drone CI / Woodpecker CI — full CI/CD systems that integrate with Gitea, but they're heavy for simple
push to deploy
workflows - Manual SSH —
ssh server 'cd /var/www && git pull'works but breaks the moment you need build commands or multiple servers - Webhook-based deployment — a lightweight service watches for push events and deploys automatically
The webhook approach hits the sweet spot: no CI infrastructure to maintain, no YAML pipelines to write, and it works with any Gitea installation.
The Architecture
flowchart LR
    A[Developer] -->|git push| B[Gitea Instance]
    B -->|webhook POST| C[DeployHQ]
    C -->|git clone via SSH| B
    C -->|build commands| D[Build Server]
    D -->|changed files via SSH/SFTP| E[Production Server]
When you push to Gitea, a webhook fires. DeployHQ receives the notification, clones the latest code from your Gitea repo, runs any build commands, and deploys the changed files to your server. The entire cycle takes seconds.
Step-by-Step Setup
1. Create a DeployHQ Project
Sign up for DeployHQ (free for one project) and create a new project.
When asked for your repository, choose Enter repository URL manually
— Gitea isn't in the OAuth provider list since it's self-hosted.
Enter your Gitea repository URL. You have two options:
SSH (recommended):
git@gitea.yourserver.com:username/repo.git
HTTPS with access token:
https://gitea.yourserver.com/username/repo.git
For SSH, DeployHQ will generate an SSH key pair. Copy the public key.
2. Add the SSH Key to Gitea
In your Gitea repository:
- Go to Settings → Deploy Keys
- Click Add Deploy Key
- Paste the DeployHQ public key
- Title it
DeployHQ
- Leave
Enable Write Access
unchecked (read-only is sufficient)
Alternatively, add the key to your Gitea user account under Settings → SSH/GPG Keys for access to all your repositories.
3. Configure Your Server in DeployHQ
Add your deployment target:
- Protocol: SSH/SFTP
- Hostname: your-production-server.com
- Username: your deploy user
- Authentication: SSH key (add DeployHQ's key to the server's
authorized_keys) - Deployment Path:
/var/www/myapp/(or your web root)
4. Set Up Build Commands (If Needed)
If your project needs a build step:
cd %path% && npm ci && npm run build
Set the Deployment Subdirectory if you're deploying build output (e.g., dist/ for static sites, build/ for React apps).
5. Configure the Webhook in Gitea
This is where Gitea and DeployHQ connect. In DeployHQ, go to your project and find the Webhook URL (under project settings or on the servers page).
In Gitea:
- Go to your repository → Settings → Webhooks
- Click Add Webhook → choose Gitea
- Target URL: paste the DeployHQ webhook URL
- HTTP Method: POST
- Content Type:
application/json - Trigger On: Push Events
- Active: checked
- Click Add Webhook
Test it by clicking the Test Delivery button. You should see a 200 response.
6. Push and Deploy
Make a change, commit, and push:
echo "test" >> README.md
git add -A && git commit -m "Test deployment" && git push
Gitea fires the webhook → DeployHQ clones, builds, and deploys. Check the deployment log in DeployHQ to see exactly which files were transferred.
Branch-Based Deployments
Map different branches to different servers for a staging/production workflow:
| Branch | Server | Environment |
|---|---|---|
main |
production-server.com | Production |
develop |
staging-server.com | Staging |
feature/* |
— | Not deployed (review locally) |
In DeployHQ, add multiple servers and assign each to a specific branch. Pushing to develop deploys to staging. Merging to main deploys to production.
Handling Self-Signed Certificates
If your Gitea instance uses a self-signed HTTPS certificate, DeployHQ's HTTPS clone will fail certificate verification. Two solutions:
- Use SSH instead of HTTPS — SSH cloning doesn't involve TLS certificates
- Use a real certificate — Let's Encrypt is free and works with any domain
SSH is the simpler fix and is recommended regardless of certificate situation — it's faster and avoids password/token management.
Gitea Behind a Firewall
If your Gitea instance isn't publicly accessible, DeployHQ can't reach it for webhook delivery or Git cloning. Options:
- Open port 22 (SSH) to DeployHQ's IPs — check DeployHQ's documentation for the IP list
- Use a reverse SSH tunnel — more complex but avoids opening firewall ports
- Mirror to a public Git host — Gitea can mirror to GitHub/GitLab, and DeployHQ clones from there
For most setups, opening SSH access from DeployHQ's IPs is the simplest approach.
Comparison: Gitea Deployment Options
| Tool | Setup time | Maintenance | Build support | Multi-server | Cost |
|---|---|---|---|---|---|
| DeployHQ | ~10 min | None | Yes (npm, Composer, etc.) | Yes | Free for 1 project |
| Gitea Actions | 30-60 min | Runner maintenance | Yes (via Actions) | Custom scripting | Free (self-hosted) |
| Drone CI | 30-60 min | Server + runners | Yes (Docker-based) | Custom config | Free (OSS edition) |
| Woodpecker CI | 30-60 min | Server + agents | Yes (Docker-based) | Custom config | Free |
Manual git pull |
5 min | Error-prone | No | No | Free |
| Custom webhook script | 1-2 hours | Script maintenance | Custom | Custom | Free |
DeployHQ wins on setup time and maintenance. Drone/Woodpecker win if you need full CI (testing, multi-stage pipelines, matrix builds). Gitea Actions will likely become the default choice once it matures.
Multi-Repository Deployments
If your project spans multiple Gitea repositories (frontend + backend, or a main app + shared library), create separate DeployHQ projects for each. Each project has its own webhook, build configuration, and server targets.
For monorepos on Gitea, use DeployHQ's deployment subdirectory feature to deploy specific directories from the repository.
Gitea gives you independence from hosted Git providers. Adding DeployHQ gives you automated deployments without the complexity of running a full CI/CD system. Push to Gitea, and your code is live — simple as that.
If you're using GitHub or GitLab alongside Gitea, DeployHQ works with all of them from a single dashboard.
Start deploying from Gitea — set up takes about 10 minutes.
Questions about connecting your Gitea instance? Contact support@deployhq.com or reach us on Twitter/X.