GitLab is a self-hosted DevOps platform that gives you full control over your source code, CI/CD pipelines, container registry, and project management — all on your own infrastructure. This guide walks through installing GitLab on a Virtual Private Server (VPS) from scratch, including SSL, security hardening, performance tuning, and connecting it to DeployHQ for automated deployments.
flowchart LR
    Client["Browser"] --> Nginx["Nginx\n(reverse proxy)"]
    Nginx --> Puma["GitLab\n(Puma)"]
    Puma --> PG["PostgreSQL"]
    Puma --> Redis["Redis"]
    Puma --> Gitaly["Gitaly\n(Git storage)"]
Prerequisites
Before you begin, ensure you have:
- A VPS running Ubuntu 24.04 LTS
- Root or sudo access to the server
- At least 4GB of RAM (8GB recommended for teams of 5+)
- A domain name pointed to your server's IP address (e.g.,
gitlab.yourdomain.com) - Minimum storage:
- 50GB for a basic installation
- 100GB recommended for active teams with repositories and backups
- 250GB+ for medium-to-large organisations
Storage breakdown:
| Component | Space |
|---|---|
| GitLab installation | 5–10GB |
| Operating system | 10GB |
| Repository storage | 20–50GB |
| Backup space | 10–20GB |
Step 1: Prepare the Server
Update your system packages and install dependencies:
sudo apt-get update && sudo apt-get upgrade -y
sudo apt-get install -y curl openssh-server ca-certificates perl
Step 2: Add the GitLab Repository
Add the official GitLab package repository:
curl -fsSL https://packages.gitlab.com/install/repositories/gitlab/gitlab-ee/script.deb.sh | sudo bash
This installs GitLab Enterprise Edition, which is free for up to a certain number of users. For the community edition, replace gitlab-ee with gitlab-ce in both the repository URL and the install command below.
Step 3: Install GitLab
Install GitLab with your domain name set as the external URL:
sudo EXTERNAL_URL="https://gitlab.yourdomain.com" apt-get install gitlab-ee
Replace gitlab.yourdomain.com with your actual domain. Setting https:// here tells GitLab to automatically request a Let's Encrypt certificate during installation (as long as port 80 and 443 are open and DNS is pointed correctly).
Step 4: Configure GitLab
After installation, GitLab runs an automatic reconfiguration. If you need to make changes to /etc/gitlab/gitlab.rb later, apply them with:
sudo gitlab-ctl reconfigure
Key settings to review in /etc/gitlab/gitlab.rb:
# /etc/gitlab/gitlab.rb

# External URL (already set during install)
external_url 'https://gitlab.yourdomain.com'

# Built-in Let's Encrypt (enabled by default with https:// URL)
letsencrypt['enable'] = true
letsencrypt['auto_renew'] = true
letsencrypt['auto_renew_hour'] = 3
letsencrypt['auto_renew_day_of_month'] = "*/7"

# Email notifications (required for Let's Encrypt)
letsencrypt['contact_emails'] = ['admin@yourdomain.com']
Step 5: Set Up SSL
Option A: Built-in Let's Encrypt (Recommended)
If you set https:// in your external URL during installation, GitLab handles SSL automatically via Let's Encrypt. Certificates are auto-renewed every 7 days by default. No additional steps required.
Verify it is working:
sudo gitlab-ctl renew-le-certs
Option B: Manual Certificate with Certbot
If you need more control (e.g., wildcard certificates or a different CA):
sudo apt-get install certbot
sudo gitlab-ctl stop
sudo certbot certonly --standalone -d gitlab.yourdomain.com
Then configure GitLab to use the certificate:
# /etc/gitlab/gitlab.rb
letsencrypt['enable'] = false
nginx['ssl_certificate'] = "/etc/letsencrypt/live/gitlab.yourdomain.com/fullchain.pem"
nginx['ssl_certificate_key'] = "/etc/letsencrypt/live/gitlab.yourdomain.com/privkey.pem"
Apply and restart:
sudo gitlab-ctl reconfigure
Set up auto-renewal with a cron job:
echo "0 3 * * 1 root certbot renew --pre-hook 'gitlab-ctl stop' --post-hook 'gitlab-ctl start'" | sudo tee /etc/cron.d/certbot-gitlab
Step 6: Initial Setup
- Open your browser and navigate to
https://gitlab.yourdomain.com - You will be prompted to set a password for the
rootuser - Log in with username
rootand your new password - Create your first project and invite team members
Retrieve the initial root password if you missed the prompt:
sudo cat /etc/gitlab/initial_root_password
This file is automatically deleted after 24 hours.
Step 7: Security Hardening
Firewall Configuration
sudo ufw allow OpenSSH
sudo ufw allow 80/tcp
sudo ufw allow 443/tcp
sudo ufw enable
Additional Security Measures
- Enable two-factor authentication for all users (Admin > Settings > General > Sign-in restrictions)
- Disable public sign-ups unless you specifically want them (Admin > Settings > General > Sign-up restrictions)
- Configure SSH key requirements — require SSH keys for Git operations instead of passwords
- Set up regular backups:
# Create a backup
sudo gitlab-backup create

# Automate daily backups via cron
echo "0 2 * * * root gitlab-backup create CRON=1" | sudo tee /etc/cron.d/gitlab-backup
Back up your configuration files separately (they are not included in the GitLab backup):
sudo cp /etc/gitlab/gitlab.rb /var/opt/gitlab/backups/
sudo cp /etc/gitlab/gitlab-secrets.json /var/opt/gitlab/backups/
Performance Tuning
On a VPS with limited resources, tuning GitLab's defaults can significantly reduce memory usage.
Reduce Puma Workers (Low-Memory VPS)
By default, GitLab runs multiple Puma workers. On a 4GB VPS, reduce this:
# /etc/gitlab/gitlab.rb
puma['worker_processes'] = 2
puma['min_threads'] = 1
puma['max_threads'] = 4
Disable Monitoring (Save ~300MB RAM)
If you do not need the built-in Prometheus monitoring:
# /etc/gitlab/gitlab.rb
prometheus_monitoring['enable'] = false
grafana['enable'] = false
alertmanager['enable'] = false
node_exporter['enable'] = false
PostgreSQL Tuning
# /etc/gitlab/gitlab.rb
postgresql['shared_buffers'] = "256MB"
postgresql['work_mem'] = "8MB"
postgresql['maintenance_work_mem'] = "64MB"
Sidekiq Concurrency
Reduce background job concurrency to lower memory usage:
# /etc/gitlab/gitlab.rb
sidekiq['concurrency'] = 10
After making changes, always run:
sudo gitlab-ctl reconfigure
Storage Management
Monitor Disk Usage
# GitLab environment info
sudo gitlab-rake gitlab:env:info

# Check repository storage
sudo du -sh /var/opt/gitlab/git-data/repositories

# Check overall GitLab storage
sudo du -sh /var/opt/gitlab/
Best Practices
- Use Git LFS for large binary files (images, videos, compiled assets)
- Configure repository size limits in Admin > Settings > Repository
- Set up backup rotation to avoid filling your disk:
# /etc/gitlab/gitlab.rb — keep only 7 days of backups
gitlab_rails['backup_keep_time'] = 604800
- Regularly run housekeeping to optimize Git storage:
sudo gitlab-rake gitlab:cleanup:repos
Troubleshooting
502 Bad Gateway After Installation
This almost always means GitLab ran out of memory during startup. Puma needs time to boot.
# Check if Puma is still starting
sudo gitlab-ctl status

# Watch Puma logs
sudo gitlab-ctl tail puma

# If RAM is exhausted, reduce workers (see Performance Tuning above)
# and add swap if you don't have any:
sudo fallocate -l 2G /swapfile
sudo chmod 600 /swapfile
sudo mkswap /swapfile
sudo swapon /swapfile
echo '/swapfile none swap sw 0 0' | sudo tee -a /etc/fstab
Reconfigure Hangs
Usually a DNS or SSL issue. Check:
# Verify DNS resolves
dig gitlab.yourdomain.com

# Check if ports 80/443 are open
sudo ufw status

# Run reconfigure with debug output
sudo gitlab-ctl reconfigure --verbose
High Memory Usage in Steady State
# Check what is using memory
sudo gitlab-ctl status
sudo ps aux --sort=-%mem | head -20

# Common fixes:
# 1. Disable Prometheus monitoring (saves ~300MB)
# 2. Reduce Puma workers
# 3. Reduce Sidekiq concurrency
# 4. Add swap space
SSL Certificate Renewal Fails
# Check certificate expiry
sudo openssl x509 -in /etc/gitlab/ssl/gitlab.yourdomain.com.crt -noout -dates

# Force renewal (built-in Let's Encrypt)
sudo gitlab-ctl renew-le-certs

# If using certbot, check logs
sudo certbot renew --dry-run
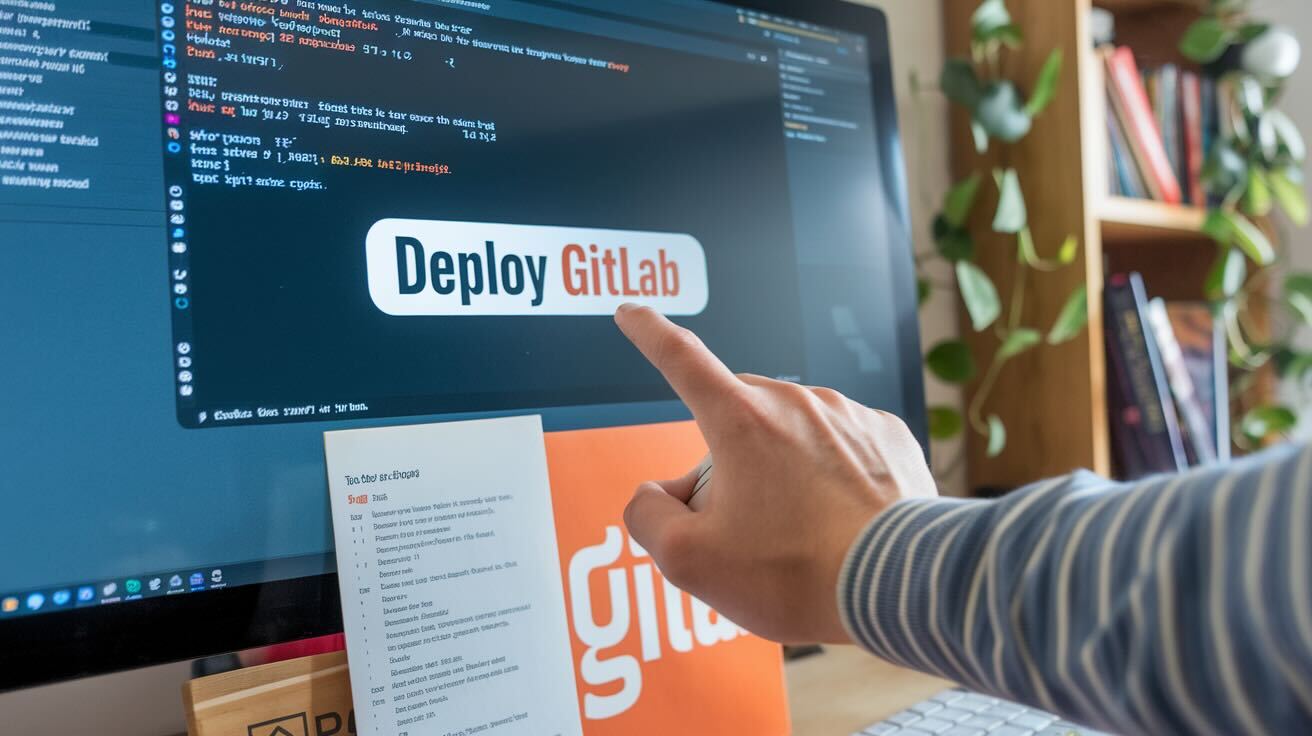
Deploying Code from Your Self-Hosted GitLab with DeployHQ
Once your GitLab instance is running, you can connect it to DeployHQ to automate deployments from your repositories to production, staging, and development servers.
flowchart LR
    Dev["Developer"] --> GL["Self-Hosted GitLab"]
    GL -->|"webhook"| DHQ["DeployHQ"]
    DHQ -->|"SSH/SFTP"| Staging["Staging Server"]
    DHQ -->|"SSH/SFTP"| Prod["Production Server"]
How to connect:
- In DeployHQ, create a new project and select GitLab (Self-Hosted) as the repository type
- Enter your GitLab instance URL and an access token (create one in GitLab under User Settings > Access Tokens)
- Select the repository you want to deploy
- Configure your servers — DeployHQ deploys via SSH, SFTP, FTP, or to cloud storage like S3
- Set up automatic deployments by adding a webhook in your GitLab project (Settings > Webhooks) with the URL DeployHQ provides
DeployHQ handles file comparison, so only changed files are transferred on each deployment. You can also configure build pipelines to run tests, compile assets, or install dependencies before deploying.
For managing multiple environments (dev, staging, production) from the same repository, see our guide on keeping development, staging, and production in sync.
Conclusion
A self-hosted GitLab instance gives your team full control over your DevOps platform — your code, your CI/CD, your rules. With proper tuning and security hardening, a 4-8GB VPS can comfortably serve a small-to-medium team.
Pair it with DeployHQ to automate your deployment pipeline from GitLab to any server, with detailed logs, rollback support, and multi-environment management.
Have questions about GitLab deployment or want to streamline your deployment workflow? Reach out at support@deployhq.com or find us on Twitter/X.