You deploy a new version of your site. The code is live on your server. But users still see the old CSS, the old JavaScript, the old images — because your CDN is serving cached copies. You have to log into Cloudflare, find the right zone, purge the cache manually, and hope you didn't miss anything.
That's the problem DeployHQ's Cloudflare integration solves. It purges your CDN cache automatically after every deployment, so your users always see the latest version of your site without you lifting a finger.
How CDN Caching Creates Deployment Problems
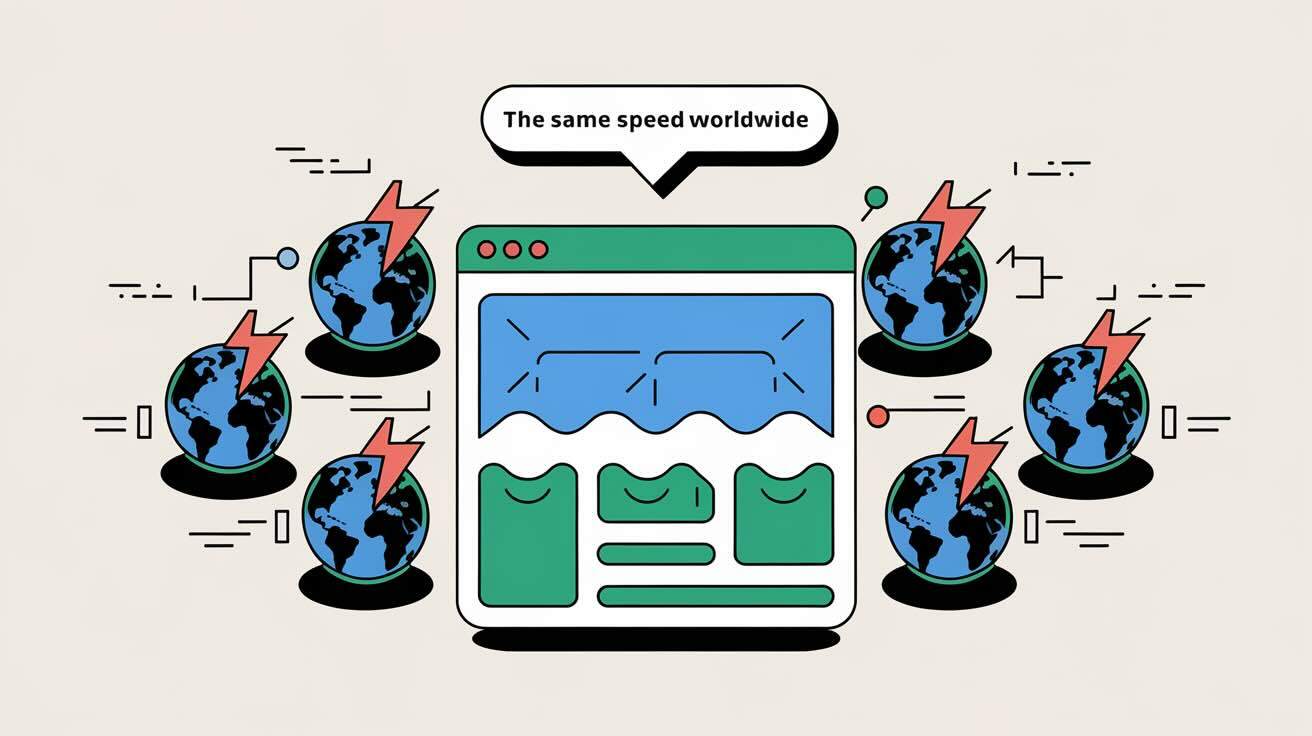
A CDN (Content Delivery Network) caches your static assets — CSS, JavaScript, images, fonts — on edge servers around the world. When a user in Tokyo requests your site, they get the cached copy from an edge server nearby instead of your origin server in London. This makes your site faster, but it also means changes don't take effect until the cache expires or gets purged.
flowchart LR
    A[You deploy v2] --> B[Origin server updated]
    B --> C[CDN still serves v1]
    C --> D[Users see stale content]
    D --> E[Manual cache purge needed]
The default TTL (time-to-live) on most CDN configurations is hours or even days. If you deploy a critical CSS fix, users might not see it until the old cache expires. In the worst case, they get a mix of new HTML with old CSS — a broken layout.
This is why cache invalidation is considered one of the two hard problems in computer science. Getting it right means automating it as part of your deployment pipeline.
Setting Up Automatic Cache Purging in DeployHQ
DeployHQ integrates directly with Cloudflare to purge your CDN cache after each deployment completes. Here's how to set it up:
Step 1: Get Your Cloudflare API Token
- Log in to Cloudflare Dashboard
- Go to My Profile → API Tokens
- Click Create Token
- Use the Purge Cache template (or create a custom token with
Zone.Cache Purgepermission) - Restrict it to the specific zone (domain) you're deploying to
- Copy the token — you'll need it in DeployHQ
Step 2: Connect Cloudflare in DeployHQ
- In your DeployHQ project, go to the server configuration
- Under Notifications & Integrations, add a Cloudflare integration
- Enter your Cloudflare API token and select the zone
- Choose your purge strategy:
- Purge everything: clears the entire cache for the zone
- Purge specific URLs: only clears cache for the files that changed during deployment
Step 3: Deploy and Verify
With the integration active, the flow becomes:
flowchart LR
    A[Git push] --> B[DeployHQ deploys]
    B --> C[Files transferred]
    C --> D[Cloudflare cache purged]
    D --> E[Users see v2 instantly]
After your next deployment, check the DeployHQ deployment log — you'll see the Cloudflare cache purge step at the end, with confirmation of which files or zones were invalidated.
When to Purge Everything vs. Specific URLs
Purge everything is the safe default. It guarantees no stale content remains, at the cost of a temporary performance dip while the CDN re-populates its cache from your origin server. For most sites, this dip is barely noticeable — Cloudflare re-caches content on the first request from each edge location.
Purge specific URLs is more surgical. If you changed three CSS files, only those three get invalidated. The rest of your cached content stays warm. This is better for high-traffic sites where you want to minimize cache misses, but it requires confidence that your deployment only affects the files you think it does.
As a general rule:
| Scenario | Purge Strategy |
|---|---|
| Regular code deployments | Purge everything |
| Asset-only changes (CSS, JS, images) | Purge specific URLs |
| Major redesign or framework upgrade | Purge everything |
| Fixing a single broken image | Purge specific URL |
Beyond Basic Cache Purging
Once your deployment pipeline handles cache invalidation automatically, there are a few more things worth setting up in Cloudflare to work well alongside DeployHQ:
Cache-Busting with File Hashes
Most modern build tools (Webpack, Vite, esbuild) append content hashes to filenames: style.a1b2c3.css. When the file changes, the hash changes, and the CDN treats it as a new file. This means the old cached version is never served — no purge needed for hashed assets.
If your build pipeline outputs hashed filenames, you only need to purge the HTML files that reference them.
Page Rules for Dynamic Content
Some pages shouldn't be cached at all — dashboards, API responses, anything with user-specific content. Set up Cloudflare Page Rules to bypass cache for paths like /api/* or /admin/*, and cache aggressively for static asset paths like /assets/* or /images/*.
Browser Cache Headers
CDN caching and browser caching are different layers. Even after you purge the CDN, a user's browser might still serve an old cached copy. Set appropriate Cache-Control headers on your origin server:
- Static assets with hashed filenames:
Cache-Control: public, max-age=31536000, immutable - HTML pages:
Cache-Control: public, max-age=0, must-revalidate - API responses:
Cache-Control: no-store
Common Pitfalls
Deploying during high traffic without warming the cache. After a full purge, the first request to each edge server goes back to your origin. If you deploy during peak hours and purge everything, your origin server briefly handles the full load. Consider deploying during low-traffic windows or using Cloudflare's cache warming features.
Forgetting about third-party CDN resources. If you use a separate CDN for images (like imgix or Cloudinary), purging Cloudflare doesn't affect those. Make sure your image CDN cache is also configured to respect your deployment cadence.
Not accounting for CDN propagation delay. After purging, it can take 5-30 seconds for the purge to propagate to all edge locations. If you test immediately after deployment, you might still see stale content from an edge server that hasn't processed the purge yet.
The Deployment Pipeline
Putting it all together, here's what a production-grade deployment pipeline looks like with CDN integration:
- Push code to your repository
- DeployHQ picks up the commit and runs your build pipeline
- Files transfer to your server via SFTP, SCP, or rsync
- Cloudflare cache purges automatically
- Post-deploy checks verify the site is working (deployment monitoring guide)
The entire process takes seconds with incremental deployments — even with the cache purge step included. If you're dealing with frontend-specific deployment challenges, the CDN integration handles the biggest one (stale assets) automatically.
Ready to automate your CDN cache management? Sign up for DeployHQ — Cloudflare integration is included on all plans.
For help setting up your CDN integration, reach out at support@deployhq.com or on Twitter/X.