Almost every Node.js project ships through npm. It installs your dependencies, runs your tests, builds your assets, and — done right — guarantees that the code you tested is the exact code you deploy. Done wrong, it's the reason a build passes on a laptop and fails in production, or ships a dependency version nobody reviewed.
This guide walks through using npm across a full CI/CD pipeline: installing dependencies reproducibly, caching them for faster builds, running tests and builds, auditing for vulnerabilities, and deploying the result. Each stage links to a deeper dive where there's more to say. If you're new to the underlying concepts, it helps to first understand what continuous integration is and how CI/CD fits together as a pipeline.
The npm CI/CD Lifecycle
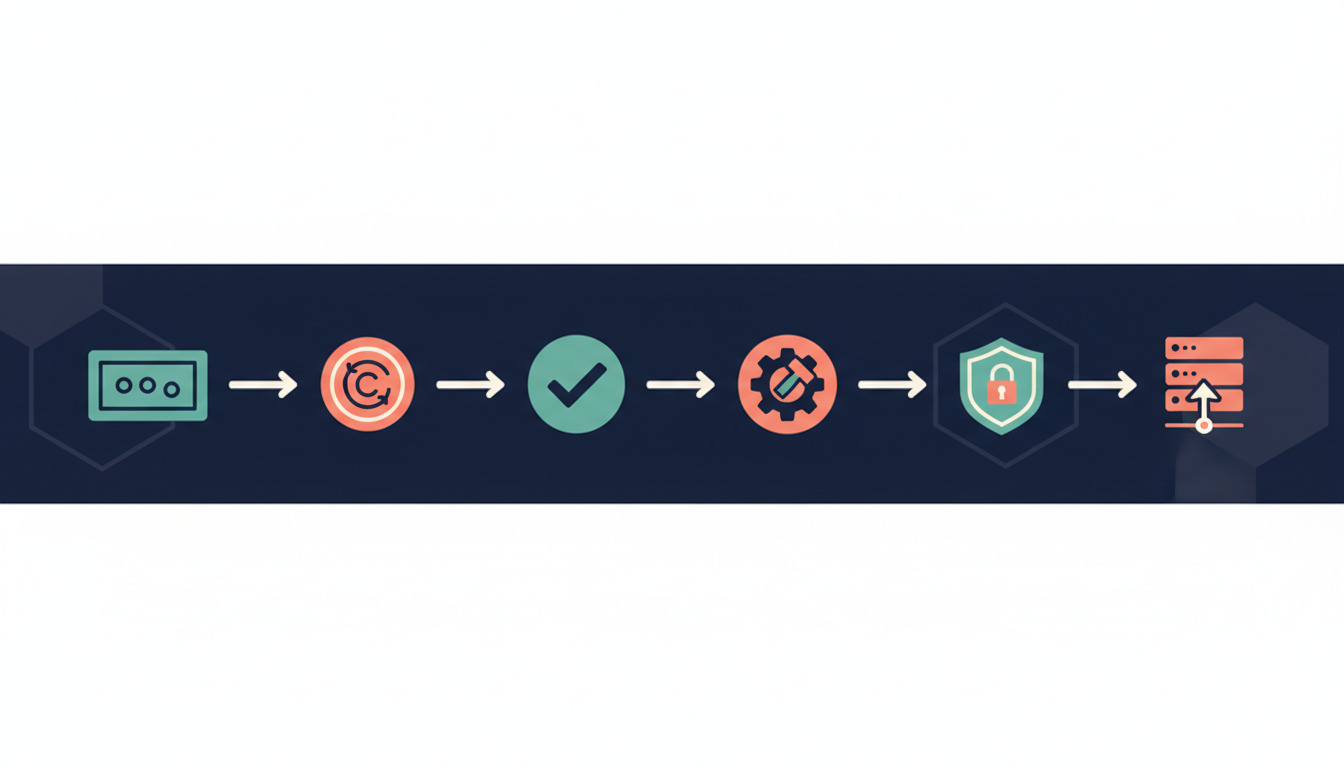
A Node.js pipeline runs the same core stages on every push, in order:
- Install dependencies from the lockfile — reproducibly.
- Cache the download so the next build is faster.
- Test — run the suite and fail the build on any failure.
- Build — compile, bundle, or transpile your assets.
- Audit — check dependencies for known vulnerabilities.
- Deploy — ship the verified build to your servers.
The rest of this guide takes each stage in turn.
1. Install: Use npm ci, Not npm install
The single most important npm decision in a pipeline is which install command you run. In CI, the answer is almost always npm ci — a clean, lockfile-strict install that wipes node_modules, installs the exact versions in package-lock.json, and fails the build if the lockfile is out of sync rather than silently updating it.
npm ci
That strictness is the point: it turns someone forgot to commit the lockfile
from a silent production drift into a loud, early build failure. The full breakdown of why — and when npm install is still the right call locally — is in npm ci vs npm install: which to use in your build pipeline. The rule of thumb: npm install while developing, npm ci everywhere a machine builds your code.
2. Cache Dependencies for Faster Builds
A clean npm ci re-downloads every package on every build, which is slow. The fix is to cache npm's download cache — not node_modules itself. npm stores downloaded tarballs in a global cache (~/.npm by default, or wherever npm config get cache points), and npm ci will reuse cached tarballs instead of hitting the registry.
The key detail most teams get wrong is the cache key: key your cache on a hash of package-lock.json, not on a branch name or a fixed string. When the lockfile changes, you want a fresh cache; when it doesn't, you want a hit.
# Where npm keeps its cache
npm config get cache        # e.g. /home/runner/.npm

# Cache key pattern (concept): npm-cache-${hash of package-lock.json}
Two things worth knowing:
- Cache the tarball cache, restore it before
npm ci.npm cistill rebuildsnode_modulesfrom scratch, but it pulls the packages from the warm cache instead of the network — the expensive part. - Don't cache
node_modulesacross different lockfiles. Native modules compiled against one Node version or platform can break when restored into another. The tarball cache is safe; a restorednode_modulesis not.
If you build on DeployHQ, dependency caching is handled for you in the build pipeline — see using Node.js and npm with the DeployHQ build pipeline for the exact configuration.
3. Run Tests and Build Steps
With dependencies installed, the pipeline runs your scripts. npm scripts return standard exit codes, so a non-zero exit fails the stage automatically — no extra wiring needed:
npm ci
npm test          # fails the build on any failing test
npm run build     # compile / bundle / transpile
Keep the pipeline honest by making sure your test script actually exits non-zero on failure (the default for most test runners) and that npm run build is the same command you'd run to produce a production artifact locally. This is what makes a green build meaningful: it exercised the same steps a release does. Automating that sequence on every push is the whole idea behind automatic deployments.
Want this running against your own repo right now? Start a DeployHQ trial and point a build pipeline at your Node.js project.
4. Audit Dependencies for Vulnerabilities
A CI pipeline is the right place to catch vulnerable dependencies before they ship. npm audit checks your installed tree against the npm advisory database:
# Fail the build only on high-severity or worse
npm audit --audit-level=high
The --audit-level flag is what makes npm audit usable in CI. Run bare, npm audit returns non-zero on any advisory, including low-severity ones in transitive dev dependencies — which trains teams to ignore it. Setting a threshold (--audit-level=high or critical) fails the build only on issues worth stopping for. Pair it with npm audit fix locally (not in CI — it mutates the lockfile) to remediate.
Auditing is also where private dependencies come in: if your build pulls internal packages from a private registry or Git, it needs credentials that don't leak into logs. The machine-user and .npmrc patterns in private repository dependencies keep npm ci authenticated without exposing tokens.
5. Pin Your Node and npm Versions
Reproducibility doesn't stop at the lockfile. The Node version building your code affects native modules, available syntax, and occasionally npm's own behavior. Pin it explicitly:
- Add an
enginesfield topackage.jsonto declare the supported Node/npm range. - Commit an
.nvmrc(or.node-version) so local shells and CI resolve the same version.
{
  "engines": {
    "node": ">=20 <21",
    "npm": ">=10"
  }
}
Without a pinned version, works on my machine
creeps back in through the runtime rather than the dependencies — a build box on Node 18 and a developer on Node 22 can produce genuinely different results.
6. Choosing a Package Manager
npm is the default, but it isn't the only option — Yarn, pnpm, and Bun each have a strict, lockfile-frozen install mode built for CI (yarn install --immutable, pnpm install --frozen-lockfile, bun install --frozen-lockfile). The CI principles in this guide apply identically to all of them; only the commands change. If you're weighing install speed, disk usage, and ecosystem maturity, our benchmarked comparison of npm vs Yarn vs pnpm vs Bun breaks down the trade-offs.
Whatever you choose, standardize on one package manager per repo and commit only its lockfile — mixing package-lock.json and yarn.lock produces inconsistent installs.
7. Deploy the Verified Build
The payoff of a disciplined npm pipeline is a deploy you can trust: because npm ci installed the exact locked tree and your tests passed against it, the artifact you ship is the artifact you verified. Connect your repository and let the pipeline run install → test → build → deploy on every push. If your code lives on GitHub or GitLab, DeployHQ pulls the repo, runs your npm build in a clean environment, and deploys the output — with a full history and rollback if a build ever goes wrong.
Common npm CI/CD Pitfalls
- Running
npm installin CI. It can rewrite the lockfile mid-build, so production drifts from what you tested. Usenpm ci. - Caching
node_modulesinstead of the npm cache. Restored native modules break across Node versions and platforms. Cache the tarball cache (~/.npm) instead. - Keying the cache on a branch name. Key it on the
package-lock.jsonhash so the cache refreshes exactly when dependencies change. - Letting
npm auditrun without a threshold. A build that fails on every low-severity transitive advisory gets ignored. Set--audit-level. - Not pinning the Node version. The runtime is part of reproducibility, not just the dependencies.
Bringing It Together
A reliable Node.js pipeline is really just these stages done consistently: install with npm ci, cache the download, test and build, audit against a sensible threshold, pin your runtime, and deploy the verified result. Each is a small decision, but together they're the difference between it built
and it built the same way it will in production.
Deploy your Node.js app with DeployHQ — run npm ci, your tests, and your build on every push, then deploy automatically to your servers. See how the build pipeline turns verified code into a deployable result.
Questions about setting up a Node.js pipeline? Reach out at support@deployhq.com or on X (@deployhq).