
Deploy Jekyll Website with DeployHQ
DeployHQ automates the process of building and deploying your Jekyll sites, so you can push to your repository and have your changes live without manual intervention. When you push to your chosen branch, DeployHQ pulls your code, runs your build pipeline to generate the static site, and uploads only the changed files to your server — saving time and reducing the risk of manual errors.
Jekyll generates a static site — plain HTML, CSS, and JavaScript files — which means no server-side runtime is required on the destination server. This makes deployment simpler than dynamic frameworks: any web server capable of serving static files will work.
Deploying with DeployHQ
Create a project
Start by creating a new project in DeployHQ and connecting it to your Jekyll repository. DeployHQ supports GitHub, GitLab, Bitbucket, and self-hosted Git servers. If you need help connecting your repository, see (Article: #7).
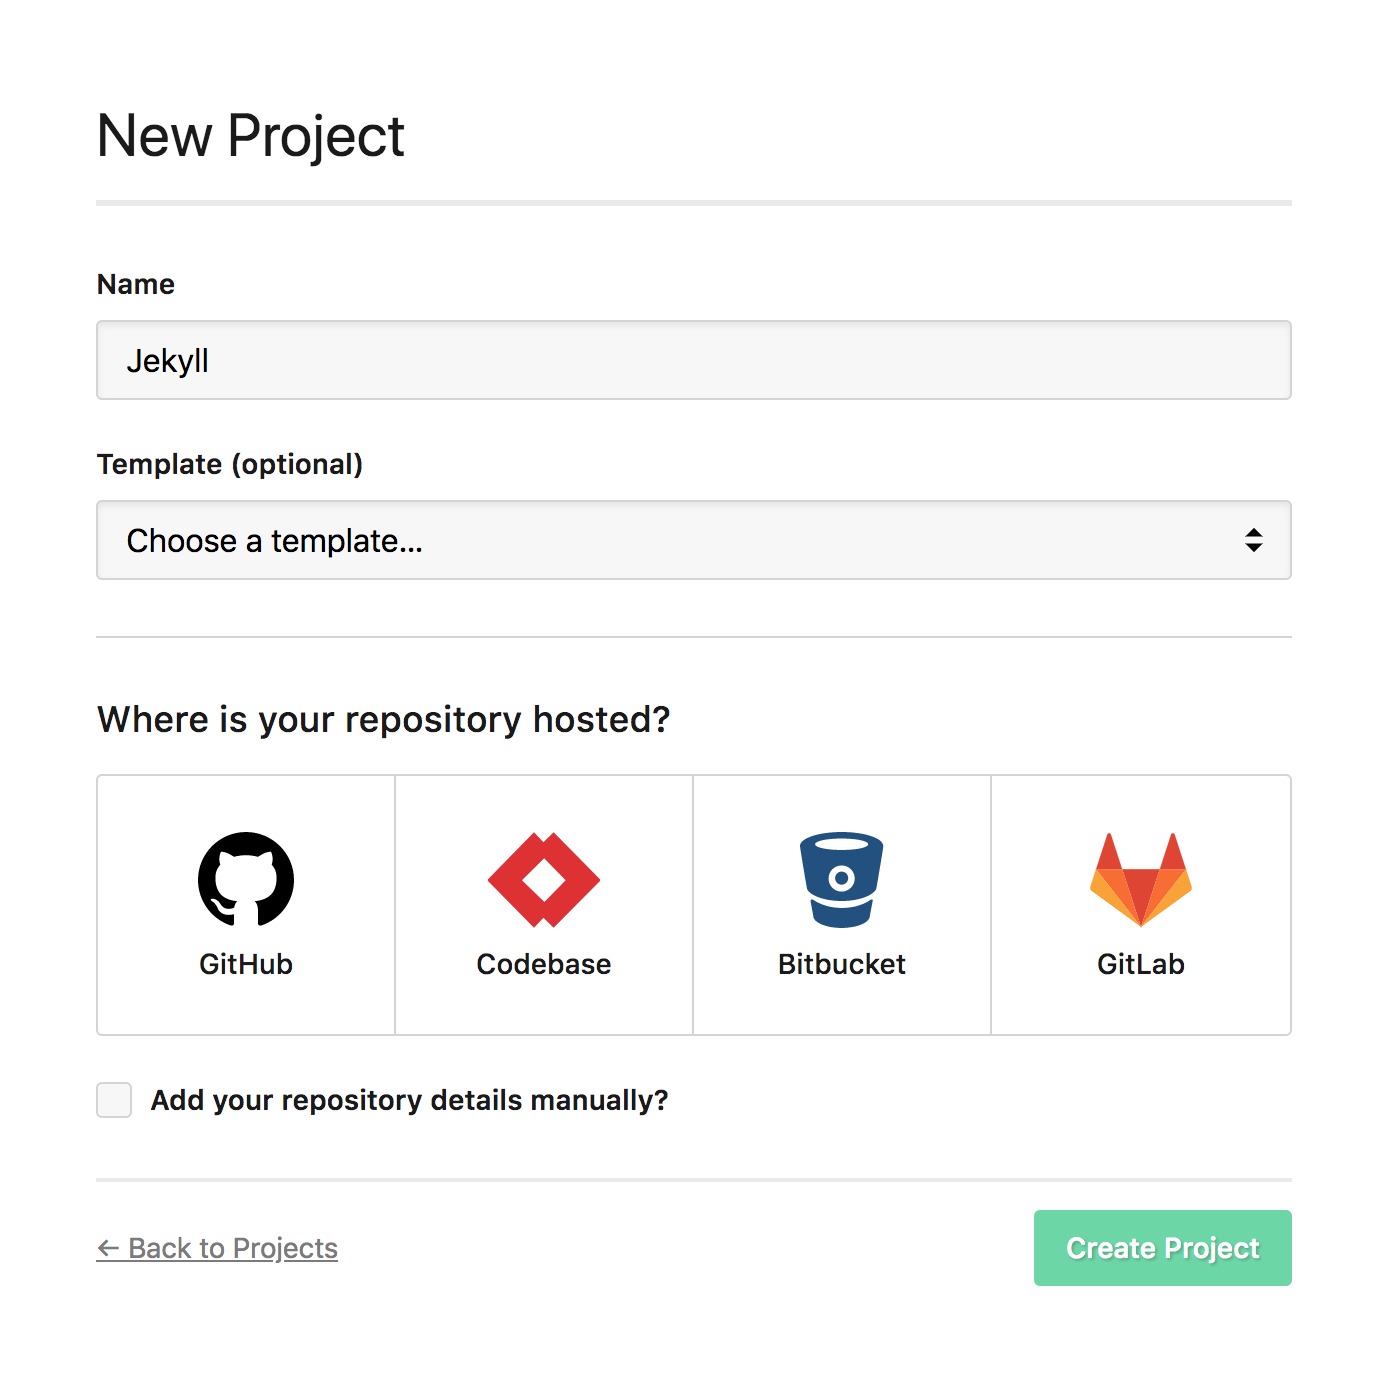
Once your project is created, you can find full guidance on the process at our support page.
Configure a server
Next, add a deployment server — this is the destination where your built Jekyll site will be uploaded. Because Jekyll outputs static files, you have a number of protocol options depending on your hosting environment:
- FTP — suitable for basic shared hosting (Article: #31)
- FTPS — FTP with TLS encryption (Article: #33)
- SSH/SFTP — recommended for VPS and dedicated servers; provides secure, authenticated transfers (Article: #29)
- Amazon S3 — ideal if you host your static site on S3 or CloudFront (Article: #35)
- Rackspace Cloud Files — for Rackspace-hosted sites (Article: #37)
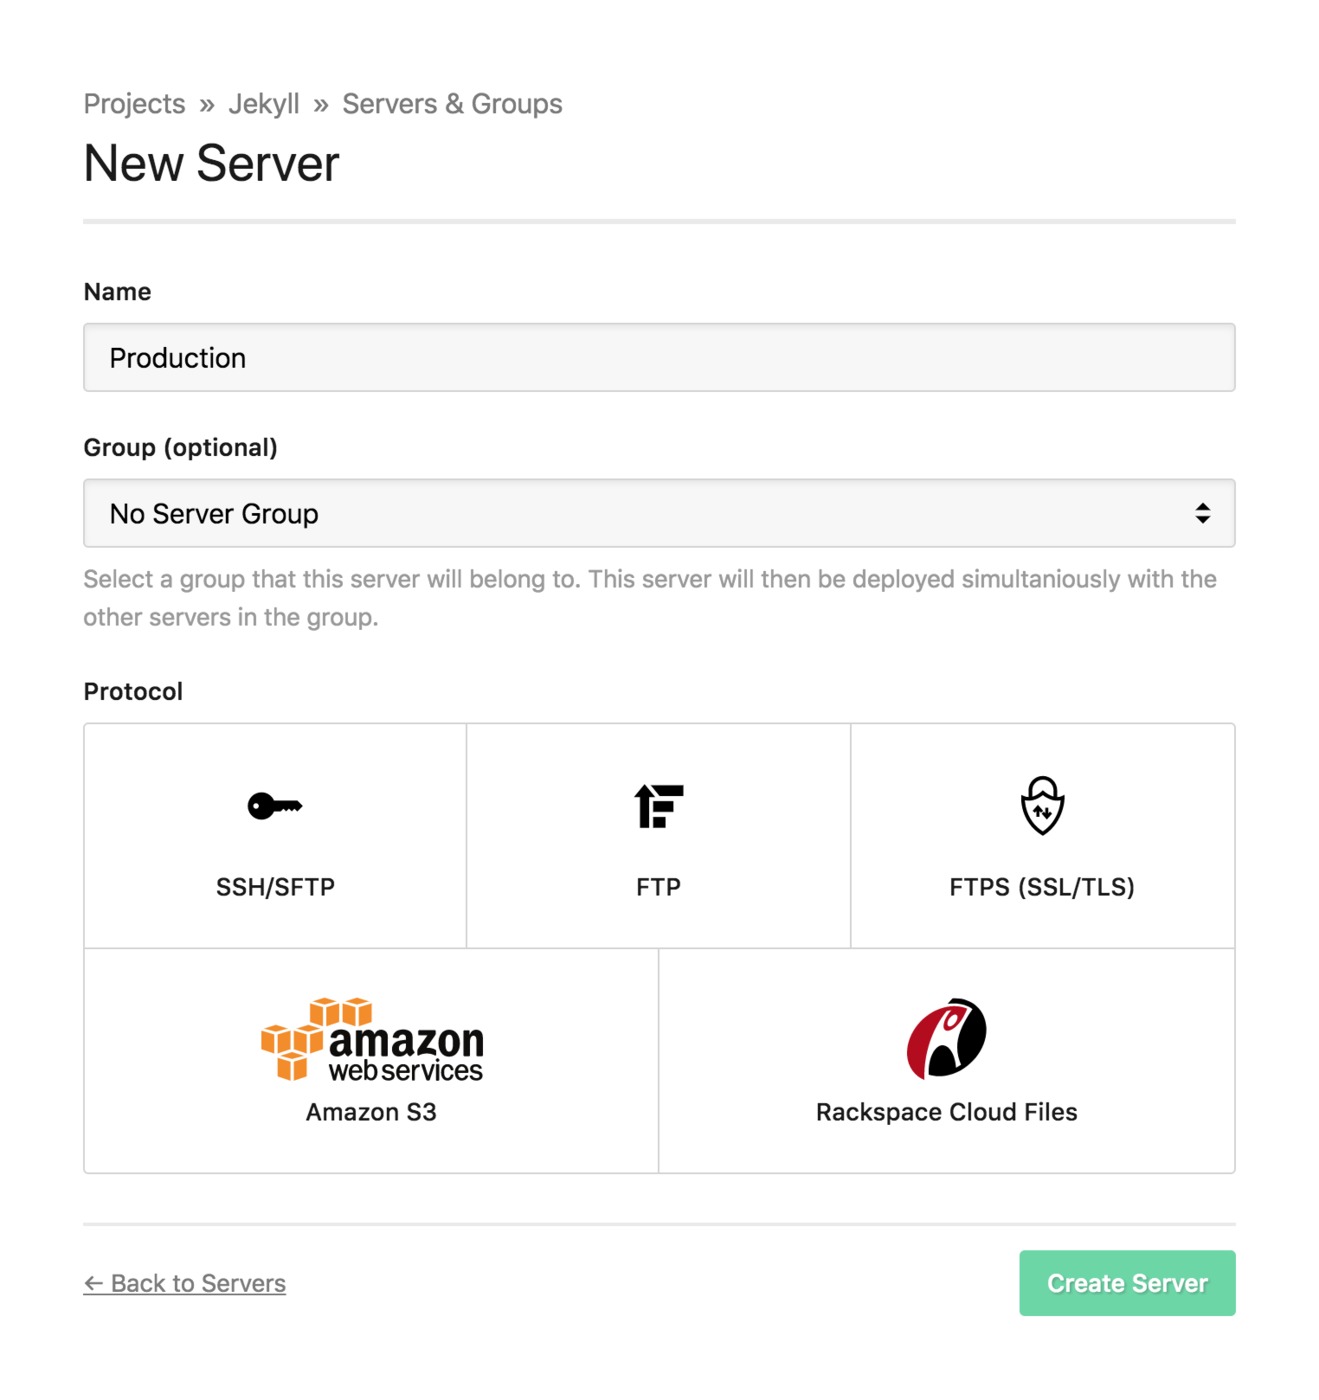
For most setups, SSH/SFTP is the recommended choice as it provides secure file transfers and is widely supported. If you run into connection issues after adding your server, (Article: #27) covers common troubleshooting steps.
Build pipeline
Jekyll sites must be built before deployment — your repository contains source files, and DeployHQ needs to compile them into the static site before uploading anything to your server.
In your project's Build Pipeline settings, add the following build commands:
bundle config set deployment true
bundle install
JEKYLL_ENV=production bundle exec jekyll build
Here is what each command does:
bundle config set deployment true— configures Bundler to install gems into a localvendor/bundledirectory within the project, rather than the system gem path. This is important for consistent, reproducible builds in CI/CD environments.bundle install— installs all gems listed in yourGemfile, including Jekyll itself and any plugins. Plugins are installed automatically at this step — no manual intervention needed.JEKYLL_ENV=production bundle exec jekyll build— builds your site with theJEKYLL_ENVenvironment variable set toproduction. This causes Jekyll to exclude draft posts, respectpublished: falsefront matter, and allows your templates to conditionally include production-only content (such as analytics scripts).
DeployHQ's build environment comes with Ruby pre-installed. Jekyll 4.3 and above requires Ruby 2.7 or higher, which is available in the build environment.
If you have environment-specific configuration, you can use Jekyll's multiple config file feature to layer settings on top of your base _config.yml:
JEKYLL_ENV=production bundle exec jekyll build --config _config.yml,_config_production.yml
Values in _config_production.yml will override matching keys in _config.yml, letting you manage things like base URLs or analytics settings without modifying your main configuration file.
Build caching
To speed up your builds, configure DeployHQ to cache your Bundler dependencies between deployments. Add the following path to your build cache configuration:
vendor/**
With this in place, the gems installed by bundle install are preserved between builds. On subsequent deployments, Bundler only fetches gems that have changed or been added, which can significantly reduce build times on projects with many dependencies.
Deployment subdirectory
Jekyll outputs the compiled site to the _site directory by default. You should configure DeployHQ to deploy from this subdirectory rather than from the root of your repository — otherwise your source files, Gemfile, _config.yml, and other non-web assets would be uploaded alongside your built site.
In your server configuration, set the Deployment Subdirectory to:
_site
Only the contents of _site will be transferred to your server, keeping your deployment clean.
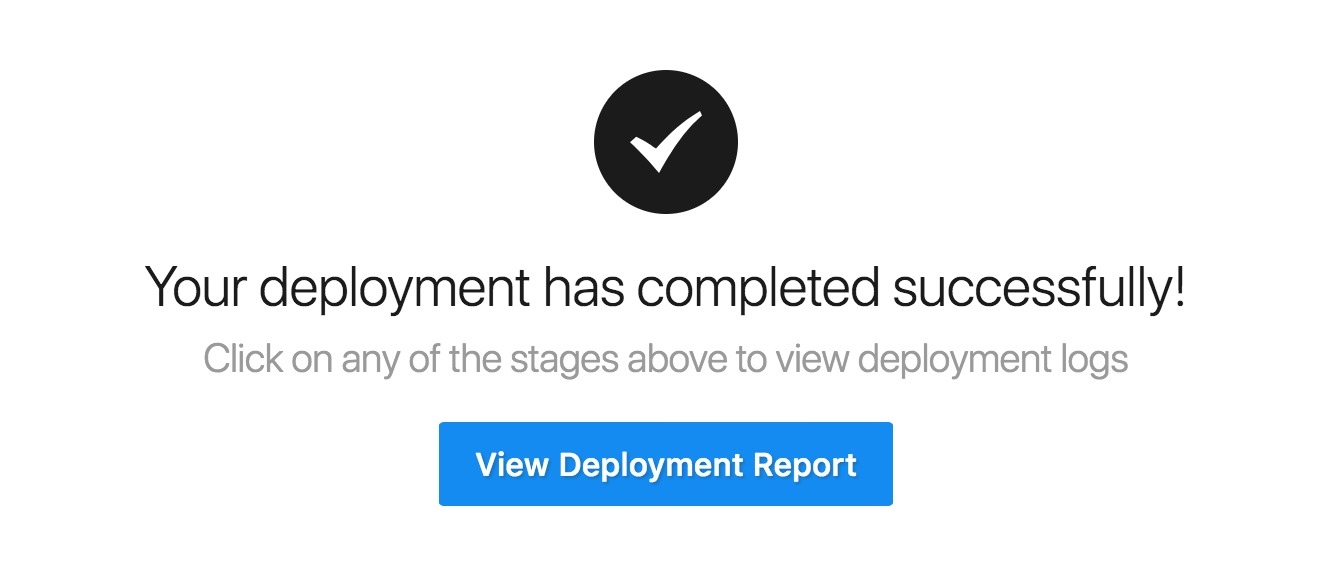
Deploy
With your server and build pipeline configured, trigger your first deployment. DeployHQ will:
- Clone your repository at the specified branch
- Run the build pipeline commands to compile the Jekyll site
- Upload the contents of
_siteto your server
On subsequent deployments, DeployHQ compares file checksums and transfers only the files that have changed, keeping deployments fast even on large sites.
A note on GitHub Pages: GitHub Pages has built-in Jekyll support and can build and serve Jekyll sites directly from a repository. However, it restricts which plugins you can use and limits your control over the build process. Deploying with DeployHQ gives you full control over the build environment, lets you use any plugins in your Gemfile, and allows you to deploy to any server or hosting provider — not just GitHub's infrastructure.
For more deployment guides covering other frameworks and languages, visit our guides library.