A headless CMS deployment is two applications, not one — a backend that serves content via API, and a separate frontend that renders it. That sounds simple until you discover that they have different repositories, different build steps, different change cadences, and need to coordinate via webhooks. This guide covers exactly how to deploy the four most common platforms (Strapi, Ghost, Payload CMS, and SaaS frontends with Contentful or Sanity) using DeployHQ — including the zero-downtime, webhook, and secrets handling that the official quickstarts skip.
If you are choosing between CMS architectures first, read traditional vs. headless vs. hybrid CMS. If you are still deciding where to host the backend, our VPS 101 guide covers the trade-offs.
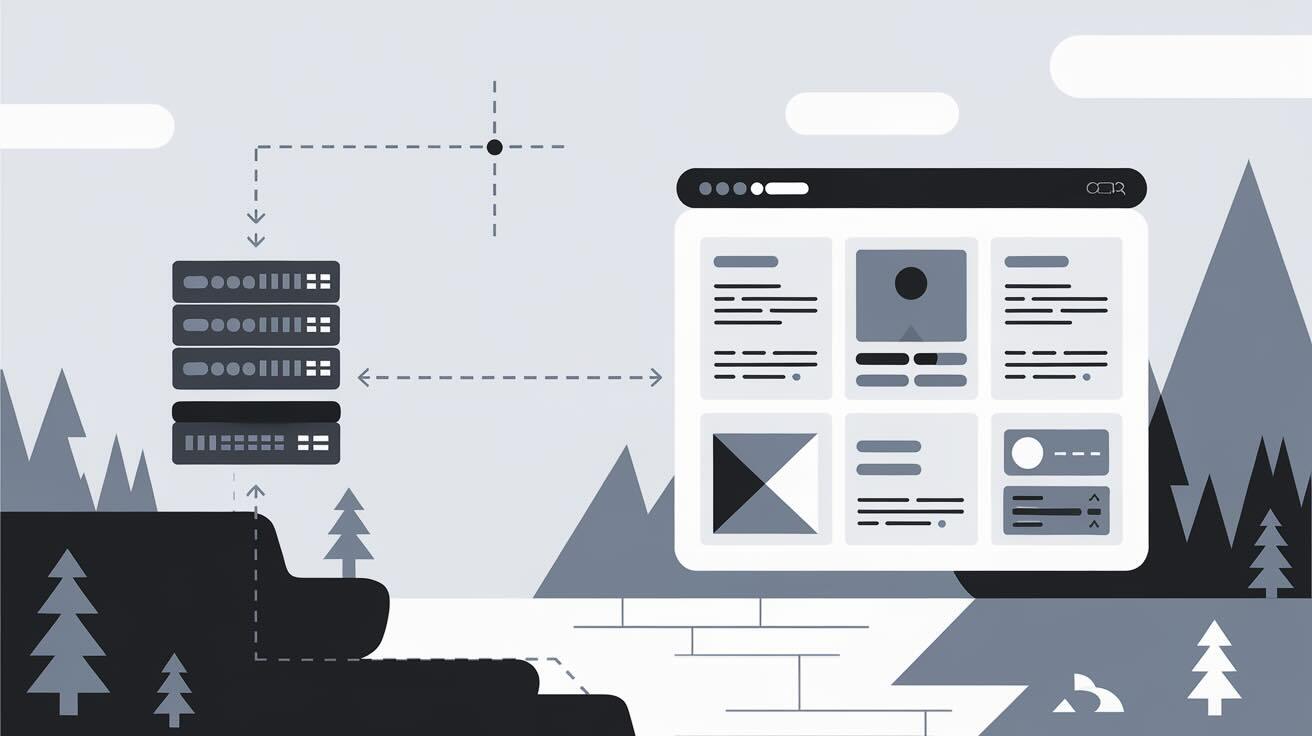
Headless CMS deployment architecture
Every headless CMS deployment has the same shape: a backend that serves content via API, a frontend that consumes it, and webhooks that connect them.
flowchart LR
    A[Content authors] --> B[CMS backend]
    B -->|REST or GraphQL API| C[Frontend app]
    C --> D[Users]
    B -->|Webhook on publish| E[Rebuild trigger]
    E --> C
The deployment implications:
- Two independent deployments. The CMS backend and the frontend are separate applications with separate repositories, build steps, and servers.
- Different change cadences. Content changes happen in the CMS (no code deploy needed). Code changes require deploying the frontend, the backend, or both.
- Webhook-driven rebuilds. For static frontends (Next.js static export, Astro, Hugo), a CMS webhook triggers a frontend rebuild when content is published.
How you deploy each piece depends on whether your CMS is self-hosted or SaaS.
Self-hosted vs. SaaS: what you deploy
| Self-hosted | SaaS | |
|---|---|---|
| CMS backend | You deploy and maintain | Hosted by the vendor |
| Frontend | You deploy | You deploy |
| Database | You manage | Vendor manages |
| Deployments needed | Two (backend + frontend) | One (frontend only) |
| Examples | Strapi, Ghost, Payload CMS | Contentful, Sanity, Hygraph |
With a SaaS CMS, you only deploy the frontend — the vendor handles the backend infrastructure. With a self-hosted CMS, you deploy both, which is more work but gives you full control and no per-seat pricing. If self-hosting is the route, see the easiest way to deploy on a VPS for the trade-off comparison between manual deploys, GitHub Actions, and DeployHQ.
Deploying Strapi with DeployHQ
Strapi is the most popular open-source headless CMS. It runs on Node.js and serves content via REST and GraphQL APIs. Here is how to deploy it to a VPS using DeployHQ.
Prerequisites
- A VPS with Node.js 18+ installed (Ubuntu 22.04 recommended)
- A Strapi project in a Git repository
- A DeployHQ account (sign up free)
Server setup
Create a dedicated deployment user on your server. This keeps deployments isolated from other system processes:
sudo adduser deployhq
sudo usermod -a -G www-data deployhq
Set up SSH key authentication for the deployment user:
su - deployhq
mkdir -p ~/.ssh && chmod 700 ~/.ssh
nano ~/.ssh/authorized_keys
# Paste DeployHQ's public key, then save
chmod 600 ~/.ssh/authorized_keys
DeployHQ configuration
1. Create a new project in DeployHQ and connect your Strapi repository.
2. Add a server under Servers > New Server:
- Protocol: SSH/SFTP
- Hostname: your server's IP address
- Username:
deployhq - Authentication: SSH key
- Deployment path:
/var/www/your-strapi-project - Enable zero-downtime deployments — this stages the new version in a separate directory and swaps a symlink when the deployment completes, so the API never serves a partially-deployed state
3. Upload sensitive configuration via Config Files > New Config File. Paste your .env contents (database credentials, API keys, JWT secrets) so they are injected on each deploy without being committed to Git.
SSH commands
Add these as post-deployment SSH commands in order:
# Install production dependencies
cd %path% && npm install --production

# Build the Strapi admin panel
cd %path% && NODE_ENV=production npm run build

# Restart the application via PM2
pm2 restart strapi-app
If you are using PM2, update its configuration to point to the current symlink directory so it always runs the latest deployment:
pm2 start /var/www/your-strapi-project/current/server.js --name strapi-app
4. Deploy. Push to your main branch and DeployHQ handles the rest — transferring files, running the build, and restarting the process. Every subsequent push triggers an automatic deployment.
If you would rather run Strapi as a Docker container alongside the rest of your infrastructure, the same pattern from our Docker fundamentals guide applies — wrap Strapi in a Dockerfile, push to a registry, and have DeployHQ pull on the VPS.
Deploying Ghost with DeployHQ
Ghost is a publishing-focused headless CMS with a clean editor and built-in newsletter support. It runs on Node.js and serves content via a REST API. We have a dedicated Ghost CMS deployment guide with step-by-step setup; here is the summary.
What makes Ghost different
Ghost has a tighter coupling between its admin interface and content delivery than Strapi or Payload. The Ghost application serves both the API and an optional built-in frontend (the theme layer
). You can use it headless by ignoring the theme layer and fetching content via the Content API.
Deployment approach
Self-hosted Ghost deploys similarly to Strapi:
1. Store your Ghost custom theme (if using one) and configuration in Git. Do not commit the Ghost core — install it on the server via ghost-cli.
2. Configure DeployHQ to deploy your theme and configuration files to the Ghost installation directory.
3. Post-deployment SSH command to restart Ghost:
cd /var/www/ghost && ghost restart
4. For the headless frontend (a separate Next.js or Astro app consuming the Ghost Content API), set up a second DeployHQ project pointing to the frontend repository. Deploy it independently.
Ghost Content API webhook
Configure Ghost to fire a webhook when content is published. In Ghost Admin, go to Settings > Integrations > Add custom integration and set up a webhook pointing to your CI/CD pipeline or DeployHQ's auto-deploy webhook. This triggers a frontend rebuild whenever editors publish content.
Deploying Payload CMS with DeployHQ
Payload CMS is a TypeScript-native headless CMS that runs on Node.js. It is code-first — you define your content schema in TypeScript files rather than through a GUI.
What makes Payload different
Payload runs as part of your application rather than as a separate service. You import Payload into your Express or Next.js application and it serves the admin panel and API from within your app. This means you deploy a single application, not a separate CMS backend.
Deployment approach
Since Payload is embedded in your application, the deployment is a standard Node.js deployment:
1. Store the entire application (including Payload configuration) in Git.
2. Configure DeployHQ with SSH commands:
# Install dependencies
cd %path% && npm install --production

# Build the application (includes Payload admin panel)
cd %path% && npm run build

# Run database migrations
cd %path% && npm run payload migrate

# Restart the application
pm2 restart payload-app
3. Enable zero-downtime deployments so the symlink swap happens after the build completes.
The simplicity of Payload's deployment model is one of its strengths — you do not need to coordinate two separate deployments.
Deploying a SaaS CMS frontend (Contentful / Sanity + Next.js)
When using a SaaS headless CMS, the backend is fully managed. You only deploy the frontend application that consumes the API. Here is the workflow for a Next.js frontend with Contentful or Sanity.
Deployment approach
1. Store your Next.js application in Git. API keys and CMS configuration go in environment variables, not in code.
2. Configure DeployHQ:
- Connect the frontend repository
- Add a server (VPS via SSH, or configure deployment to your hosting platform)
- Upload a
.envconfig file with your CMS API keys:
CONTENTFUL_SPACE_ID=your_space_id
CONTENTFUL_ACCESS_TOKEN=your_access_token
NEXT_PUBLIC_SITE_URL=https://yoursite.com
3. SSH commands for the build:
# Install dependencies
cd %path% && npm install

# Build the Next.js application
cd %path% && npm run build

# Restart the application
pm2 restart nextjs-app
Webhook-triggered rebuilds
The key difference with SaaS CMS platforms: content changes happen in the vendor's system, not in your Git repository. To rebuild the frontend when content changes:
1. In your CMS dashboard (Contentful, Sanity, or Hygraph), create a webhook that fires on content publish events.
2. Point the webhook at DeployHQ's auto-deploy endpoint. Every content publish triggers a fresh build and deployment of the frontend.
3. For static exports (Next.js output: 'export', Astro), this is especially important — the HTML is generated at build time, so content changes are not visible until the next build.
For server-rendered Next.js applications, content changes appear immediately (the app fetches from the API at request time), so webhooks are only needed if you use Incremental Static Regeneration or fully static pages.
Environment variables and secrets
Every headless CMS deployment involves secrets: database credentials, API keys, JWT tokens, CMS access tokens. How you manage them matters.
Do not commit secrets to Git. Use DeployHQ's Config Files feature to inject environment variables during deployment. Upload your .env file contents once, and they are placed on the server with every deploy.
Separate secrets by environment. Staging and production should use different database credentials, API keys, and CMS spaces. Configure separate servers in DeployHQ, each with its own config files.
Rotate secrets regularly. When you rotate a database password or API key, update the Config File in DeployHQ and redeploy. The new secrets take effect on the next deployment.
Staging environments
Test deployments before they reach production. Set up a staging environment that mirrors production:
1. Create a second server in DeployHQ pointing to your staging VPS or environment.
2. Configure staging-specific environment variables (staging database, staging CMS space or API key).
3. Deploy to staging first. Verify the build, test API connectivity, and confirm content renders correctly.
4. Once validated, deploy the same revision to production.
For SaaS CMS platforms, most vendors support multiple environments or spaces (Contentful spaces, Sanity datasets). Use a separate space for staging content so test content never leaks to production.
Platform comparison
| Strapi | Ghost | Payload | SaaS + Next.js | |
|---|---|---|---|---|
| Hosting | Self-hosted | Self-hosted or Ghost Pro | Self-hosted | CMS is managed |
| Deployments | 2 (backend + frontend) | 2 (Ghost + frontend) | 1 (embedded) | 1 (frontend only) |
| Build step | npm run build | ghost restart | npm run build | npm run build |
| Database | PostgreSQL / MySQL / SQLite | MySQL | MongoDB / PostgreSQL | Managed by vendor |
| API | REST + GraphQL | REST | REST + GraphQL | Vendor-specific |
| Best for | Custom content models | Publishing + newsletters | TypeScript teams | Teams avoiding infra |
Common deployment mistakes
Deploying CMS and frontend from the same repository. Keep them separate. They have different build steps, different deployment targets, and different change frequencies. Coupling them means every content model change forces a frontend deploy and vice versa.
Hardcoding API URLs. Use environment variables for the CMS API endpoint. Staging should point to a staging CMS instance, production to production. Hardcoded URLs make environment switching impossible.
Skipping zero-downtime deployments. A headless CMS API serves live requests. If you deploy files directly without atomic deploys, the API may serve requests during the build step when node_modules are incomplete or the admin panel is half-built. Always use atomic deploys with symlink swapping — covered in our zero-downtime deployments overview.
Not testing webhook-triggered rebuilds. A webhook that works in development may fail in production due to network configuration, authentication, or timeout settings. Test the full webhook flow — content publish to CMS webhook to DeployHQ trigger to build to deploy — in staging before relying on it.
Running the build on a server with insufficient memory. Strapi and Next.js builds can consume 1-2 GB of RAM. If your VPS has only 1 GB, the build will fail silently or get killed by the OOM killer. Use a VPS with at least 2 GB of RAM for builds, or offload the build step to a CI/CD pipeline and deploy only the compiled output.
Where to learn more
- Self-hosting on a VPS: self-host Paperclip with Docker and n8n on Alibaba Cloud Linux 3 walk through the same Docker-based deployment pattern that works for any Node.js CMS backend.
- Setting up Git deploys: Git-based deployment on a VPS covers the SSH user, deploy keys, and directory structure that this article assumes.
- Choosing a deployment approach: the easiest way to deploy on a VPS compares manual SSH, Capistrano, GitHub Actions, custom CI, and DeployHQ for production CMS workloads.
FAQs
How many deployments do I need for a headless CMS?
It depends on whether your CMS is self-hosted or SaaS. Self-hosted CMS platforms (Strapi, Ghost, Payload) require deploying the CMS backend and the frontend separately — two deployments. SaaS CMS platforms (Contentful, Sanity) handle the backend for you, so you only deploy the frontend — one deployment. Payload is an exception: because it embeds in your application, you deploy a single application.
How do content changes trigger a new deployment?
Through webhooks. Most headless CMS platforms can fire an HTTP request when content is published. You point that webhook at DeployHQ's auto-deploy endpoint, and it triggers a frontend rebuild. For server-rendered applications (Next.js with SSR), content changes appear immediately without redeployment because the app fetches fresh data from the API on each request.
Can I deploy a headless CMS to shared hosting?
Generally no. Self-hosted headless CMS platforms (Strapi, Ghost, Payload) require Node.js and a persistent process, which most shared hosting does not support. You need at minimum a VPS or a container platform — see our VPS 101 guide for what to look for. SaaS CMS frontends can potentially be deployed as static files to shared hosting if you use static site generation.
Do I need separate staging and production environments?
Yes, strongly recommended. A staging environment lets you test deployments, verify API connectivity, and catch build errors before they affect users. In DeployHQ, this is as simple as creating a second server configuration with staging-specific environment variables and deploying there first.
What happens if the CMS API goes down?
For server-rendered applications, the frontend cannot fetch content and will either show errors or cached content (depending on your error handling). For statically-generated sites, the last successful build remains live — visitors see the content as it was at build time, unaffected by API outages. This is one of the resilience advantages of the static approach.
Ready to deploy your headless CMS? Sign up for DeployHQ and connect your repository. Self-hosted or SaaS, Strapi or Ghost — DeployHQ handles the deployment so you can focus on building. Pricing is on the plans page; for agencies running CMS deployments across multiple clients, the agency plan covers unlimited team members.
For help setting up your deployment pipeline, reach out at support@deployhq.com or find us on X (@deployhq).