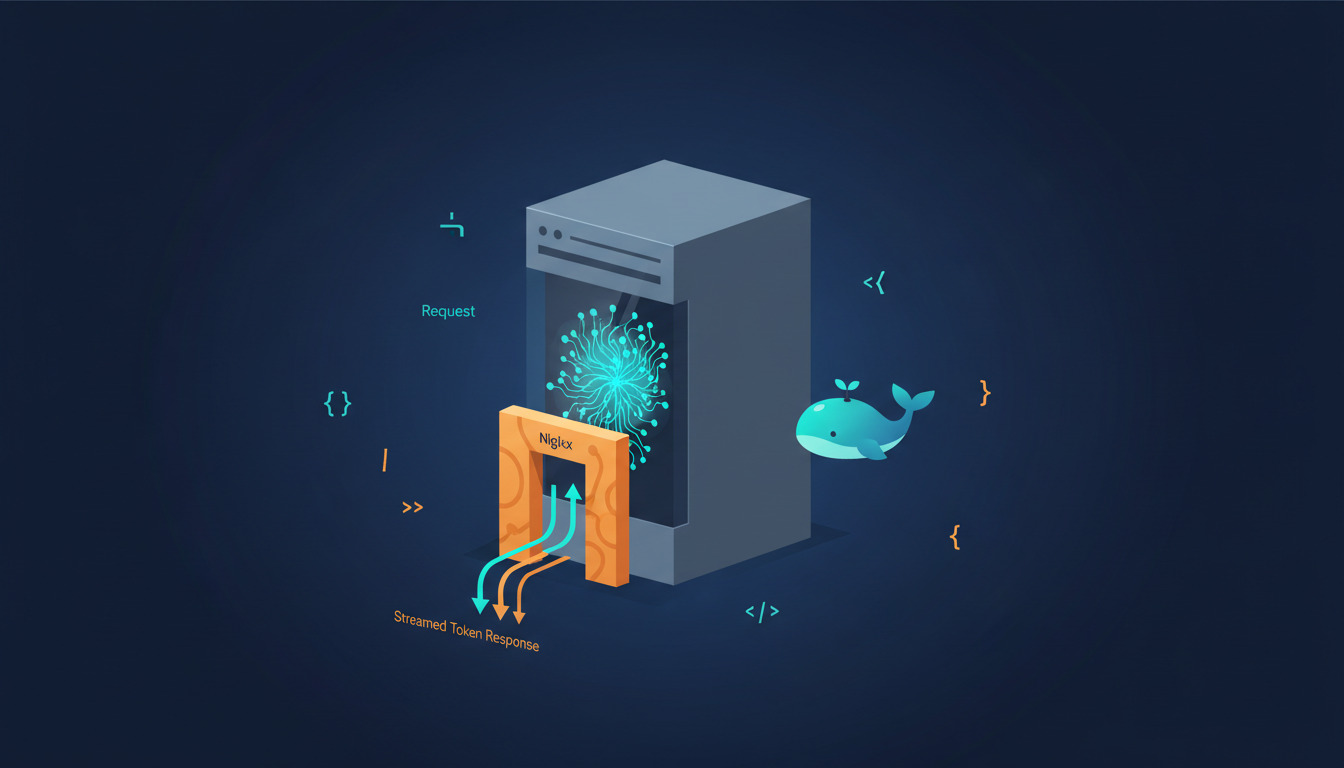
Running large language models like DeepSeek-R1 on your own VPS or cloud server gives you control over data, predictable costs, and the ability to fine-tune the runtime — none of which are guaranteed when you call a hosted API. This guide walks through self-hosting DeepSeek with Ollama on Ubuntu 24.04, putting it behind an Nginx reverse proxy, and wiring up automated deployments so configuration and supporting services ship from Git rather than manual SSH sessions.
If you have already deployed generative AI models with Ollama and Open WebUI, the workflow below will look familiar — DeepSeek slots into the same Ollama pipeline as Llama 3, Mistral, or Phi.
What you will end up with
- DeepSeek-R1 running locally via Ollama, no third-party API calls
- An Nginx reverse proxy with TLS so the model is only reachable over HTTPS
- Open WebUI as a browser-based chat interface
- A Git-backed configuration repo deployed via DeployHQ — every Nginx vhost, systemd unit, and
Modelfilechange is versioned, reviewable, and rollback-able
Hardware sizing: don't skip this
DeepSeek-R1 ships in several sizes. Picking the wrong one is the most common failure mode for self-hosted LLMs — the model loads, then crashes mid-generation when the kernel OOM-kills the process.
| Model | Quantized weights | Min RAM (CPU only) | VRAM (GPU) | Realistic tokens/sec |
|---|---|---|---|---|
deepseek-r1:1.5b |
~1.1 GB | 4 GB | 2 GB | 20–40 (CPU), 80+ (GPU) |
deepseek-r1:7b |
~4.7 GB | 16 GB | 8 GB | 5–12 (CPU), 40–60 (GPU) |
deepseek-r1:14b |
~9 GB | 32 GB | 12 GB | 2–4 (CPU), 25–35 (GPU) |
deepseek-r1:32b |
~20 GB | 64 GB | 24 GB | <1 (CPU), 15–25 (GPU) |
deepseek-r1:70b |
~43 GB | 128 GB | 48 GB+ | unusable on CPU, 10–18 (GPU) |
A few rules of thumb from running these in production:
- CPU-only is fine for
1.5band7bif you accept ~10 tok/s. Anything larger needs a GPU to be usable interactively. - Reserve at least 2 GB of RAM for the OS and Nginx on top of the model footprint. A 16 GB box running
7bwith no headroom will swap and feel broken. - NVMe storage matters — first-token latency is bounded by how fast Ollama can mmap the weights. SATA SSDs add 2–5 seconds to cold-start latency.
- For a contained experiment, a 4 vCPU / 16 GB / NVMe VPS in the $25–40/mo range will run
deepseek-r1:7bfine. Production workloads with multiple concurrent users belong on a GPU instance or scaled-out CPU pool.
Prerequisites
- A VPS or cloud instance running Ubuntu 24.04 (sized per the table above)
- Root or
sudoaccess - A domain name pointing at the server (required for HTTPS)
- A Git repository for your configuration files
- A DeployHQ account
Step 1: Initial server hardening
SSH into the server:
ssh root@your-server-ip
Update packages and install essentials:
apt update && apt upgrade -y
apt install -y python3 python3-pip git ufw nginx certbot python3-certbot-nginx fail2ban
Configure the firewall — note that Ollama's default port 11434 is intentionally not opened to the internet. We expose Open WebUI on 443 via Nginx and keep Ollama on localhost.
ufw allow OpenSSH
ufw allow 80/tcp
ufw allow 443/tcp
ufw --force enable
Create a non-root deploy user:
adduser --disabled-password --gecos "" deploy
usermod -aG sudo deploy
mkdir -p /home/deploy/.ssh
chmod 700 /home/deploy/.ssh
touch /home/deploy/.ssh/authorized_keys
chmod 600 /home/deploy/.ssh/authorized_keys
chown -R deploy:deploy /home/deploy/.ssh
You will paste DeployHQ's deployment public key into /home/deploy/.ssh/authorized_keys in Step 5. See the Git-based deployment guide for the underlying workflow.
Step 2: Install Ollama
curl -fsSL https://ollama.com/install.sh | sh
ollama --version
The installer creates a ollama systemd service that listens on 127.0.0.1:11434. Verify it is up:
systemctl status ollama
curl http://127.0.0.1:11434/api/tags
The second command should return {"models":[]} — empty, but reachable. If it doesn't, check journalctl -u ollama -n 50.
Pin the Ollama version (optional but recommended)
Ollama ships breaking changes in minor releases. For production, pin the version in /etc/systemd/system/ollama.service.d/override.conf:
[Service]
ExecStart=
ExecStart=/usr/local/bin/ollama serve
Environment="OLLAMA_KEEP_ALIVE=24h"
Environment="OLLAMA_NUM_PARALLEL=2"
OLLAMA_KEEP_ALIVE=24h keeps the model loaded in RAM (avoids re-loading on every request — saves 5–30 seconds per cold call). OLLAMA_NUM_PARALLEL=2 allows two concurrent generations; raise it only if you have RAM headroom.
Reload and restart:
systemctl daemon-reload
systemctl restart ollama
Step 3: Pull DeepSeek-R1
Pick the size that fits your hardware (see sizing table above):
# 7B is the sweet spot for a 16 GB CPU-only VPS
ollama pull deepseek-r1:7b

# Verify
ollama list
ollama run deepseek-r1:7b "Explain Git rebase in two sentences."
The first run downloads 4.7 GB. Subsequent calls are local.
Optional: tune generation defaults with a Modelfile
Create ~/deepseek.Modelfile:
FROM deepseek-r1:7b
PARAMETER temperature 0.7
PARAMETER num_ctx 8192
PARAMETER repeat_penalty 1.1
SYSTEM "You are a concise technical assistant. Prefer code and bullet points."
Build and use it:
ollama create deepseek-tech -f ~/deepseek.Modelfile
ollama run deepseek-tech "Show me a Python decorator for retries."
This Modelfile lives in your Git repo and ships via DeployHQ along with everything else.
Step 4: Open WebUI behind Nginx
Open WebUI is the browser-based chat client. Run it under a dedicated user inside a Python virtualenv so system packages don't conflict.
python3 -m venv /opt/openwebui
/opt/openwebui/bin/pip install --upgrade pip
/opt/openwebui/bin/pip install open-webui
Create a systemd unit at /etc/systemd/system/openwebui.service:
[Unit]
Description=Open WebUI
After=network.target ollama.service

[Service]
Type=simple
User=deploy
Environment="OLLAMA_BASE_URL=http://127.0.0.1:11434"
Environment="WEBUI_AUTH=true"
ExecStart=/opt/openwebui/bin/open-webui serve --host 127.0.0.1 --port 8080
Restart=on-failure

[Install]
WantedBy=multi-user.target
systemctl daemon-reload
systemctl enable --now openwebui
WEBUI_AUTH=true forces account creation on first visit — do not skip this. Without it, anyone who finds your domain can use your model and rack up your CPU time.
Nginx reverse proxy with TLS
Place a vhost at /etc/nginx/sites-available/deepseek:
limit_req_zone $binary_remote_addr zone=deepseek:10m rate=10r/s;

server {
    listen 80;
    server_name yourdomain.com;
    return 301 https://$server_name$request_uri;
}

server {
    listen 443 ssl http2;
    server_name yourdomain.com;

    # certbot fills in ssl_certificate / ssl_certificate_key

    client_max_body_size 50M;
    proxy_read_timeout 600s;
    proxy_send_timeout 600s;

    location / {
        limit_req zone=deepseek burst=20 nodelay;

        proxy_pass http://127.0.0.1:8080;
        proxy_http_version 1.1;
        proxy_set_header Upgrade $http_upgrade;
        proxy_set_header Connection "upgrade";
        proxy_set_header Host $host;
        proxy_set_header X-Real-IP $remote_addr;
        proxy_set_header X-Forwarded-For $proxy_add_x_forwarded_for;
        proxy_set_header X-Forwarded-Proto $scheme;

        # Streaming token responses need buffering off
        proxy_buffering off;
    }
}
Two non-obvious settings worth calling out:
proxy_read_timeout 600s— the default 60 seconds will cut off long-form generations on slower hardware mid-token. 10 minutes is generous and harmless.proxy_buffering off— Open WebUI streams tokens via Server-Sent Events. Default Nginx buffering breaks the streaming UX and makes the model feel slow even when it isn't.
Enable, request a cert, and reload:
ln -s /etc/nginx/sites-available/deepseek /etc/nginx/sites-enabled/
nginx -t
systemctl reload nginx
certbot --nginx -d yourdomain.com
Step 5: Automate with DeployHQ
So far every config file lives on the server. The point of Git-based deployment is that the next change — a tweaked Modelfile, a new Nginx rule, a switch from 7b to 14b — happens through a pull request, not an SSH session.
Repository layout
deepseek-host/
├── nginx/
│   └── deepseek.conf              # vhost from Step 4
├── systemd/
│   ├── openwebui.service
│   └── ollama-override.conf
├── ollama/
│   ├── deepseek.Modelfile
│   └── pull-models.sh             # idempotent: ollama pull deepseek-r1:7b
└── config/
    └── webui.env                  # OLLAMA_BASE_URL, WEBUI_AUTH, etc.
DeployHQ project setup
- In DeployHQ, create a new project and connect the repo via GitHub or GitLab.
- Add the server: hostname, deploy user (
deploy), deploy path (e.g./var/www/deepseek-config). - Paste the deployment public key (DeployHQ shows it in Servers → SSH Keys) into
/home/deploy/.ssh/authorized_keys. - Enable automatic deployments so a push to
maintriggers a deploy.
SSH commands after deploy
In the DeployHQ project, add these post-deploy SSH commands. They are idempotent — safe to run on every deploy:
# Install/refresh systemd units
sudo cp /var/www/deepseek-config/systemd/openwebui.service /etc/systemd/system/
sudo mkdir -p /etc/systemd/system/ollama.service.d/
sudo cp /var/www/deepseek-config/systemd/ollama-override.conf /etc/systemd/system/ollama.service.d/override.conf

# Install/refresh Nginx vhost
sudo cp /var/www/deepseek-config/nginx/deepseek.conf /etc/nginx/sites-available/deepseek
sudo nginx -t && sudo systemctl reload nginx

# Ensure required models are pulled
bash /var/www/deepseek-config/ollama/pull-models.sh

# Reload services with zero downtime
sudo systemctl daemon-reload
sudo systemctl restart openwebui
For a zero-downtime deployment flow on the application layer, swap restart for reload where the unit supports it (Nginx does; Open WebUI does not — but its restart is sub-second).
Monitoring: catch silent failures
LLM workloads have a specific failure mode that generic monitoring misses: the service stays up, but generations get slower and slower until they time out. Watch three things:
# 1. RAM pressure (the OOM killer is your enemy)
free -h
# Add this to a cron with alerting:
#   awk '/MemAvailable/ {if ($2 < 1000000) print "LOW MEM"}' /proc/meminfo

# 2. Ollama loaded models (should show your model warm)
curl -s http://127.0.0.1:11434/api/ps

# 3. Generation latency (cheap synthetic check every 5 minutes)
time curl -s http://127.0.0.1:11434/api/generate \
  -d '{"model":"deepseek-r1:7b","prompt":"hi","stream":false}' \
  > /dev/null
If the synthetic check exceeds 30 seconds, the model has been evicted from RAM and is reloading from disk — usually a sign you need more RAM or a longer OLLAMA_KEEP_ALIVE.
Security checklist
- Auth on Open WebUI —
WEBUI_AUTH=trueis non-negotiable for an internet-facing instance. - Rate limiting at Nginx — already in the vhost above. Tune
rate=10r/sbased on real usage. - fail2ban for SSH — installed in Step 1 with sane defaults.
- No exposed Ollama port — port 11434 should never appear in
ufw status. If it does, remove the rule. - Update model weights deliberately, not automatically —
ollama pullcan replace a model mid-request and break in-flight generations. Pull during a maintenance window and bounce Open WebUI afterwards.
What's next
- Compare DeepSeek's reasoning quality side-by-side with Mistral or a ChatGPT-style local stack — your
Modelfilemakes the swap trivial. - Read the self-hosted AI overview for the broader privacy and cost case.
- New to VPS hosting? The VPS 101 guide covers the basics.
- See DeployHQ pricing — the free tier is enough to deploy this whole stack.
Questions, or hit a snag? Email support@deployhq.com or reach out on X / Twitter.
Happy deploying!