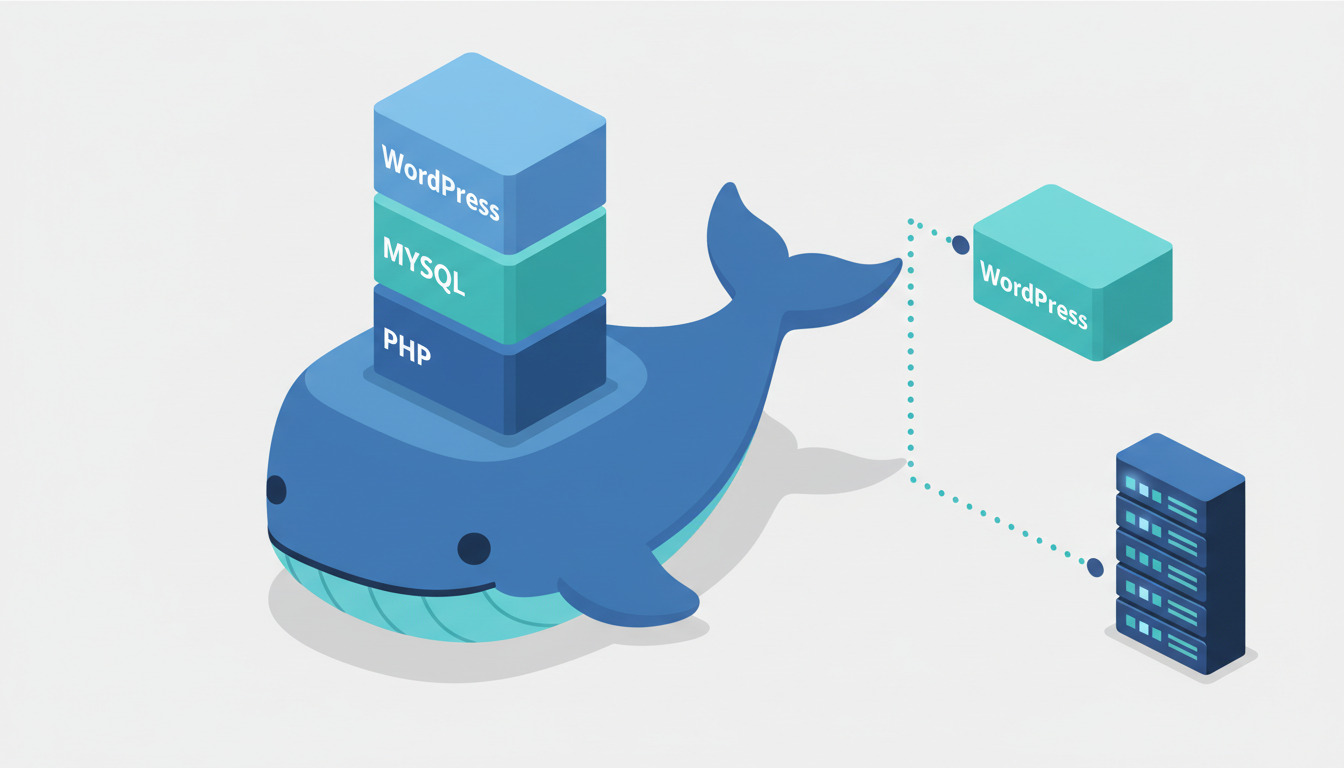
Setting up WordPress the old way meant installing PHP, a web server, and MySQL directly on your laptop, then praying the versions roughly matched whatever your host was running. They never did. A plugin that worked on your machine would throw a fatal error in production because the live server ran PHP 8.1 and you were on 8.4. Docker fixes that mismatch by packaging PHP, Apache, and the database into disposable containers you can spin up, tear down, and rebuild in seconds.
This guide covers the part most tutorials skip: running WordPress in Docker locally as your development environment, with a real docker-compose.yml you can copy today. You'll get a working WordPress + database + phpMyAdmin stack, learn how to edit themes and plugins on a mounted volume, run WP-CLI inside a container, and — once your code lives in Git — hand the production step down to an automated deployment instead of Dockerizing your live site. By the end you'll have local-to-production parity without the works on my machine
tax.
Why run WordPress in Docker locally
Local WordPress development has three chronic problems, and containers solve all three.
Environment parity. Production runs a specific PHP version, a specific MySQL or MariaDB version, and a specific set of extensions. When your local machine drifts from those versions, bugs appear only after you deploy. Pinning the same image tags locally that your host runs closes that gap. If you understand how Docker containers work, you already know the pitch: the container is the environment, so it behaves identically on your laptop, a teammate's laptop, and CI.
No global pollution. Installing PHP and MySQL system-wide means every project shares one runtime. Upgrade PHP for one client and you risk breaking another. Docker scopes everything to the project directory — delete the folder and the environment is gone, with nothing left behind in /usr/local.
Disposable, reproducible setups. A new developer clones the repo, runs one command, and has a working site in under a minute. No wiki page of setup steps that rot the moment someone bumps a version. The docker-compose.yml is the documentation, and it's executable.
The catch — and this is the part to internalize before you start — is that WordPress in Docker locally
and WordPress in Docker in production
are different projects with different tradeoffs. This guide is firmly about the first. We'll cover why you probably shouldn't Dockerize production later on.
A working docker-compose.yml for local WordPress
Here's a complete stack: WordPress (PHP + Apache), a MariaDB database, and phpMyAdmin for poking at tables. Create a project folder, drop this in as docker-compose.yml, and add a .env file alongside it.
# docker-compose.yml — local WordPress development stack
services:
  db:
    image: mariadb:11.4
    restart: unless-stopped
    environment:
      MARIADB_DATABASE: ${DB_NAME}
      MARIADB_USER: ${DB_USER}
      MARIADB_PASSWORD: ${DB_PASSWORD}
      MARIADB_ROOT_PASSWORD: ${DB_ROOT_PASSWORD}
    volumes:
      - db_data:/var/lib/mysql
    ports:
      - "3306:3306"

  wordpress:
    image: wordpress:6.7-php8.3-apache
    restart: unless-stopped
    depends_on:
      - db
    environment:
      WORDPRESS_DB_HOST: db:3306
      WORDPRESS_DB_NAME: ${DB_NAME}
      WORDPRESS_DB_USER: ${DB_USER}
      WORDPRESS_DB_PASSWORD: ${DB_PASSWORD}
      # WP_DEBUG on locally, never in production
      WORDPRESS_DEBUG: 1
    volumes:
      - wp_core:/var/www/html
      - ./wp-content/themes/my-theme:/var/www/html/wp-content/themes/my-theme
      - ./wp-content/plugins/my-plugin:/var/www/html/wp-content/plugins/my-plugin
    ports:
      - "8080:80"

  phpmyadmin:
    image: phpmyadmin:5.2
    restart: unless-stopped
    depends_on:
      - db
    environment:
      PMA_HOST: db
      UPLOAD_LIMIT: 64M
    ports:
      - "8081:80"

volumes:
  db_data:
  wp_core:
# .env — kept out of Git via .gitignore
DB_NAME=wordpress
DB_USER=wp_user
DB_PASSWORD=change-me-locally
DB_ROOT_PASSWORD=change-me-too
Start it:
# Pull images and launch in the background
docker compose up -d

# Watch the logs until WordPress finishes its first-run setup
docker compose logs -f wordpress
Open http://localhost:8080 and you'll land on the WordPress installer. phpMyAdmin is at http://localhost:8081.
What each service does
db (MariaDB). This is your database. MariaDB is a drop-in replacement for MySQL and is what many managed hosts actually run, so it's a sensible default. The db_data named volume persists your tables between restarts — without it, docker compose down would wipe your posts and settings every time. Note the environment variables use the MARIADB_ prefix; if you swap in the mysql:8.4 image instead, they become MYSQL_DATABASE, MYSQL_USER, and so on.
wordpress (PHP + Apache). The official wordpress image bundles PHP and Apache with WordPress core already installed. The tag 6.7-php8.3-apache pins all three: WordPress 6.7, PHP 8.3, Apache. Pin these to match production — that's the entire point. WORDPRESS_DB_HOST: db:3306 works because Compose puts every service on a shared network where the service name (db) resolves as a hostname.
phpmyadmin. Optional but handy — a browser UI for the database so you can inspect rows, run queries, and export dumps without a MySQL client. Drop this service entirely if you prefer the CLI.
The volume strategy that actually matters
Notice we mount wp_core (a named volume) over the whole of /var/www/html, but then bind-mount only your theme and plugin directories from the host on top of it. This is deliberate:
- WordPress core, and any plugins you install through the admin UI, live inside the named volume — you don't want those cluttering your Git repo.
- Your custom theme and plugin — the code you actually write and version — live on your host machine at
./wp-content/themes/my-themeand./wp-content/plugins/my-plugin, so your editor sees them directly and changes appear instantly in the browser.
This split keeps your repository lean: it contains only the code you author, not the tens of thousands of core files.
Working with themes and plugins on the mounted volume
Because your theme and plugin folders are bind-mounted, editing them is just editing files on your machine. Save style.css, refresh the browser, done — no rebuild, no copy step. That instant feedback loop is the day-to-day payoff of this setup.
Two gotchas bite almost everyone the first week:
File permissions and UID mismatch. Inside the container, Apache runs as the www-data user (UID 33 on Debian-based images). On Linux hosts, files you create as your own user (often UID 1000) can end up owned by a UID the container can't write to, and WordPress's media uploader will throw permission errors. The quickest local fix is to align ownership on the mounted directory:
# Give the container's www-data user write access to uploads
sudo chown -R 33:33 ./wp-content
On macOS and Windows this rarely bites because Docker Desktop's filesystem sharing translates UIDs for you. On native Linux it's the number-one cause of why can't I upload an image locally.
Database persistence. docker compose down stops and removes containers but keeps named volumes, so your database survives. docker compose down -v adds -v and deletes volumes too — that wipes your local database. Learn the difference now, because running the -v variant by reflex when you just wanted a clean restart is a classic way to lose an afternoon of test content.
Running WP-CLI in a container
You don't install WP-CLI on your host — you run it in a throwaway container that shares the WordPress volumes and network. Add this to docker-compose.yml:
  wpcli:
    image: wordpress:cli-php8.3
    depends_on:
      - db
      - wordpress
    environment:
      WORDPRESS_DB_HOST: db:3306
      WORDPRESS_DB_NAME: ${DB_NAME}
      WORDPRESS_DB_USER: ${DB_USER}
      WORDPRESS_DB_PASSWORD: ${DB_PASSWORD}
    volumes:
      - wp_core:/var/www/html
    user: "33:33"
Then run commands with docker compose run --rm:
# Install WordPress non-interactively
docker compose run --rm wpcli wp core install \
  --url="http://localhost:8080" \
  --title="Local Dev Site" \
  --admin_user=admin \
  --admin_password=admin \
  --admin_email=you@example.com

# Activate your theme and a plugin
docker compose run --rm wpcli wp theme activate my-theme
docker compose run --rm wpcli wp plugin activate my-plugin

# Export the database to a file on your host
docker compose run --rm wpcli wp db export /var/www/html/backup.sql
The --rm flag deletes the CLI container after each command so they don't pile up. Scripting wp core install this way means a fresh clone can be fully bootstrapped — WordPress installed, theme active, sample content imported — with a single shell script, which is where the one command and you're running
promise actually pays off.
The bridge: from local Docker to production
Here's the mental model that keeps this simple. Docker is your local development environment. Your custom theme and plugin code is what you actually ship. Git is the pipeline between the two.
Commit the wp-content/themes/my-theme and wp-content/plugins/my-plugin directories (plus docker-compose.yml) to a repository. Do not commit wp-config.php, your .env file, WordPress core, or the uploads directory — those are environment-specific or reproducible, and secrets never belong in Git.
From there, you don't manually SFTP files to your server ever again. Once your theme and plugin code is in Git, you can automate WordPress deployments from Git so that every push to your main branch copies the changed files to your live WordPress host over SSH. This is the same deployment automation pattern any modern web team uses: your local environment and your production release both trace back to the same commit.
The important boundary: DeployHQ ships your code to your host — it isn't a WordPress host and it doesn't run your containers in production for you. Your live site can be a VPS, a managed WordPress host, or shared hosting; DeployHQ pushes the theme and plugin files there and runs any build steps you configure. If you're standing up the server side from scratch, our walkthrough on how to install WordPress on a VPS covers the host setup, and since WordPress is PHP under the hood, the general approach to deploy a PHP site applies directly.
Ready to wire your repository to your WordPress host? Create a free DeployHQ account and connect your Git provider — start on the free plan or a 10-day trial and automate your first deployment.
If your theme has a build step — compiling Sass, bundling JavaScript, running Composer — put it in a build pipeline so the compiled assets are generated on DeployHQ's build servers and only the finished files land on production. Releases are applied as atomic deployments (the new version is swapped in as a whole, so visitors never hit a half-updated site), and if a release misbehaves you get one-click rollback to the previous version.
Keeping local Docker and production in parity
The whole exercise is worthless if local and production quietly diverge. A few habits keep them honest:
Pin the PHP version to production. If your host runs PHP 8.2, use wordpress:6.7-php8.2-apache locally — not the latest tag, which floats. A plugin that relies on a function deprecated in PHP 8.3 will pass locally on 8.2 and fail on 8.3 (or vice versa). The image tag is your version contract.
Match the database engine and major version. If production runs MySQL 8, don't develop against MariaDB 11 and assume they're identical — they diverge on JSON functions, default collations, and some SQL modes. Set the local image to whatever your host actually runs.
Never carry WP_DEBUG or dev credentials into production. The WORDPRESS_DEBUG: 1 line above is great locally and dangerous live. Configuration that differs between environments — debug flags, database credentials, API keys, salts — should come from environment variables on each host, never be baked into committed code. Keeping those inputs in sync (and separate) is exactly the discipline behind keeping development and production in sync.
Why not just Dockerize production too? It's tempting to run the same Compose stack live, but self-hosting a containerized WordPress in production means you now own database backups, TLS termination, security patching of the container host, scaling, and uptime — a real operations burden. For the vast majority of WordPress sites, a managed or VPS host plus automated Git deployment of your theme and plugin code delivers the parity benefit without the ops overhead. Keep Docker where it shines — local development — and let a purpose-built host run the live site. If you do run containers in production, our guide on how to deploy Docker containers to a VPS covers that path.
Frequently asked questions
Do I need to commit WordPress core to Git?
No. Commit only the code you write — your custom theme and plugin directories, plus docker-compose.yml. WordPress core, wp-config.php, uploads, and your .env file should all be gitignored. Core is reproducible from the image; config and uploads are environment-specific.
Why is my media upload failing with a permission error locally?
On Linux hosts this is almost always a UID mismatch between your host user and the container's www-data user (UID 33). Run sudo chown -R 33:33 ./wp-content on the mounted directory. macOS and Windows usually handle this automatically through Docker Desktop.
How do I reset my local database without losing my code?
Run docker compose down (keeps volumes) to stop everything, then docker compose up -d to restart with data intact. Only docker compose down -v deletes the database volume. Your theme and plugin files live on your host, so they're never affected either way.
Can I use MySQL instead of MariaDB?
Yes. Swap the db image for mysql:8.4 and rename the environment variables from the MARIADB_ prefix to MYSQL_ (MYSQL_DATABASE, MYSQL_USER, MYSQL_PASSWORD, MYSQL_ROOT_PASSWORD). Match whatever your production host runs.
Should I run this same Docker stack in production? For most sites, no. Self-hosting containerized WordPress means owning backups, TLS, patching, and scaling. Keep Docker for local development and deploy your theme and plugin code to a managed or VPS host from Git instead.
Wrapping up
Docker turns local WordPress development from a fragile, machine-specific chore into a reproducible environment that mirrors production. Pin your PHP and database versions to match your host, bind-mount only the theme and plugin code you author, and use WP-CLI in a container to script setup. Then let Git — not manual file transfers — carry that code to your live site.
Ready to automate the last step? Connect your repository and deploy from GitHub to server — configure your host once, and every push ships your theme and plugin changes automatically.
Questions about deploying WordPress from Git? Email us at support@deployhq.com or reach out on X.