

Deploy to servers in private networks using the DeployHQ Agent
With DeployHQ, you can install the DeployHQ Agent which will allow access to servers within a VPN. If you are still running the legacy Ruby deploy-agent, follow Migrating from the Ruby deploy-agent to network-agent to switch to the supported version.
In order to be able to take advantage of the DeployHQ agent in your account, you'll need to be subscribed to an appropriate plan.
Agent prerequisites
The agent acts as a proxy, therefore it only needs to be installed on a single machine
The agent by default only allows access to the machine it's installed on, but you can modify the
~/.deploy/agent.accessfile to allow connections to additional destination servers within your network. After changes are made to agent.access, you'll need to restart it.
Configuring agent.access
The ~/.deploy/agent.access file controls which servers the agent can connect to. Each line must begin with an IP address or CIDR range. Anything after the address on the same line, and any line starting with #, is treated as a comment. Lines that do not begin with a valid IP address or CIDR range — including hostnames — are ignored, so an entry such as server.local will not permit anything.
Individual addresses:
text
127.0.0.1
192.168.1.100
10.0.0.5
CIDR ranges (recommended for multiple servers):
text
192.168.1.0/24    # Allows entire 192.168.1.x subnet
10.0.0.0/8        # Allows entire 10.x.x.x network
0.0.0.0/0         # Allows all addresses (use with caution)
Using CIDR notation allows you to whitelist entire subnets without adding hundreds of individual entries. For example, 192.168.1.0/24 allows access to all servers from 192.168.1.1 to 192.168.1.254.
- The server running the agent only needs to be able to connect to
agent.deployhq.comvia TCP port7777, and does not need to accept incoming connections. Once a secure TLS connection is established, this is persisted, and all data is routed through this connection.
Permissions
Managing network agents requires either account administrator access or the Can manage agents permission. This permission can be granted to individual users or teams, allowing non-admin users to register, update, and revoke agents without needing full administrative access. This is useful when automating agent management via the API.
Installing the agent
To start using the agent, head to the Settings tab at the top of the screen, then the Network Agents link on the left hand side of the page:
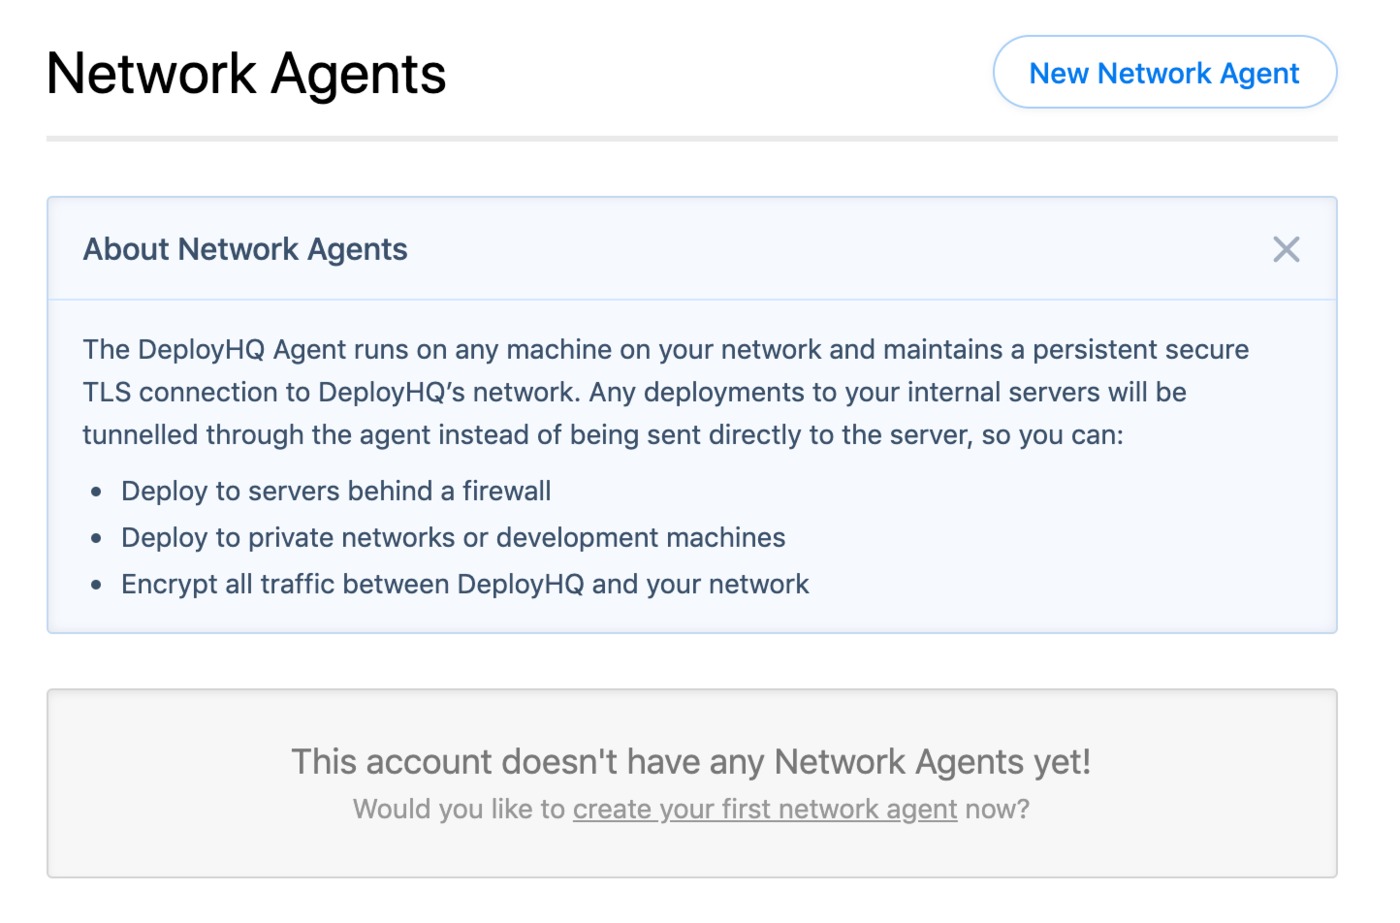
Click the New Network Agent icon to add a new agent and follow the instructions to install and register it.
Once you've verified the agent, start it on your server, and click Complete Agent Setup to finish.
Once the setup process has finished, you find the agent in your list, with a status showing as online if it is started successfully on your server.
Connecting to a server using the agent
Once you've set up an agent in your account, you'll be able to use it to connect to a server in any of your projects. Head to your server settings, then you'll find a Network Agent dropdown below the hostname and port in the main configuration:

By default, this will be set to Direct Connection, with any configured agents available below. If you're connecting to another machine in the same network as the server running the agent, enter the IP address and port you'd use to connect to that machine locally, otherwise to connect to the machine the agent is running on, use 127.0.0.1 as the hostname.
Use an IP address, not an internal hostname
Enter the destination server's IP address in the Hostname field. Hostnames are resolved by DeployHQ before the connection is handed to your agent, so a name that only exists in your internal DNS cannot be resolved, and the deployment will fail with Could not resolve hostname. The agent is never asked to perform the lookup, even though the machine it runs on may be able to resolve the name.
See Could not resolve hostname for the full explanation, including what to do if you need to use a name rather than an IP address.
Managing previously configured agents
When navigating to the Network Agents area, you can see and manage all previously configured network agents.
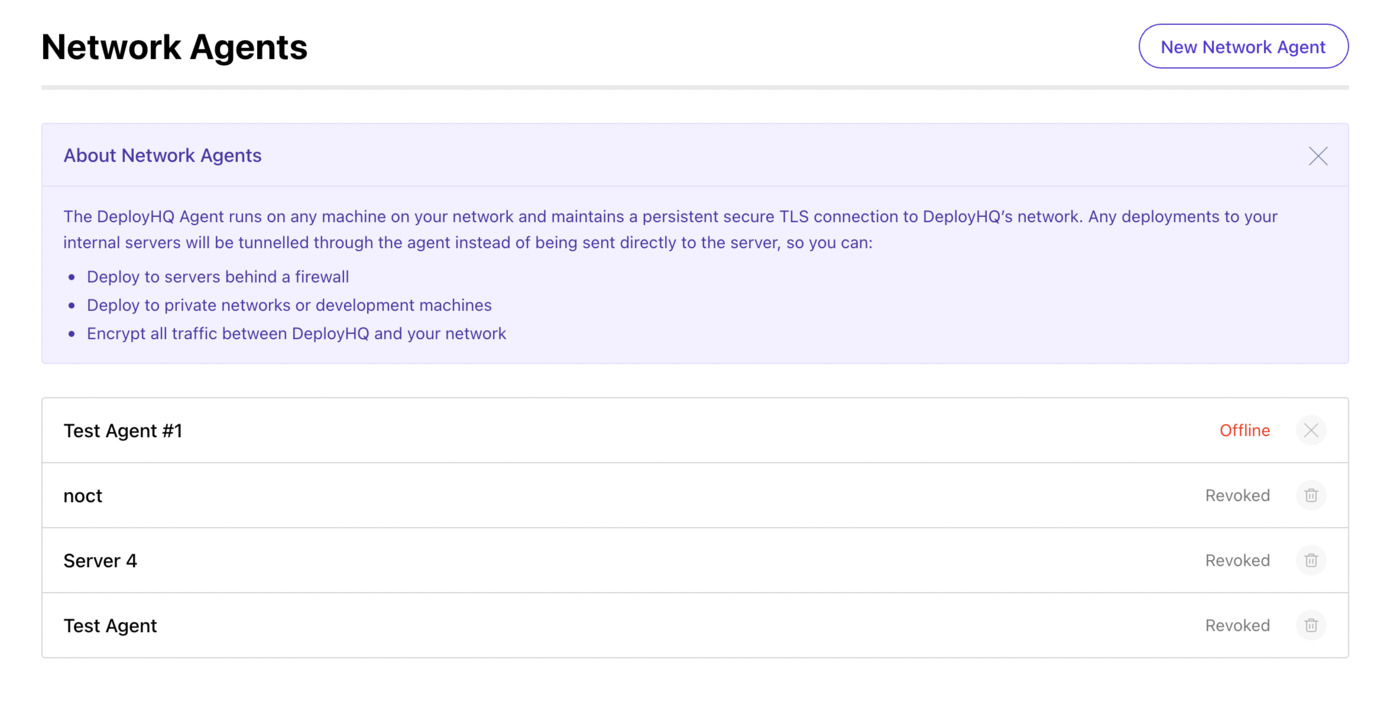
Any that are active can be revoked by clicking the X icon, but please note that an agent that has been revoked, cannot be reinstated. Instead, you would need to create a new instance of an agent that has been revoked.
In addition, any agents previously revoked, can then be deleted using the delete icon.