Setting up two factor authentication (2FA)
Two factor authentication is a good way of increasing account security, by adding a second step to the normal login flow. In the case of DeployHQ and other aTech services, it simply consists of generating a code using your mobile device which you'll need to enter after logging into one of our services.
Setting up two factor authentication
Two factor authentication is set up via our single sign-on service, DeployHQ Identity. Head to https://identity.deployhq.com, then login with your DeployHQ account details.
Next, go to Two Factor Authentication under Security Settings on the right hand side:
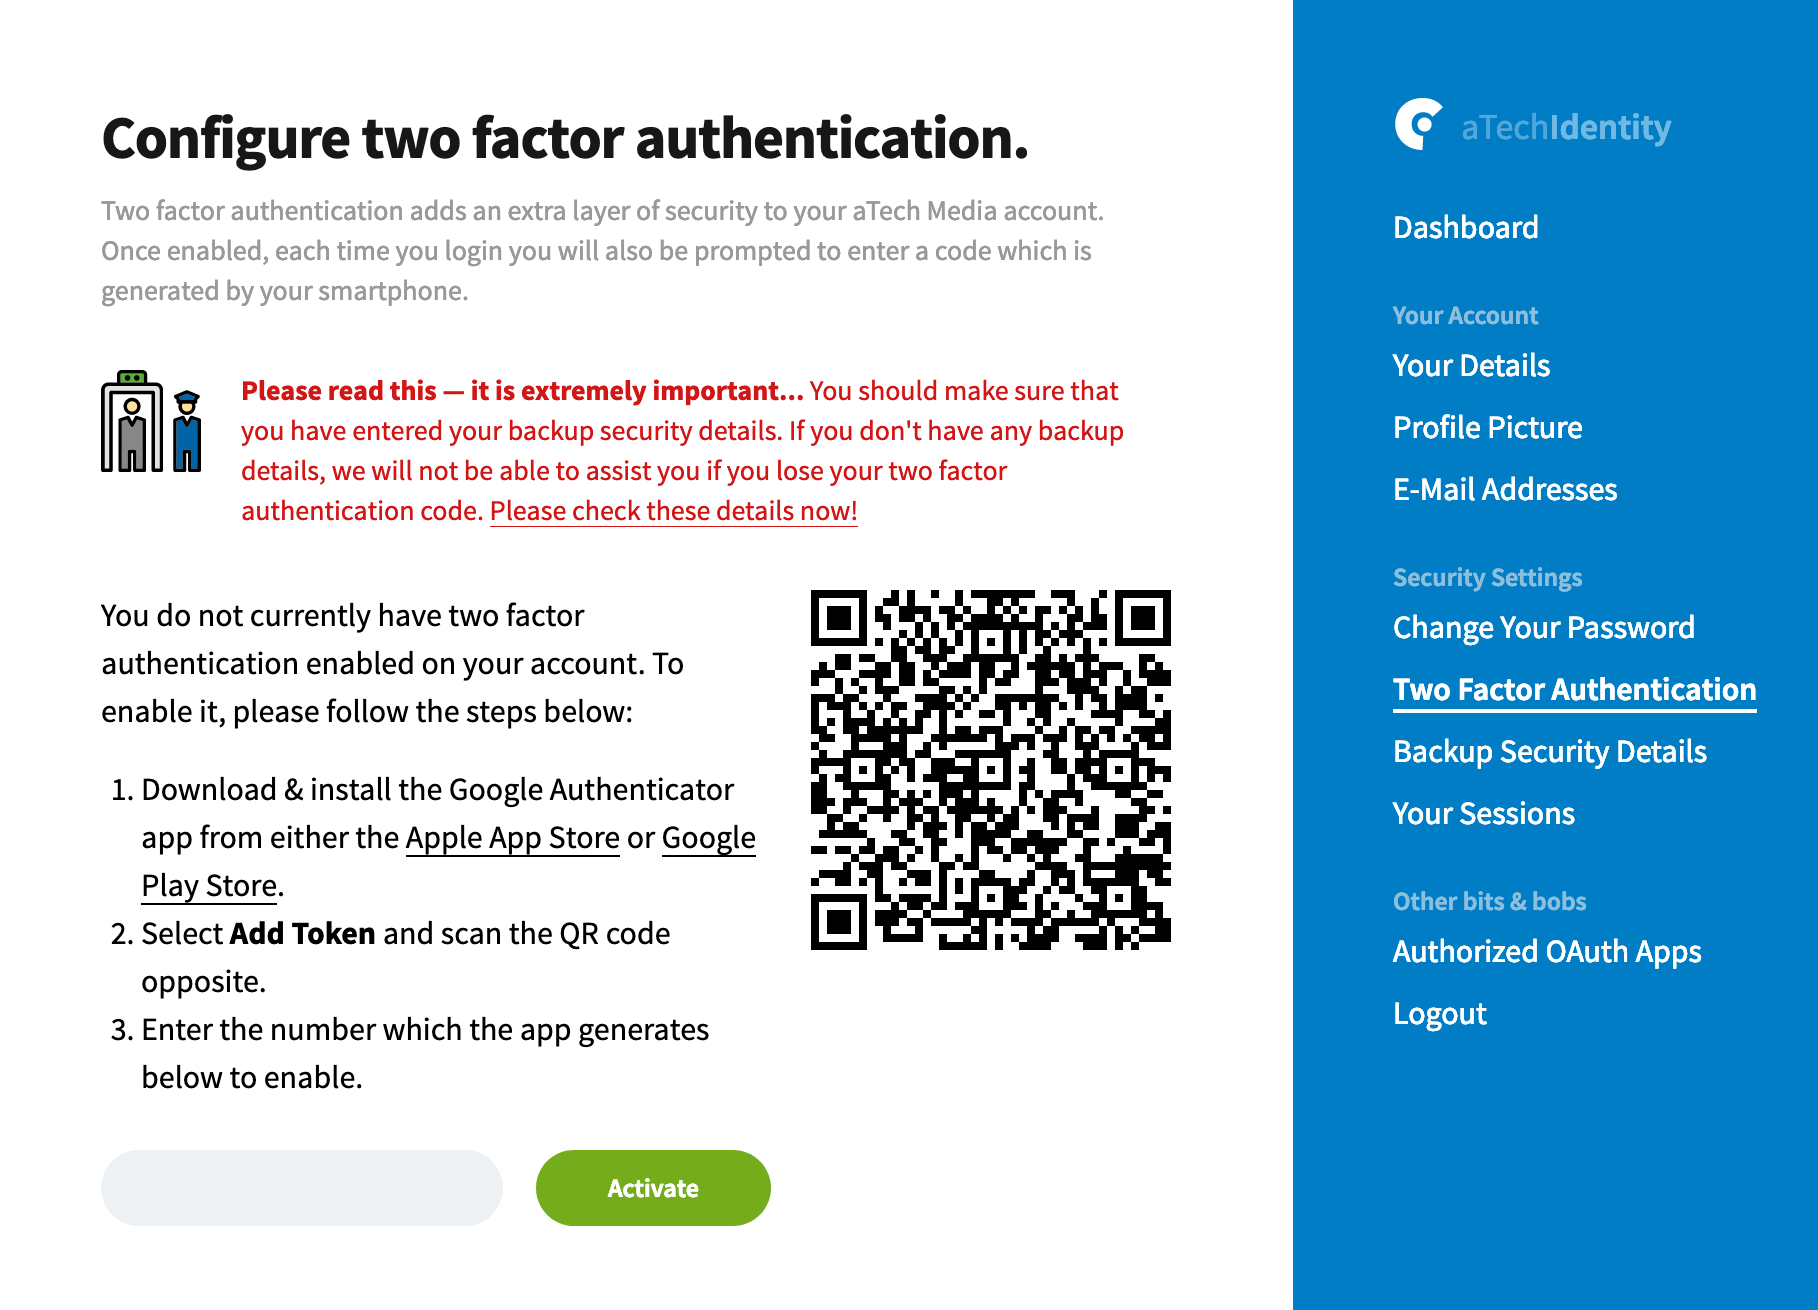
Then follow the steps to download an appropriate 2FA app (we recommend Google Authenticator) to your mobile device. Once you've downloaded and set up the app, you can scan the QR code to set it up initially. This will generate a 6 digit code that you can enter, then, after clicking the Activate button it will be setup on your account.
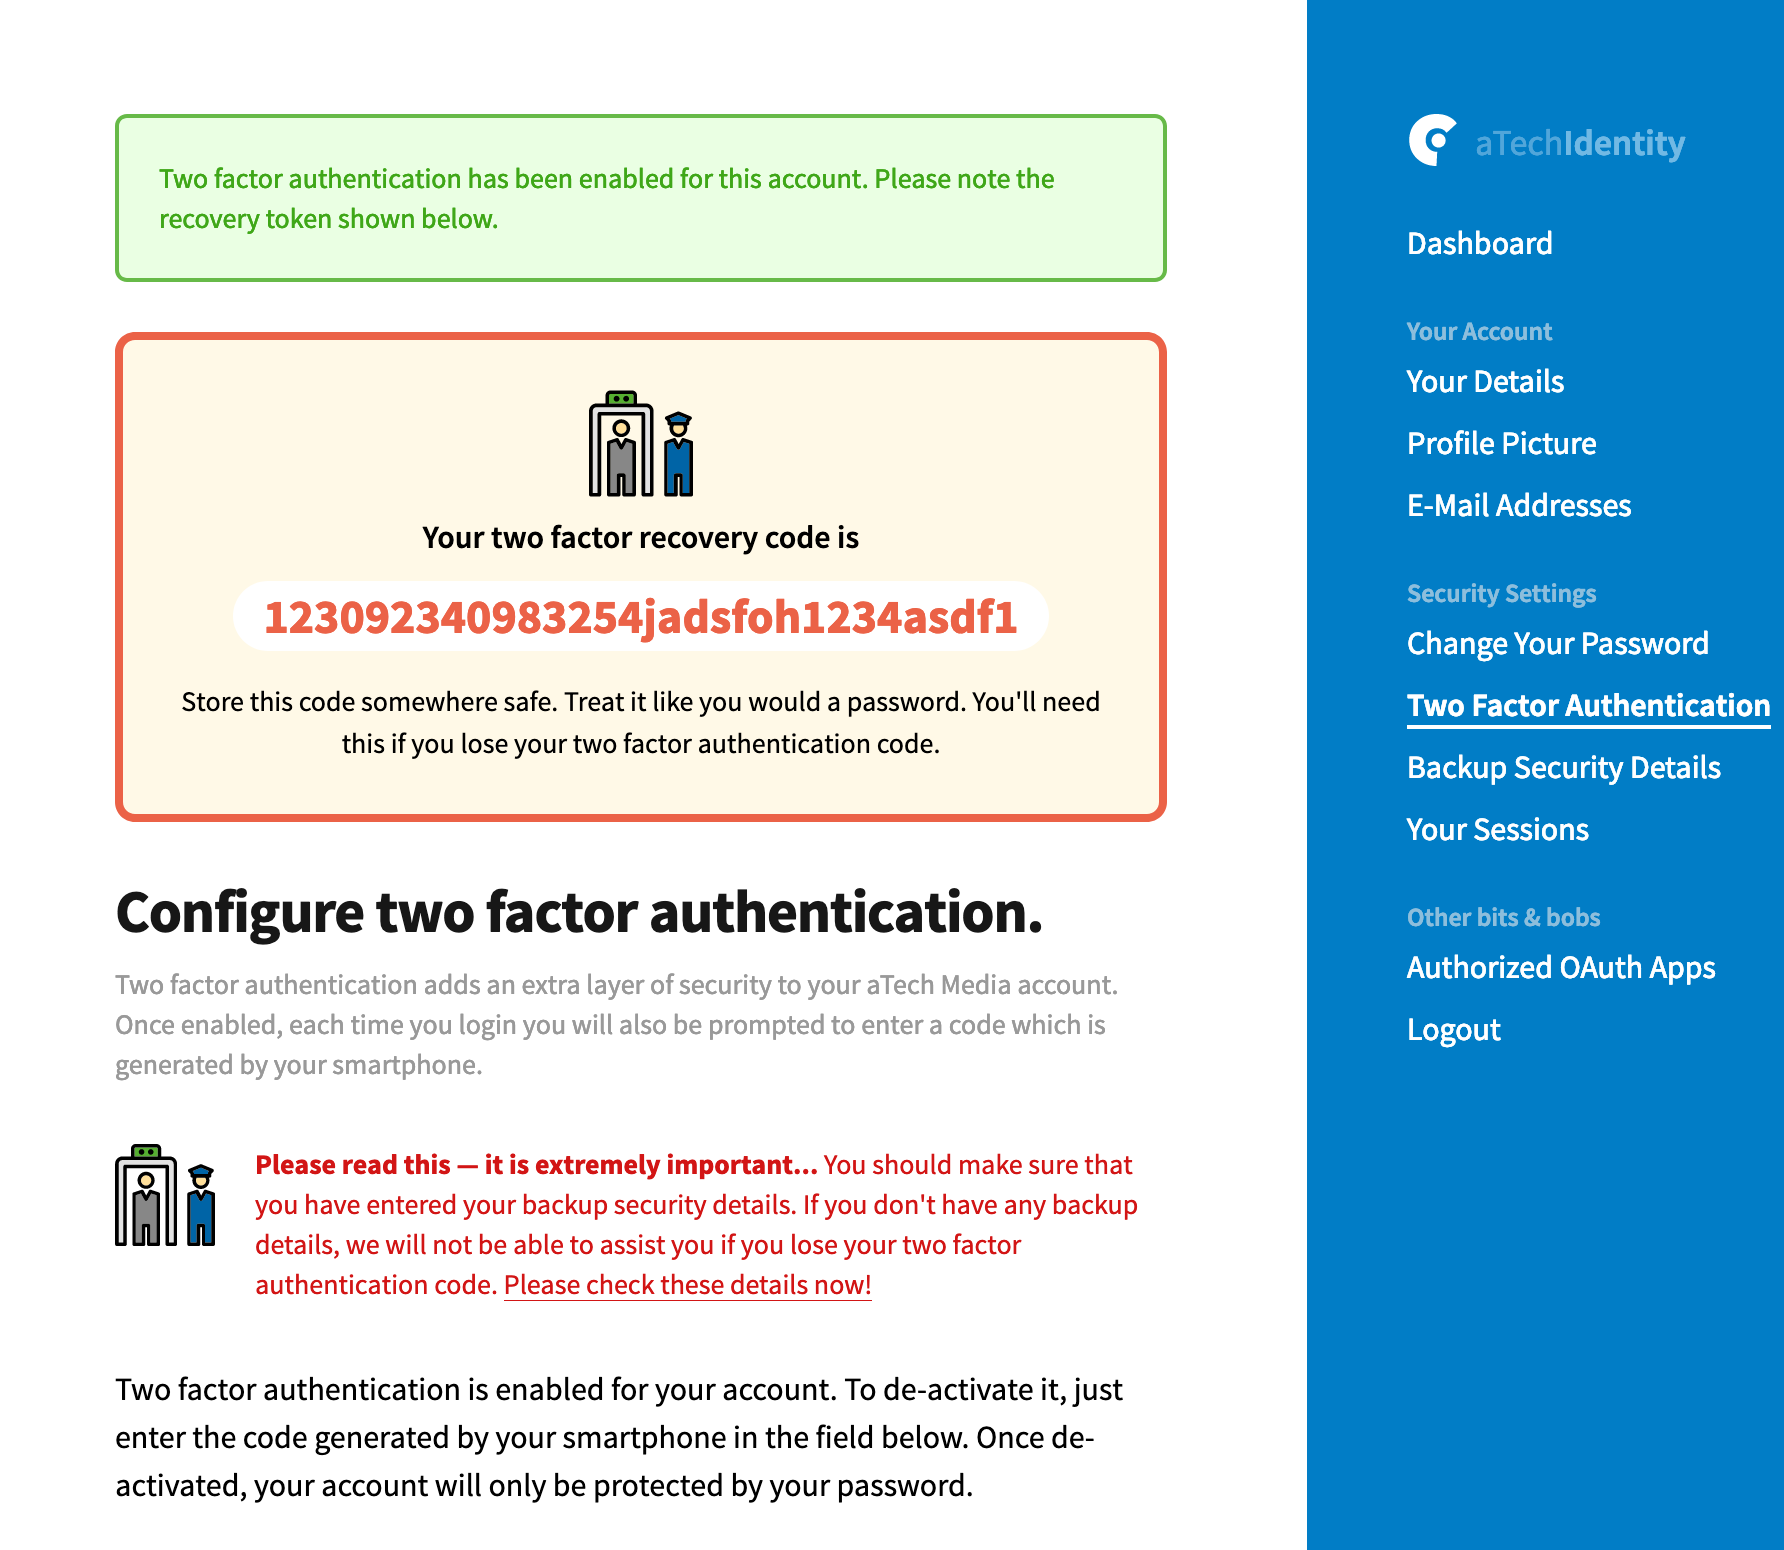
You'll then be presented with a recovery token which you must make a note of, as this will be required to reset your account, should you lose access to your two factor device.
Deactivating two factor authentication
If you wish to deactivate two factor authentication, you can repeat the original process, but in reverse. Head to the Two factor authentication page, and load your authenticator app.
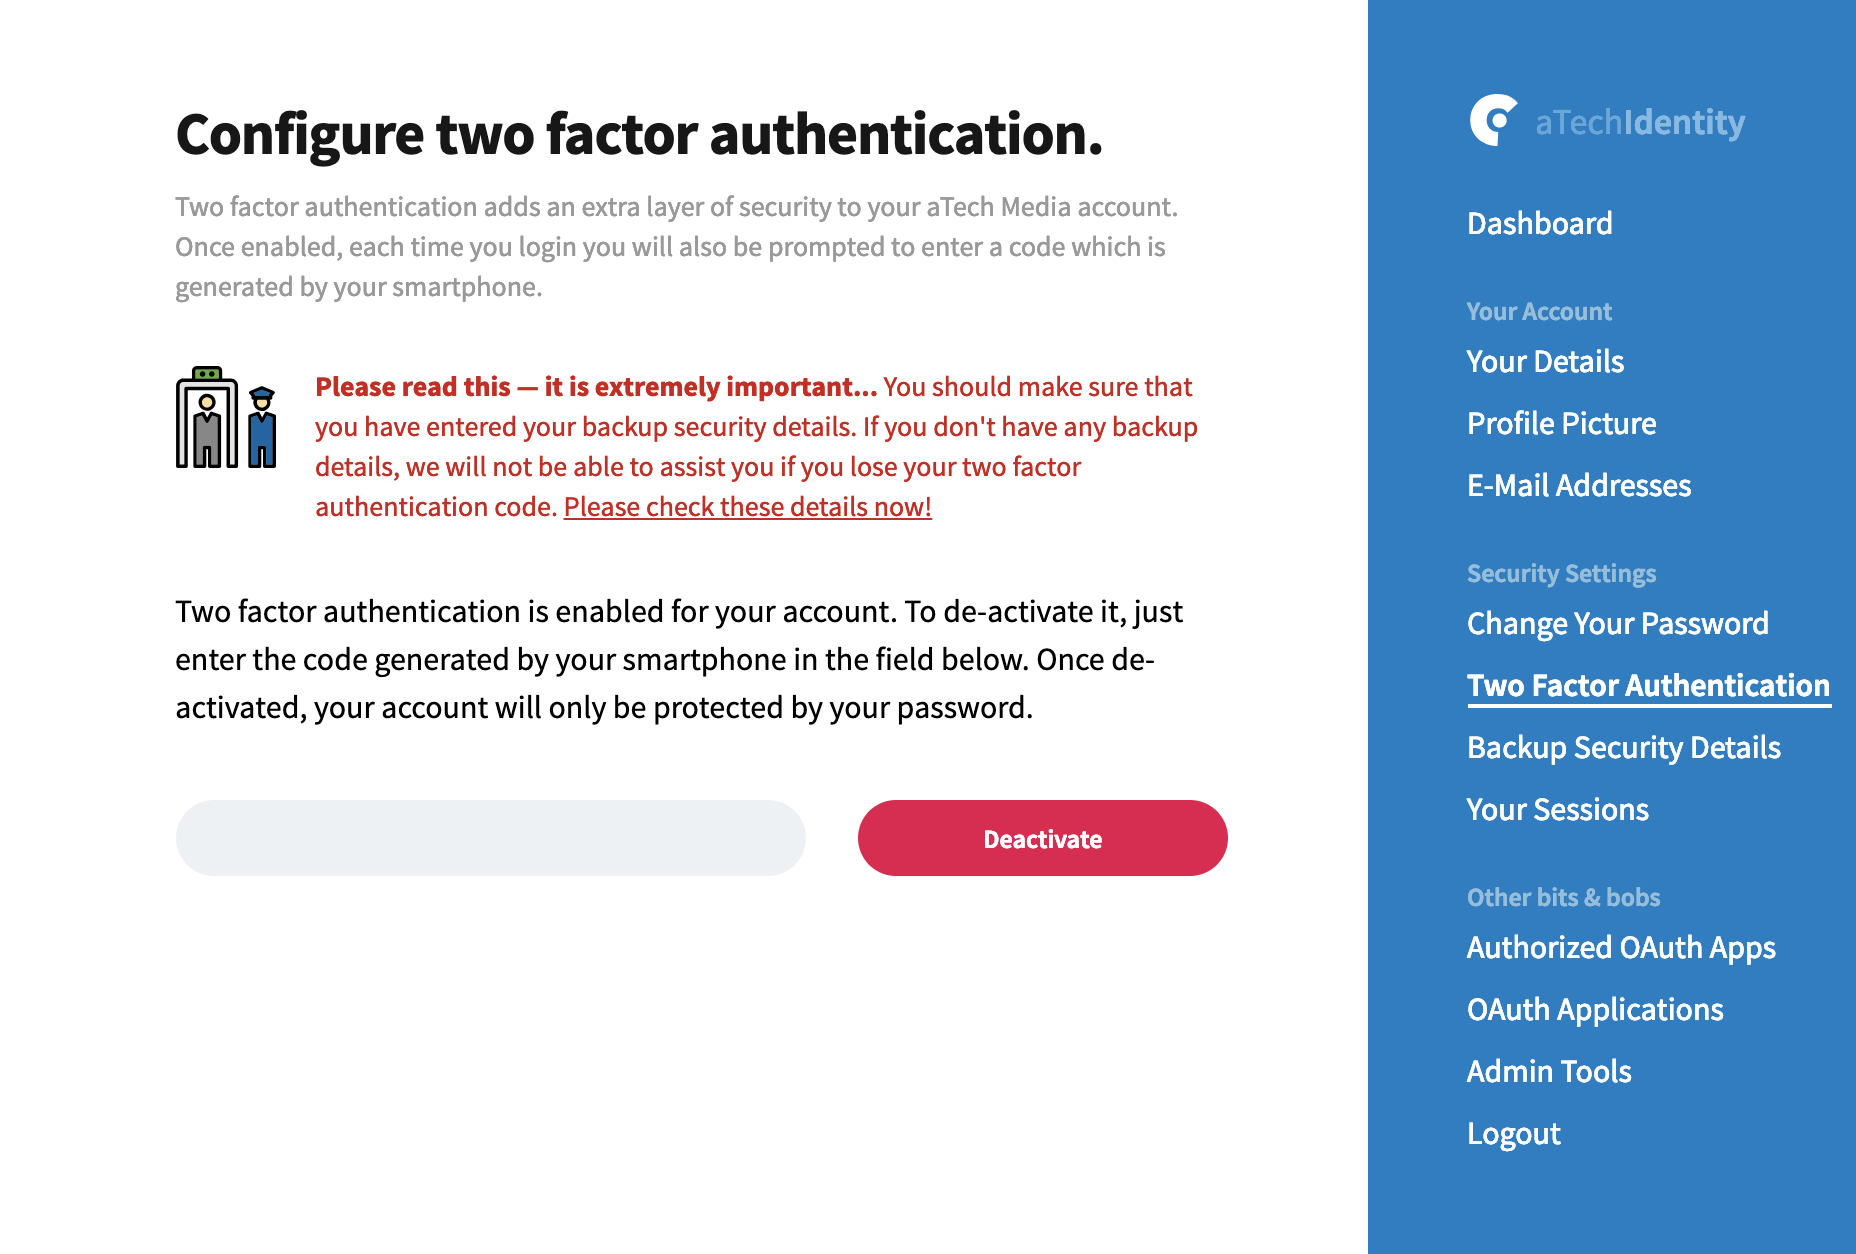
Enter the current two factor code, then it will be immediately deactivated.
Recovering your account
If for any reason you lose access to your original mobile device where you set up two factor authentication, you can recover it via a simple 3 step process.
When you reach the usual page where you'd enter your two factor code, you can click Recover my account option.
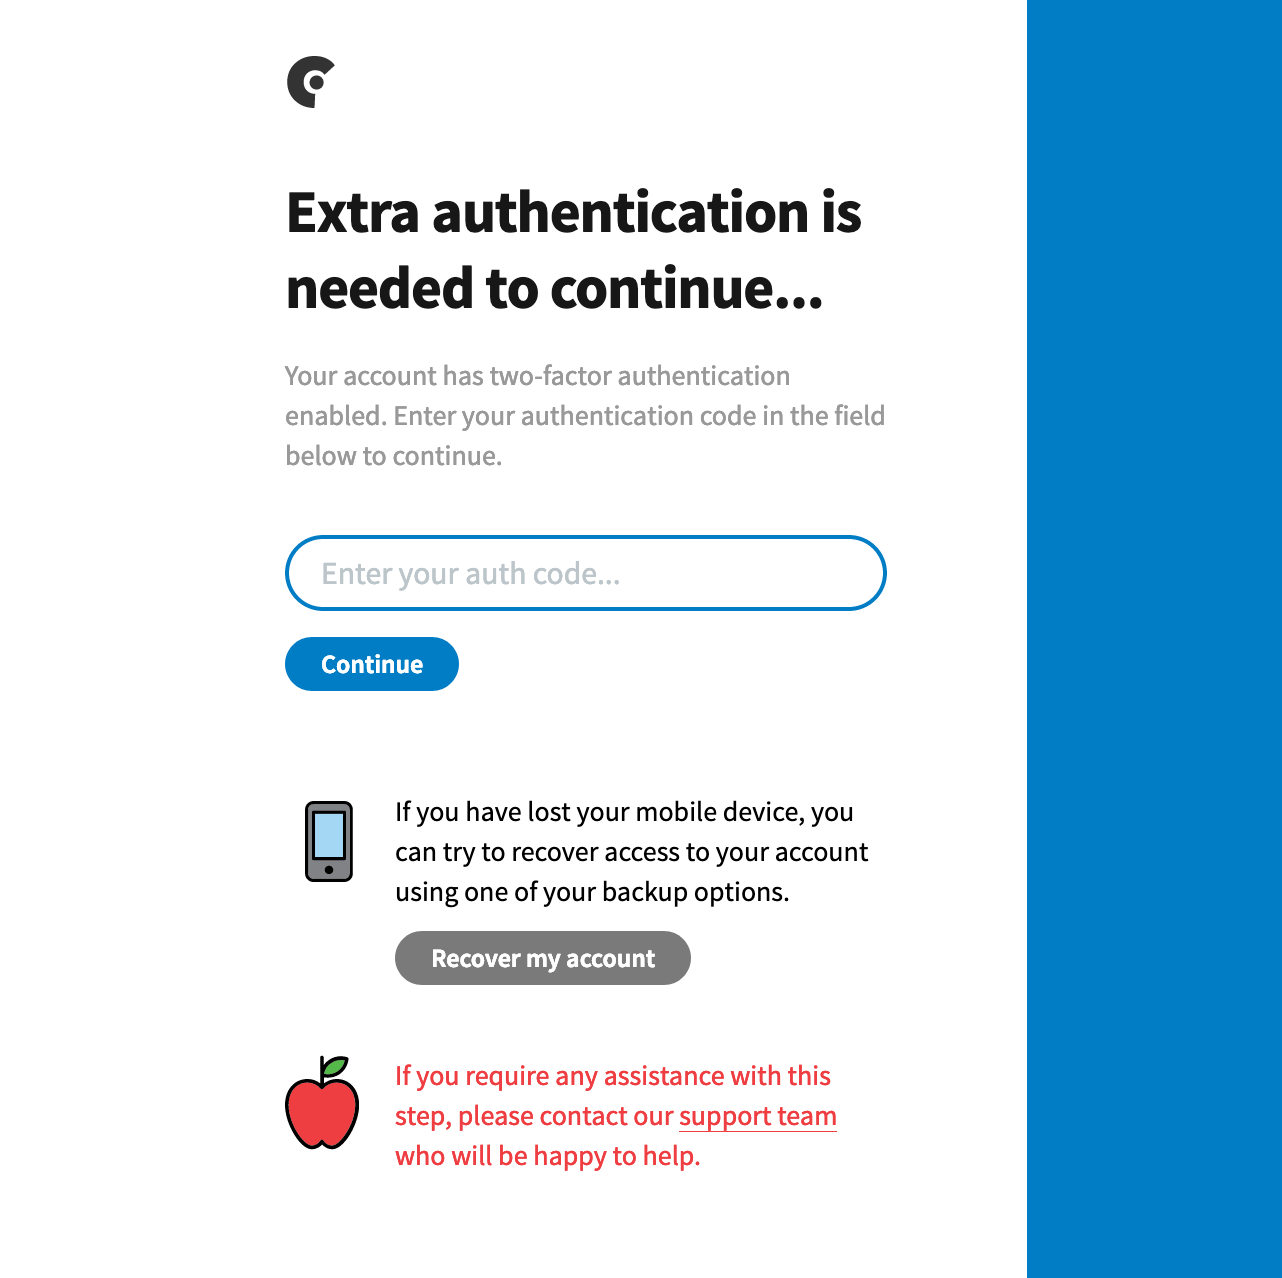
An email will be sent to you with an initial code, enter this then click Continue.
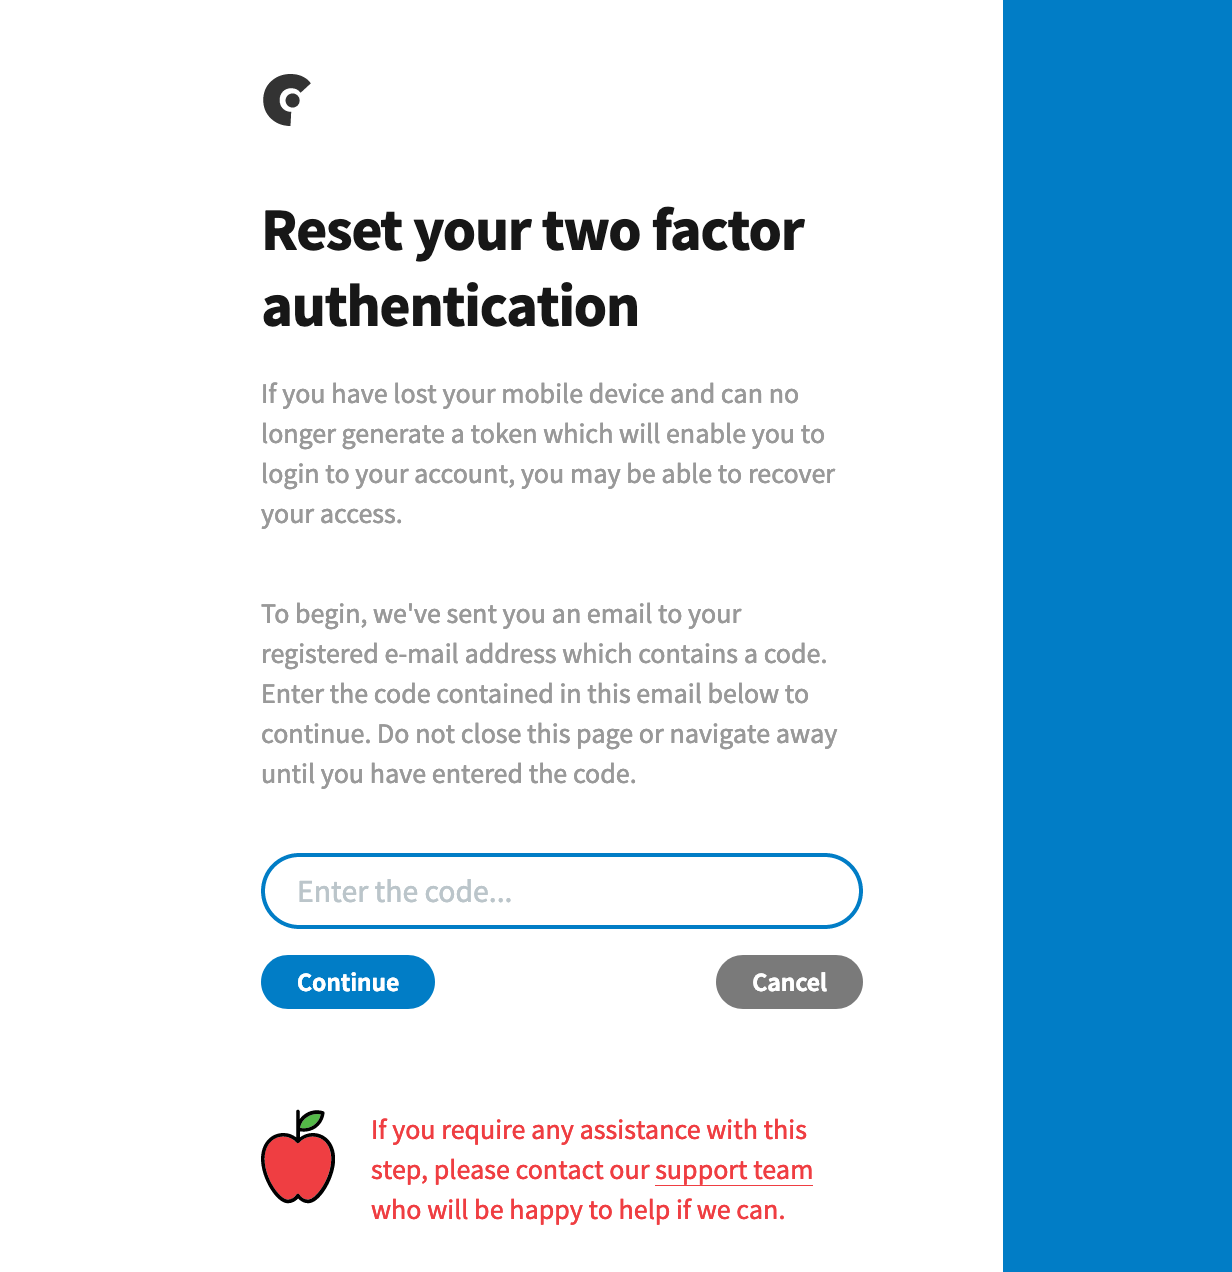
Finally, you'll be prompted to enter the recovery code that would have been provided when you initially setup two factor authentication:
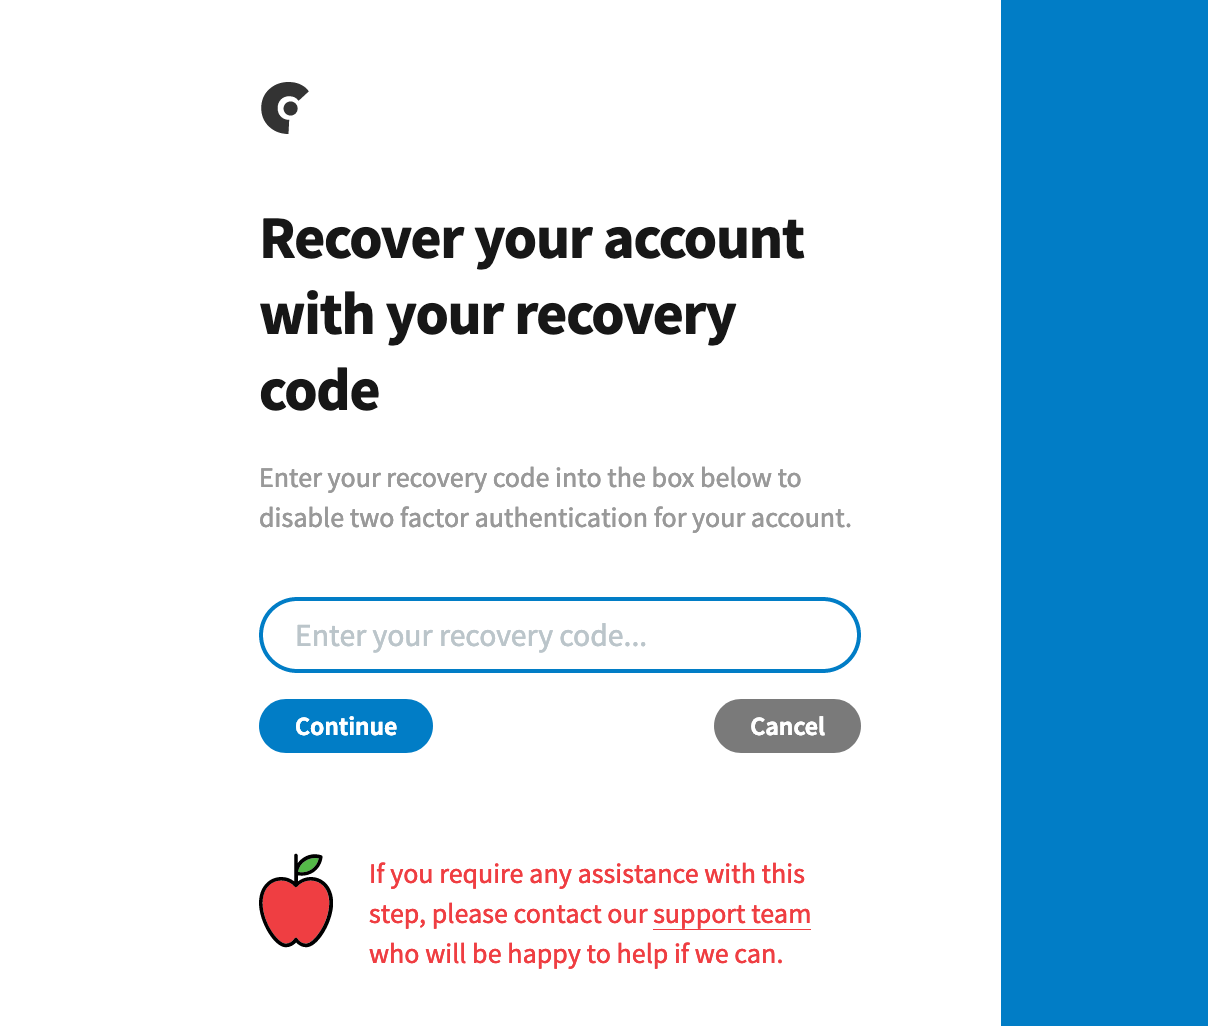
Enter it, then click Continue. Your two factor authentication will be reset, so you'll need to set it up again which you can do by following the guide at the top of this page.