Account and Access
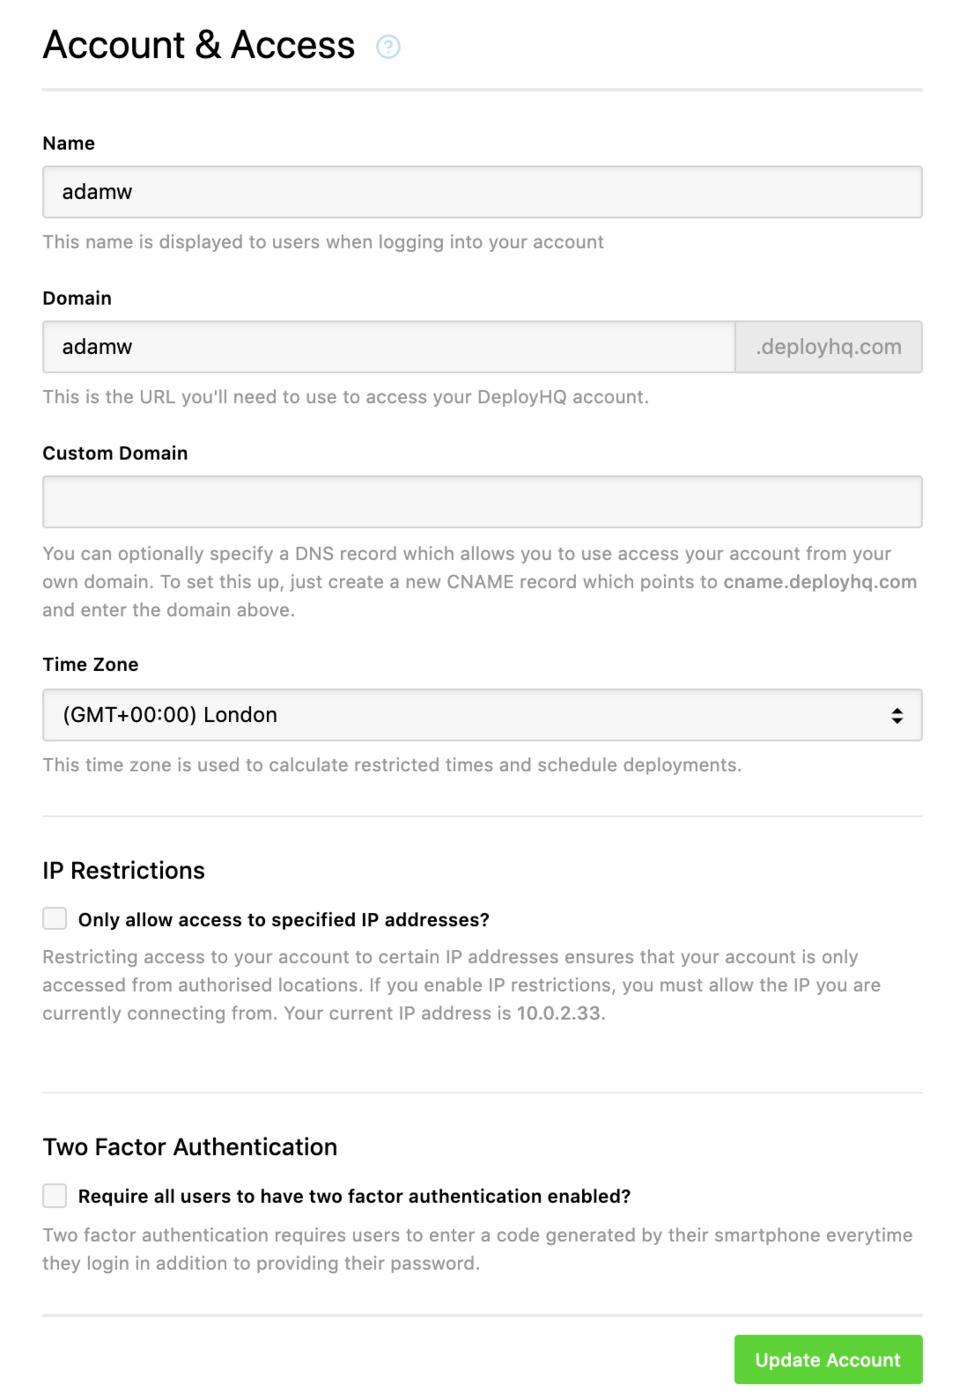
Heading to the Settings tab at the top of the screen, then Account & Access below will present a number of global options that you can configure.

Name and domains
If you want update your account name or domain, you can do so at the top of the page. Additionally, if you have it enabled on your account, you can create your own custom domain for accessing DeployHQ. Enter your domain in the Custom Domain field, then click Save Changes to finish.
You'll need to ensure that your domain is pointing to cname.deployhq.com ready so that you're able to access your account once the change has been applied.
Please note that this feature is only available on the Premium package or higher, but is also provided with a free SSL certificate from Let's Encrypt once the domain has been fully setup.
IP Restrictions
You can restrict your DeployHQ account to be only accessible from specific IP addresses or ranges. To set this up, head to your Settings tab, then Access and Account, then the IP Restrictions section at the bottom of the page:
Select Yes - only allow access to the IP addresses specified, then enter any IP addresses or ranges followed by the enter key for each IP to allow. Once you're finished, just click Save Changes.
Two Factor Authentication
If you want to enforce users to enter Two Factor Authentication, just enable the Require all users to have two factor authentication enabled? checkbox. Once this is enabled, any users that login without 2FA enabled will be prompted to set it up.
You can also monitor users to see if they have enabled straight from the User Management page below Account & Access.

Users with 2FA enabled will be marked with a shield icon, and without, a shield icon with a strikethrough.