Onboarding wizard
The onboarding wizard guides you through creating your first project in DeployHQ. It walks you through connecting a repository, adding a server, and configuring your deployment settings -- all in one streamlined flow.
You can access the wizard by clicking New Project from the Projects tab, or it will appear automatically for new accounts.
Step 1: Connect your repository
Choosing a provider
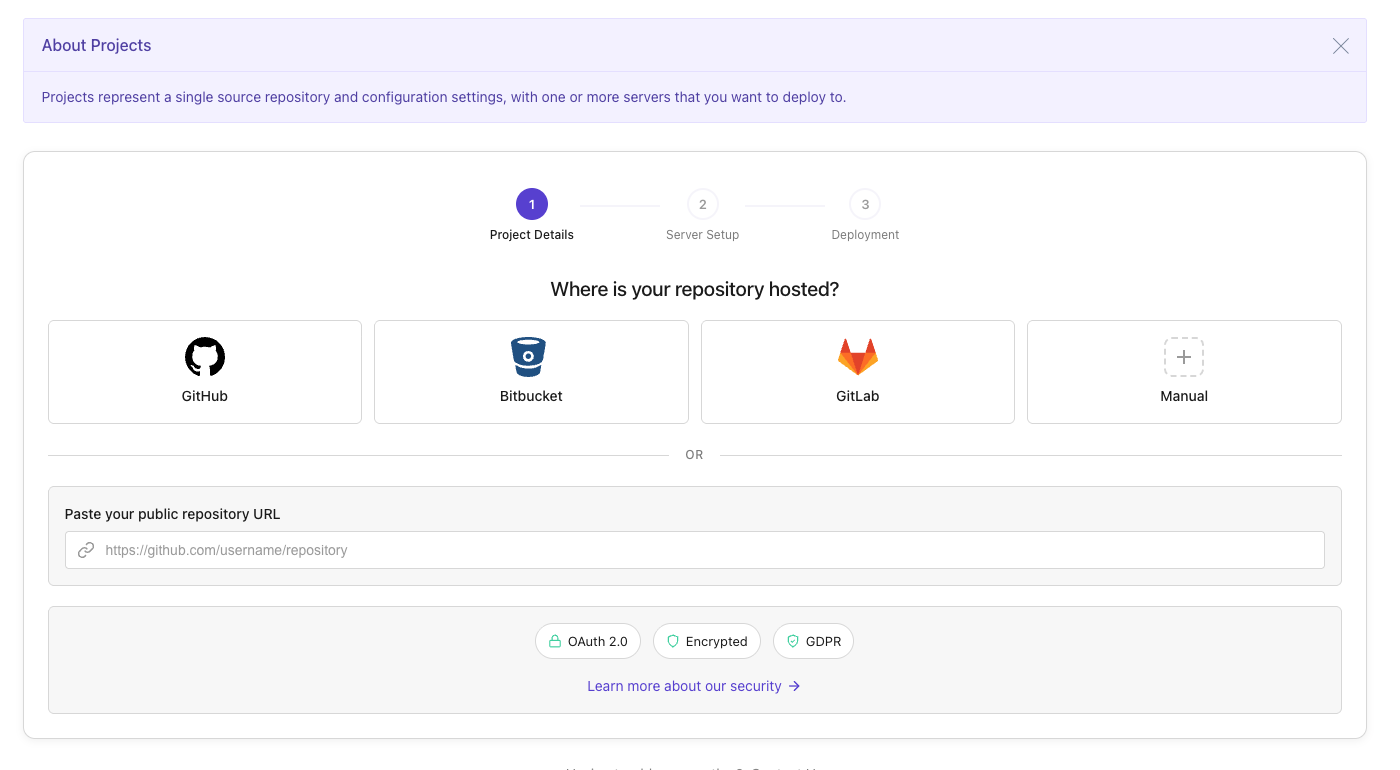
The first step is to choose where your code is hosted. You can connect directly to a supported provider, or enter your repository details manually.
Supported providers:
- GitHub
- GitLab
- Bitbucket
- Codebase
Click on your provider to begin the OAuth authentication flow. You will be redirected to authorize DeployHQ to access your repositories, then returned to the wizard automatically.
If your repository is hosted elsewhere (or self-hosted), select Manually enter repository details to provide the URL and credentials directly.
Selecting a repository
After authenticating, you will see a list of your repositories. Use the search box to filter by name, and click on the repository you want to deploy.
If your provider account has multiple organizations or groups, use the account selector at the top of the list to switch between them.
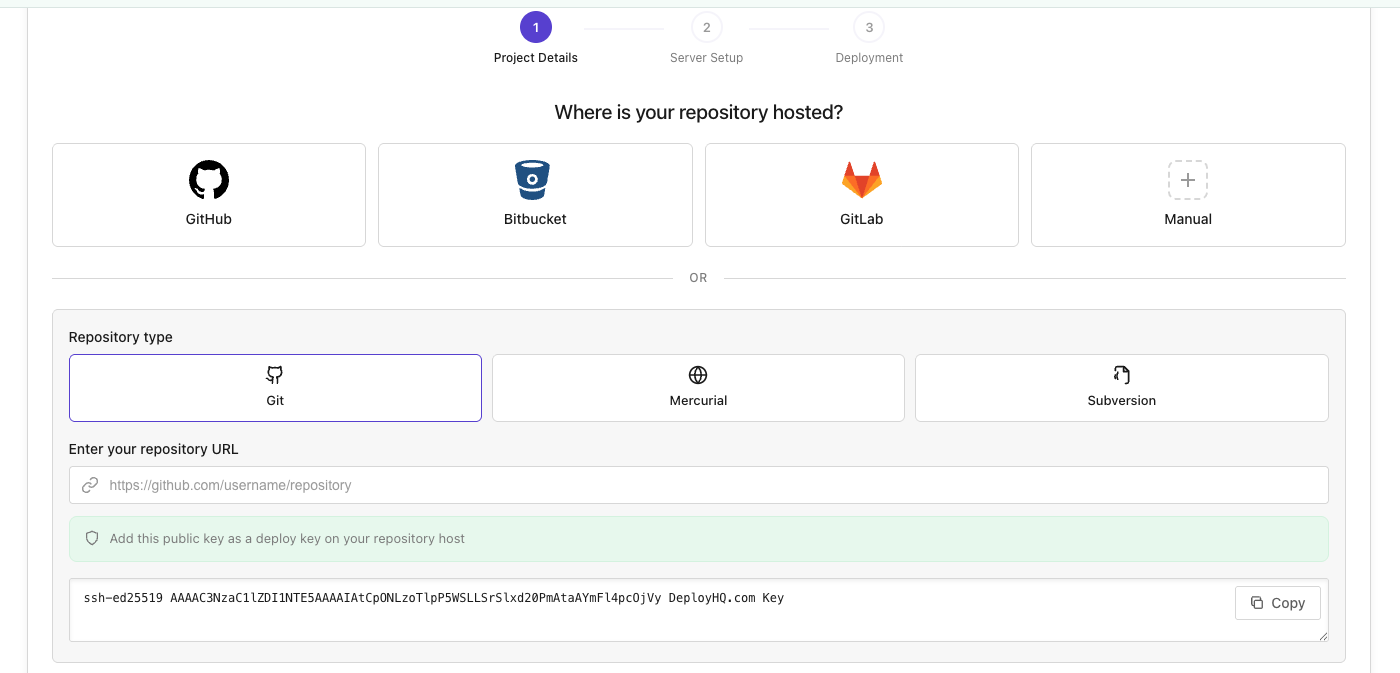
For manually entered repositories, you will need to provide:
- The repository URL
- The SCM type (Git, Mercurial, or Subversion)
- Authentication credentials (if required)
You can test the connection before proceeding to confirm everything is working.
Step 2: Add a server
Choosing a protocol
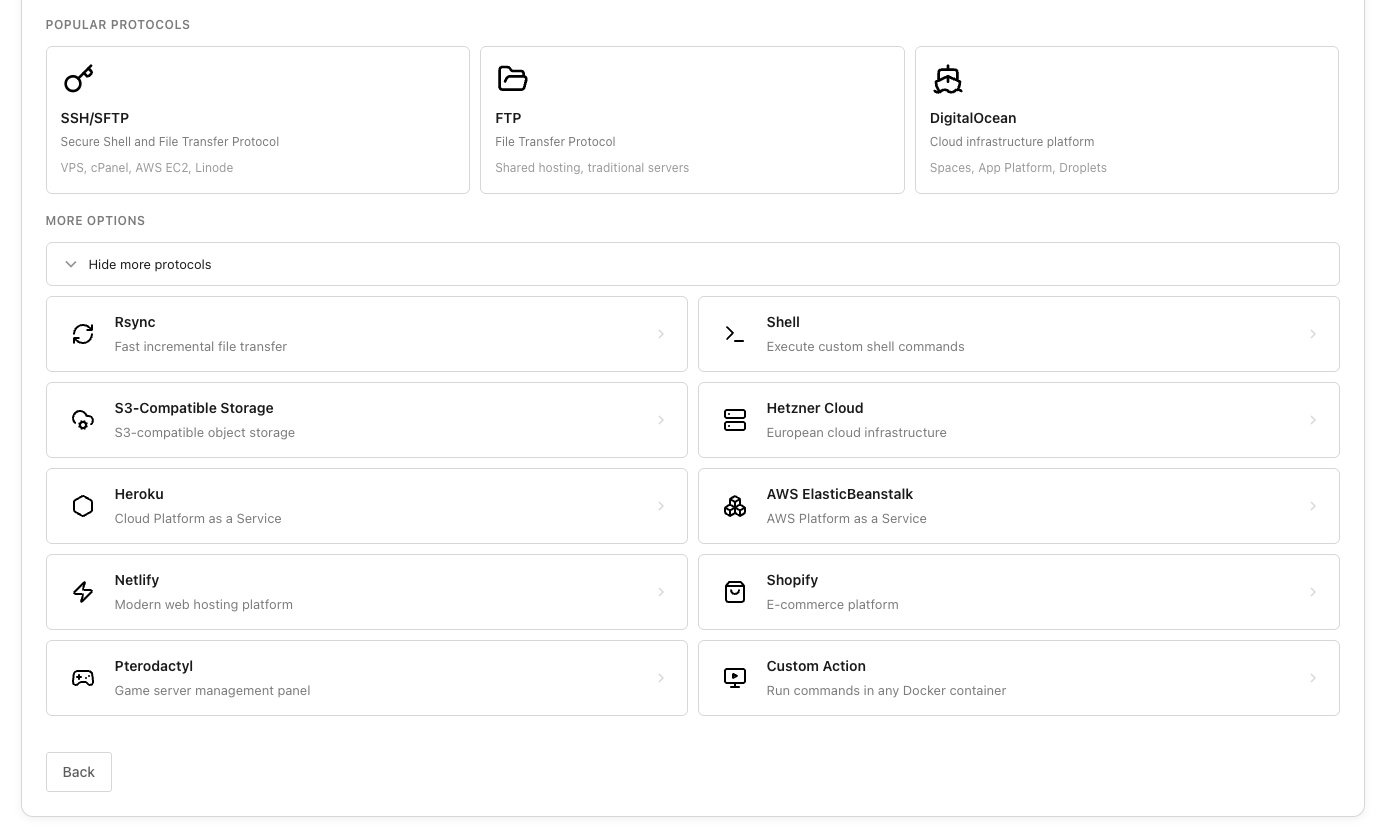
Next, choose how DeployHQ should connect to your server for deployments. The most popular options are shown first:
- SSH/SFTP -- the most common choice for Linux servers
- FTP / FTPS -- for traditional FTP-based hosting
- Digital Ocean -- deploy directly to a Digital Ocean droplet
Click More Options to see additional protocols including Netlify, Heroku, Amazon S3, Shopify, Rackspace Cloud Files, Elastic Beanstalk, and others.
Server configuration
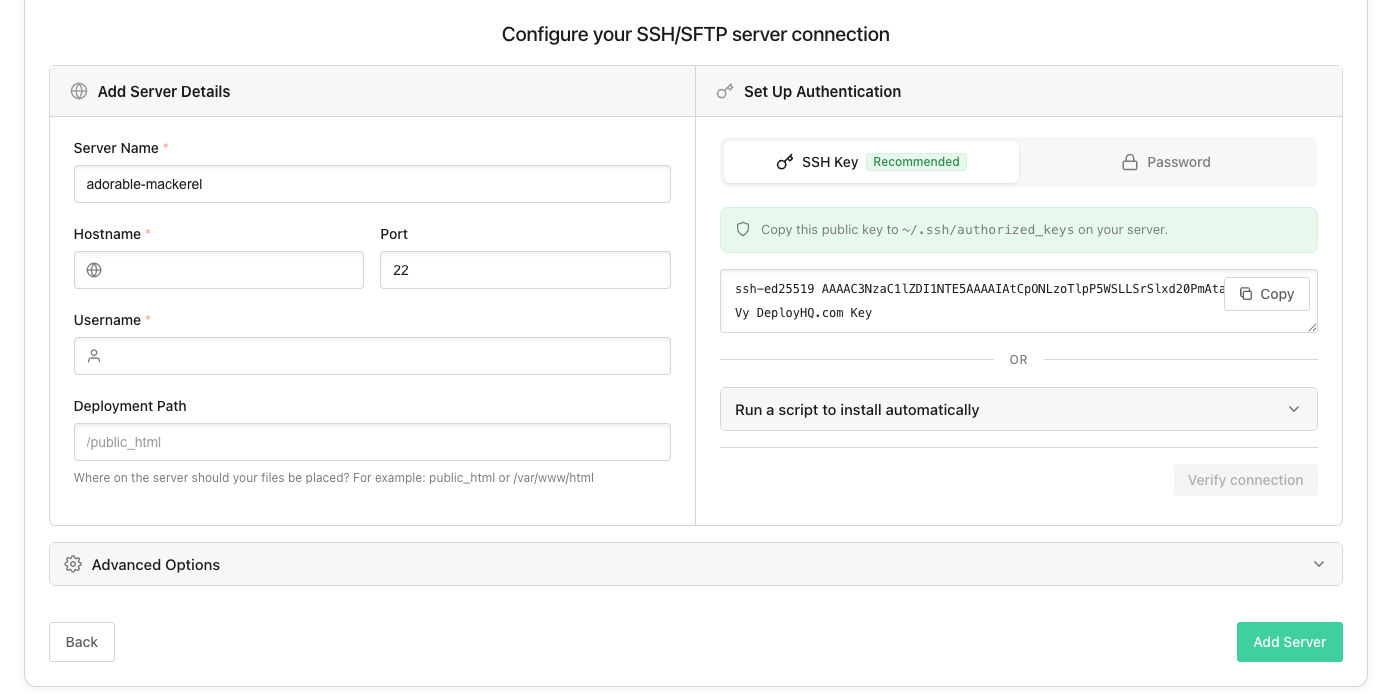
The configuration form changes based on the protocol you selected. For example, an SSH/SFTP server requires:
- Hostname -- the address of your server
- Port -- usually 22 for SSH
- Username -- the user to connect as
- Authentication method -- public key (recommended) or password
- Deployment path -- the directory on the server where files should be deployed
DeployHQ automatically generates an SSH key pair for your project. Copy the public key shown and add it to your server's ~/.ssh/authorized_keys file, or use the auto-setup script provided.
For other protocols like FTP, you will see the relevant fields for that connection type (hostname, username, password, path, etc.).
Once you have entered your server details, click Verify Connection to confirm that DeployHQ can reach your server. If you are not ready to verify -- for example, your server is not set up yet or you still need to install the public key -- click Skip and create project. DeployHQ will create the project and save your server configuration without attempting a deployment. You can run a connection check later from the project's settings page under "Test Access", then deploy from there.
When verification fails on SSH, the error message will suggest installing the DeployHQ public key using the setup script from the previous step.
Advanced server settings
Click Advanced Settings below the server form to access additional settings. The options shown depend on the protocol you selected.

Transfer options (SSH/SFTP only):
- Turbo deployments -- transfers all changed files as a single compressed archive instead of uploading them one by one, which can significantly speed up deployments with many file changes.
- Zero-downtime deployments -- deploys to a new release directory and switches it live only when complete, so your site is never in a half-updated state. When enabled, you can choose a deployment strategy and configure how many releases to retain.
Deployment options (all protocols):
- Environment -- label this server as development, testing, or production. The environment name can be substituted into SSH commands.
- Subdirectory to deploy from -- if you only want to deploy a specific subdirectory of your repository, enter it here. Leave blank to deploy the entire repository.
Notification options (all protocols):
- E-mail notification preference -- choose when to receive deployment notifications for this server: always, only on failure, or never.
- Custom notification e-mail address -- override the default notification address for this server.
User permissions (all protocols):
- Choose which team members are allowed to deploy to this server. Administrators and users with deploy-any-server permissions are automatically included.
Firewall access (SSH, FTP, and other direct-connection protocols):
- Lists the IP ranges that DeployHQ uses to connect to your server. Add these to your firewall allowlist if your server restricts incoming connections.
Step 3: Configure deployment settings
The final step brings together your repository and server, and lets you fine-tune your deployment configuration.
If DeployHQ detects a known framework in your repository (e.g. React, Vue.js, Laravel, Rails, Composer, Django), a banner will appear confirming the detection. The relevant Advanced Settings sections will automatically expand with pre-filled build commands, excluded files, and cache settings for that framework. You can review and adjust these suggestions before creating the project.
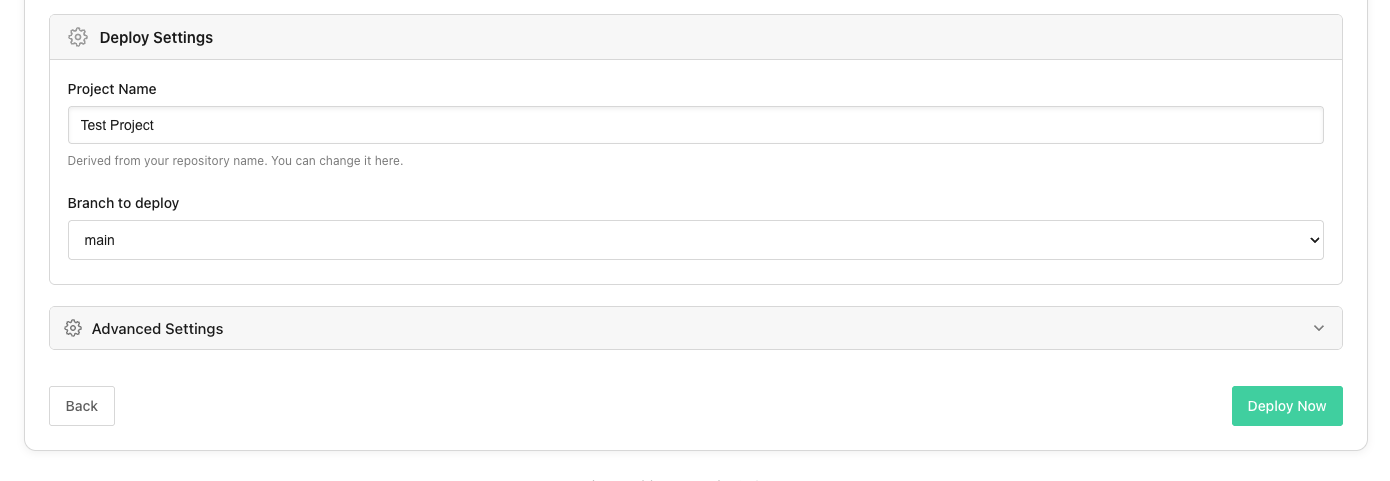
Project name and branch
Your project name is automatically derived from your repository name, but you can change it. Select the branch you want to deploy from -- this defaults to your repository's main branch.
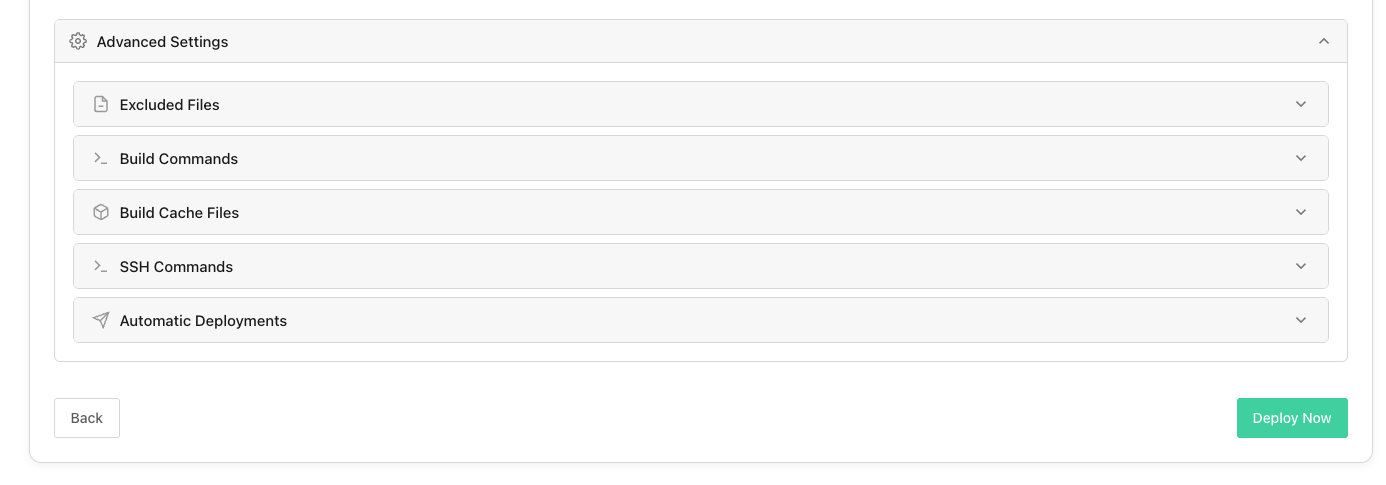
Advanced settings
Click Advanced Settings to configure additional deployment options:
- Excluded files -- files and directories that should not be deployed to your server (e.g.
.git,node_modules,tests). Framework detection may pre-populate common exclusions for you. - Build commands -- if your project requires a build step (e.g.
npm install && npm run build), add the commands here. These run on a build server before each deployment, and the built output is then transferred to your server. - Cache files -- directories to cache between builds for faster deployments (e.g.
vendor/**,node_modules/**). - SSH commands -- commands to run on your server before or after each deployment (e.g. restarting a service, clearing a cache, running database migrations).
- Auto-deploy -- automatically trigger a deployment when you push to the configured branch.
Notifications
Configure where deployment notifications should be sent -- email, Slack, or other integrations.
User permissions
Choose which team members should have access to this project. By default, all account users are included.
Creating the project
Once you are happy with your settings, click Deploy Now at the bottom of the page. DeployHQ creates the project and queues your first deployment.
Step 3 is only reached when your server connection was verified in Step 2. If you chose Skip and create project on the previous step, your project is created immediately and you are taken to the project page -- you can add build commands, excluded files, and auto-deploy from there once the server is ready.
Resuming an interrupted setup
If you leave the wizard before completing it, your progress is automatically saved. The next time you return to create a project, you will be asked whether to resume where you left off or start fresh.
Next steps
Once your project is created, you can:
- Set up automatic deployments so deploys trigger on every push
- Add more servers for staging, production, or other environments
- Configure environment variables for your project
- View deployment logs to monitor your deployments