Updating the connected repository in an existing project
Whilst adding a repository alongside a new project is easy with the OAuth method, you may wish to update an existing project's repository settings rather than create a new project, especially if you wish to keep the previous deployment history.
Firstly, you'll need to navigate to the Configuration link below Repository on the left hand side of your project. Here you can see the current settings for your repository.
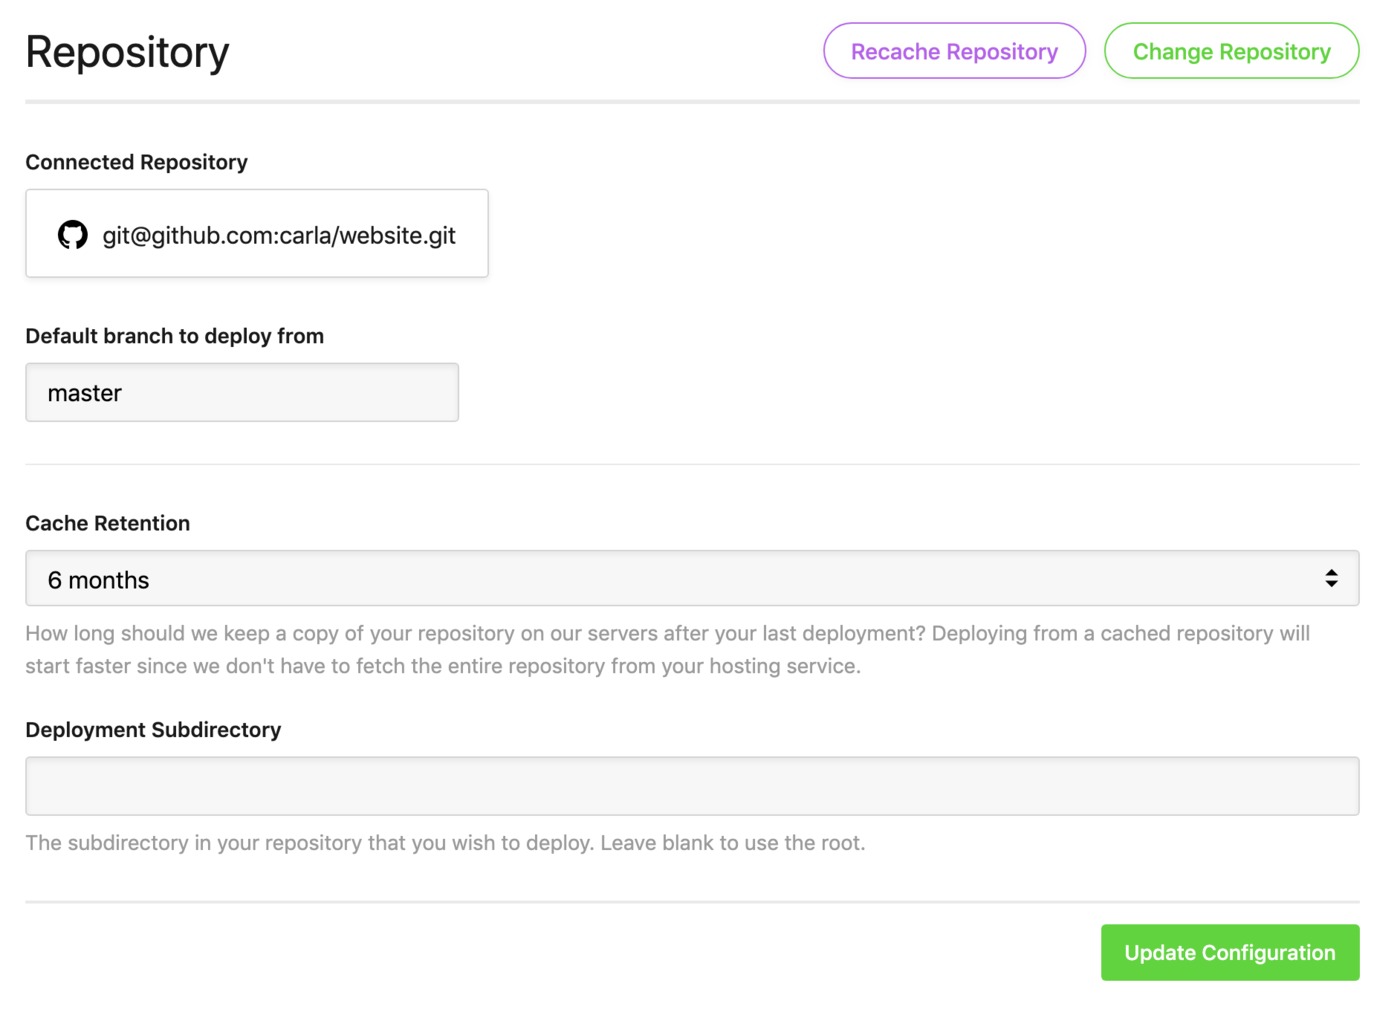
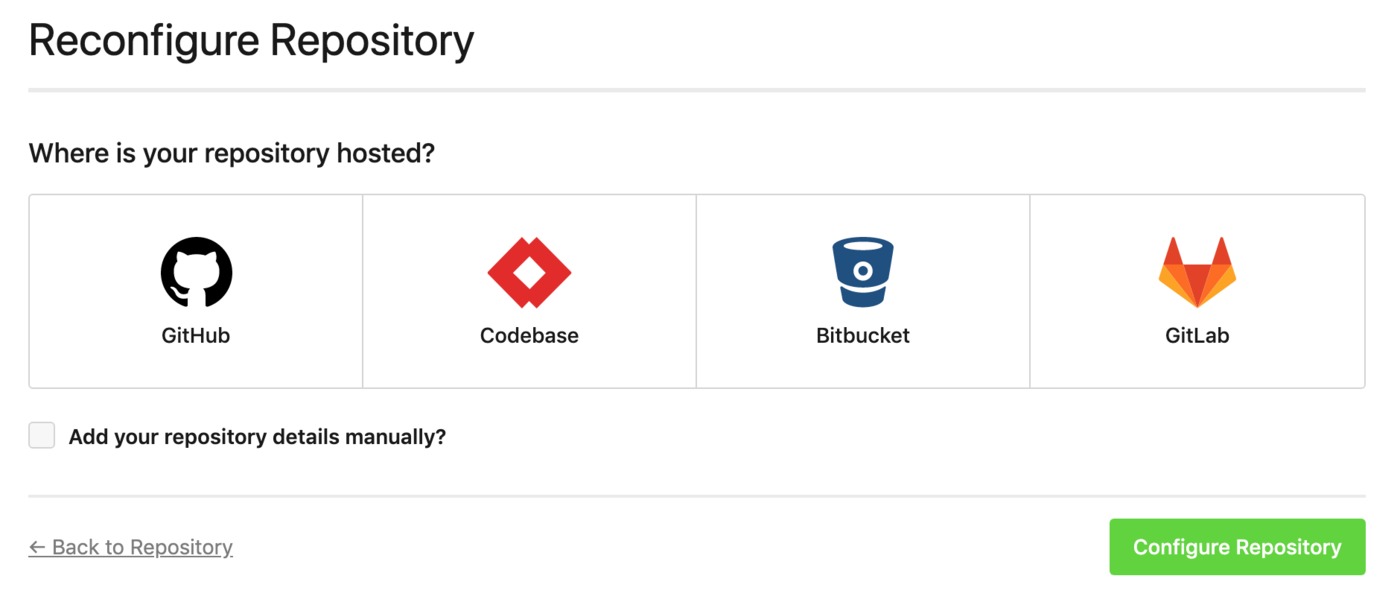
To change the repository this project is linked to, click "Change Repository". You'll then see similar options to when you first set up your project, giving you the option to change repository hosts connecting via OAuth, or alternatively editing your repository details manually.
- Setting up a Bitbucket repository
- Setting up a Codebase repository
- Setting up a GitHub repository
- Setting up a GitLab repository
Updating the repository manually
To manually change the repository URL, check the box for "Add your repository details manually?".
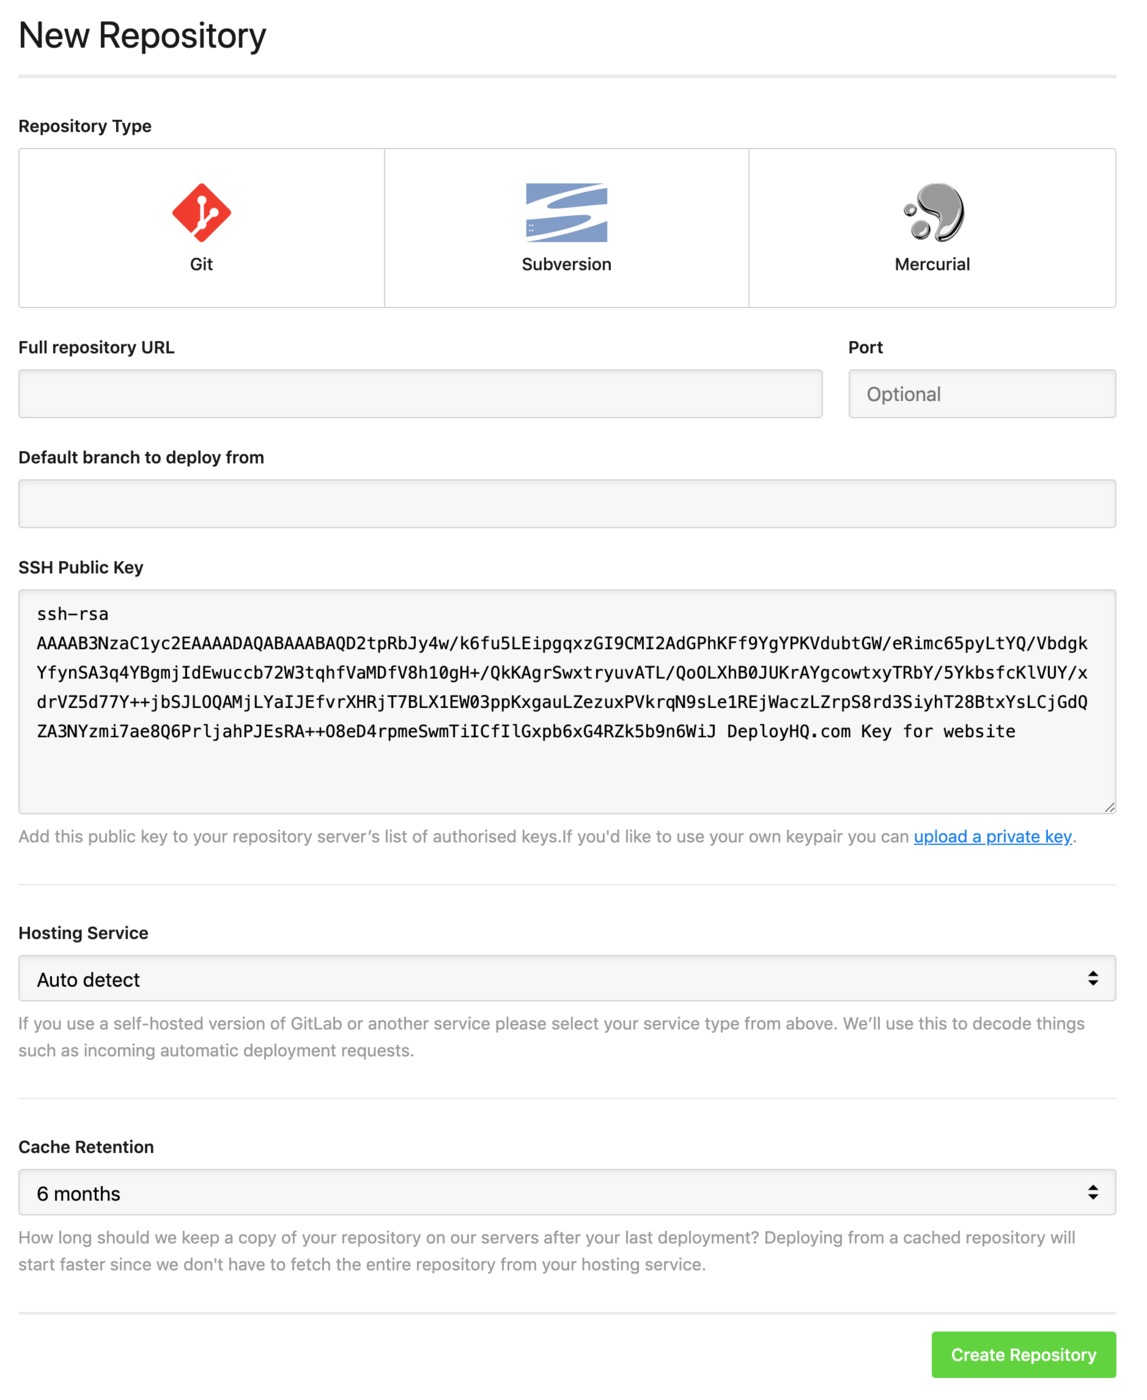
Where you're connecting via SSH as in most cases, you'll need to upload the project's public key to your new repository. You'll find this directly below the repository URL.
You can find information about how to upload the public key to our main supported hosts below:
- Uploading your project's public key to Bitbucket manually
- Uploading your project's public key to Codebase manually
- Uploading your project's public key to GitHub manually
- Uploading your project's public key to GitLab manually
If you're connecting via HTTPS you'll need to enter a username and password, which in some cases may be an app password or personal access token rather than an account password.
Click Update Repository, then DeployHQ will recache it from the new location.
Running a new deployment from the updated repository
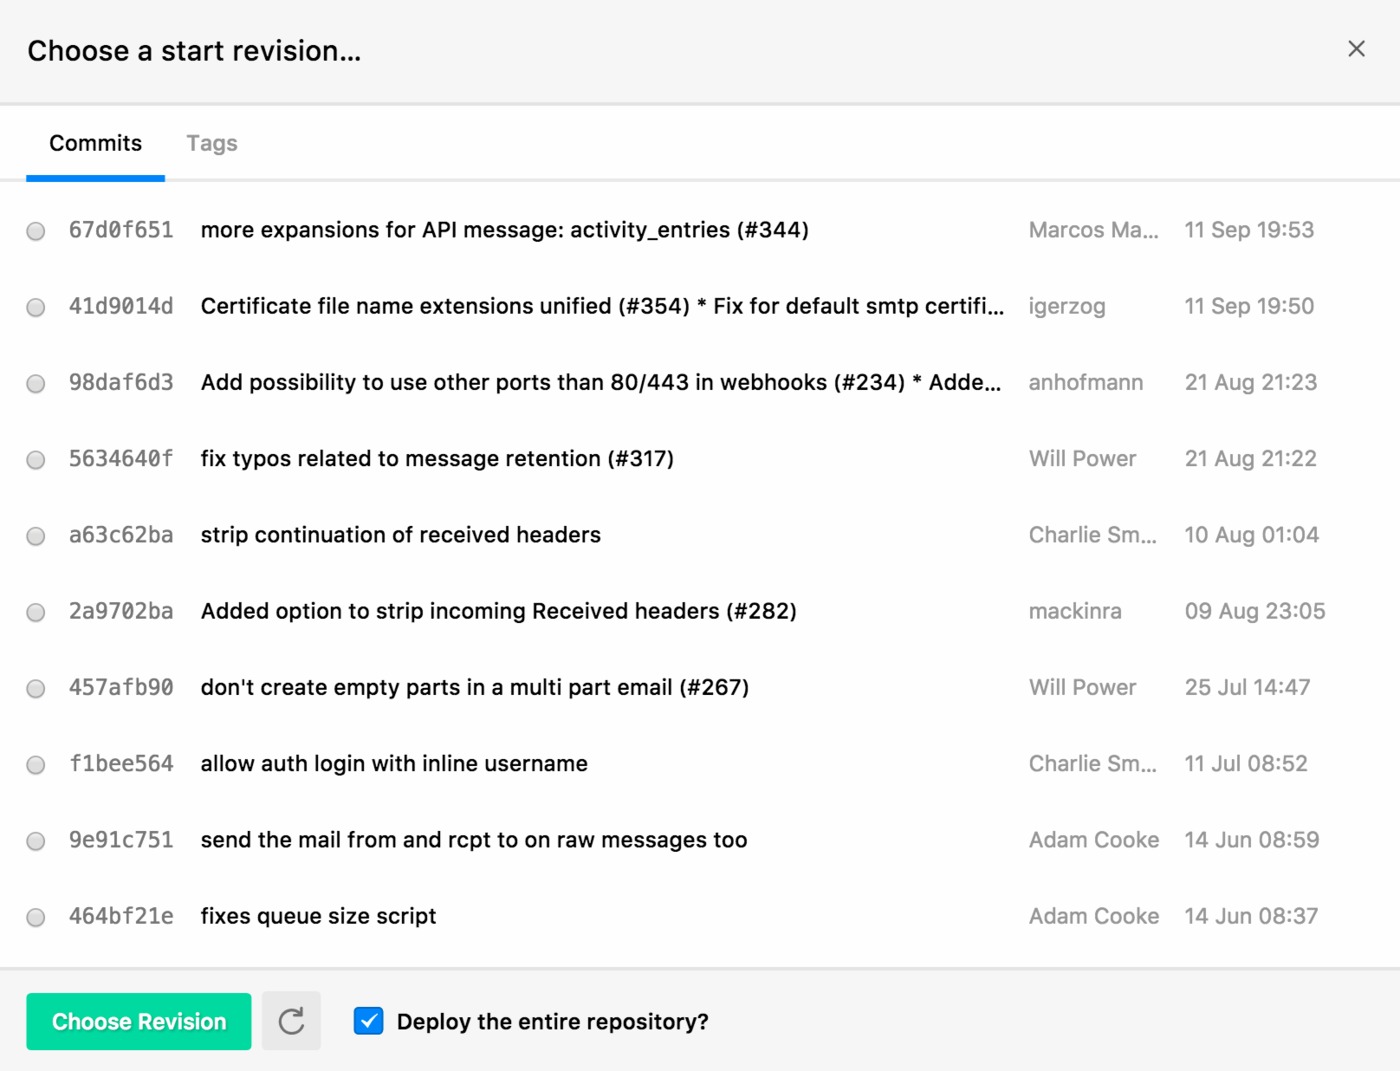
Once you've updated the repository, you'll need to ensure you deploy from the correct revisions. In particular, if the last deployed commit to any servers in your project doesn't exist in the new repository.
Just click the orange commit selector icon to the left of the start commit, then either choose a previous commit found in your new repository, or the option to Deploy the entire repository at the bottom.