Deploying to Apex Hosting via DeployHQ: Automated Game Server Deployment
Deploying your plugins, mods, and server configurations to an Apex Hosting game server is simple with DeployHQ.
Apex Hosting is one of the largest Minecraft server hosting providers, also supporting other games. By connecting DeployHQ to your Apex server via FTP, you can automatically deploy plugin updates, configuration changes, and mod files whenever you push to your Git repository — no more manual FileZilla uploads.
Note: Apex Hosting provides FTP access (port 21). SSH and SFTP are not available on shared game server plans.
Firstly, you'll need to set up your DeployHQ project, then connect to your Apex Hosting server.
Setting up your project
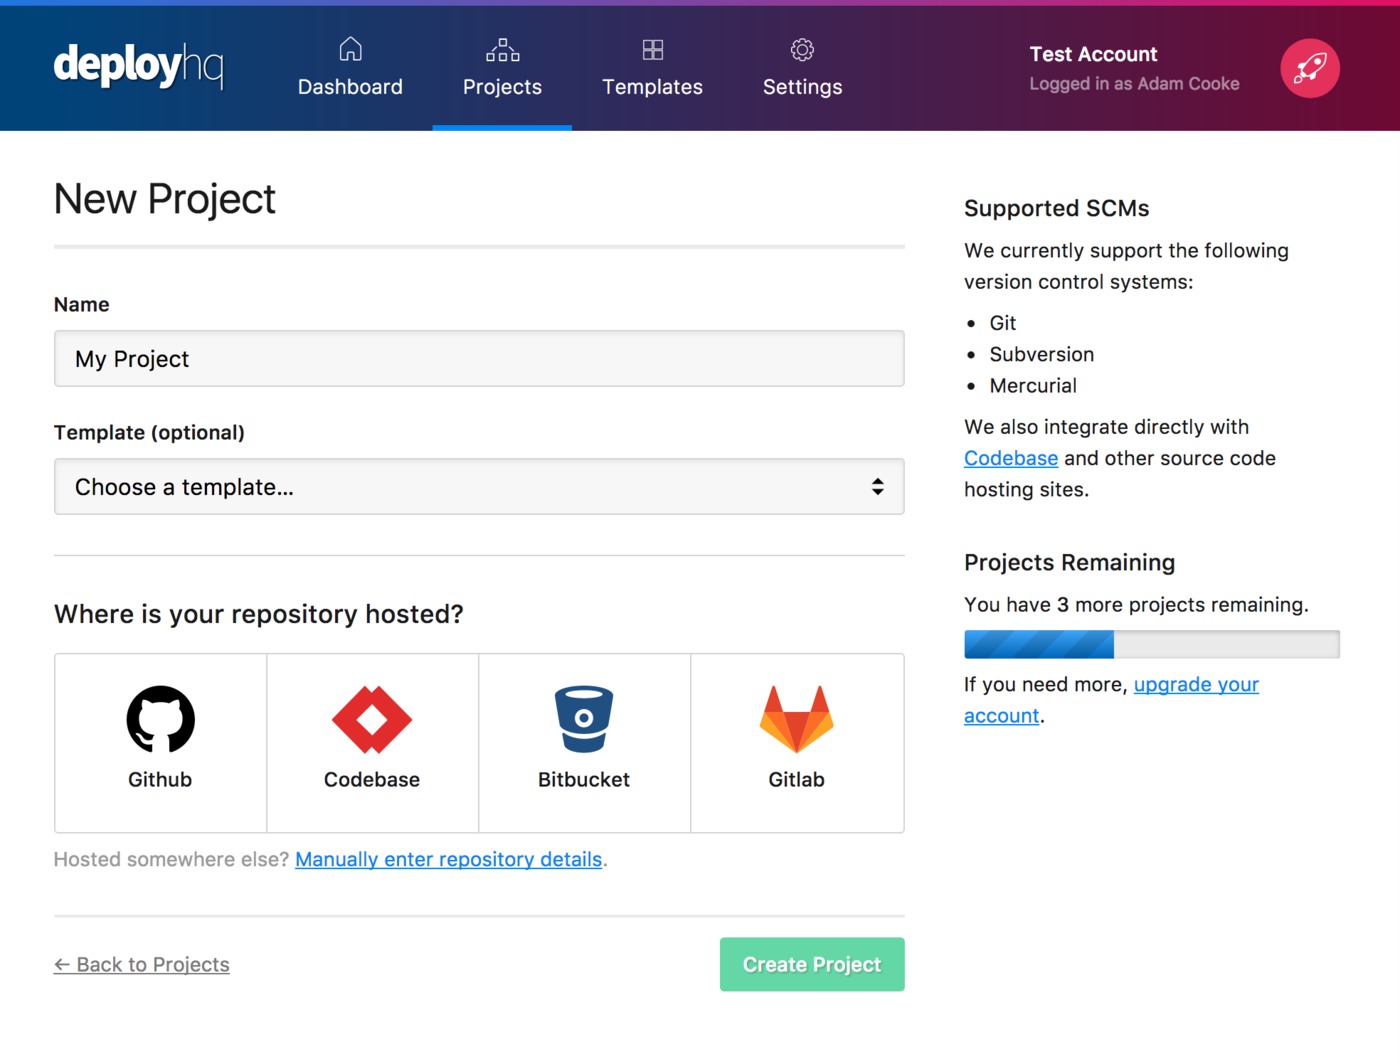
Head to the Projects screen in DeployHQ, then click the New Project button to get started.
You'll be prompted to enter a name for your project, then select where your repository is hosted.
Next, click Create project and you'll be taken to a screen where you can log in with your repository hosting account to authorise access and then choose your repository.
- Adding a Bitbucket repository
- Adding a Codebase repository
- Adding a GitHub repository
- Adding a GitLab repository
- Adding a repository manually
Setting up Apex Hosting
Once you've configured your repository, you'll need to connect to your Apex Hosting game server.
First, find your FTP credentials in the Apex Hosting panel:
- Log in to your Multicraft control panel
- Select your server
- Click FTP File Access in the left sidebar
- Note your FTP hostname, username, and password (the FTP username is different from your panel login)
Head to Servers & Groups in DeployHQ, and click the New Server button. Choose FTP as the protocol.
Enter the following details:
- Hostname: The FTP hostname shown in your Multicraft panel
- Username: Your FTP username (displayed on the FTP File Access page)
- Password: Your FTP password
- Port:
21
Then set the Deployment path. Common paths for game servers:
- Minecraft plugins:
/plugins/ - Minecraft mods:
/mods/ - Server configuration:
/(root — whereserver.propertieslives) - World data:
/world/
If your Git repository contains only plugins, set the deployment path to /plugins/. If it contains your full server configuration, deploy to / (root).
Under Deployment options, you can enable automatic deployments and set a Deployment subdirectory if your repository has files in a subfolder.
Click Create Server to save, then proceed to your first deployment.
Run your first deployment
By default, DeployHQ will upload your entire repository on the first deployment, since there's no previously deployed commit to compare against.
If your files are already on the server and up to date with the latest commit, you can skip that initial upload:
Otherwise, follow this guide to start your first deployment — after the first run, only changed files will be uploaded:
That's it! You've now set up automated deployments to your Apex Hosting game server. Every time you push plugin updates or config changes to your Git repository, DeployHQ will deploy them automatically.
Game Panel integration (coming soon)
DeployHQ is adding native Game Panel integration, starting with Pterodactyl protocol support in beta. If your hosting provider uses Pterodactyl (or a fork like Pelican), you will soon be able to connect directly without manual SFTP/FTP configuration.
Further reading
- Compile assets with the Build pipeline
- Prevent certain files from uploading using Excluded files
- Keep sensitive config out of your repository using Config files
- Notify your team and integrate with other services via Integrations
Need help with your deployment? Check out our documentation or contact our support team for assistance.