Deploying to GridPane-Managed Servers via DeployHQ: Automated WordPress Deployment
Deploying your WordPress site to a server managed by GridPane is straightforward with DeployHQ.
GridPane is a WordPress server control panel that provisions and manages servers on cloud providers like Vultr, DigitalOcean, Akamai (Linode), UpCloud, and AWS Lightsail. It handles server hardening, SSL, caching, and site configuration — while DeployHQ handles the actual code deployment.
Note: GridPane uses /var/www/domain.com/htdocs/ as the web root, not the /public_html/ convention used by cPanel hosts.
Firstly, you'll need to set up your DeployHQ project, then connect to your GridPane-managed server.
Setting up your project
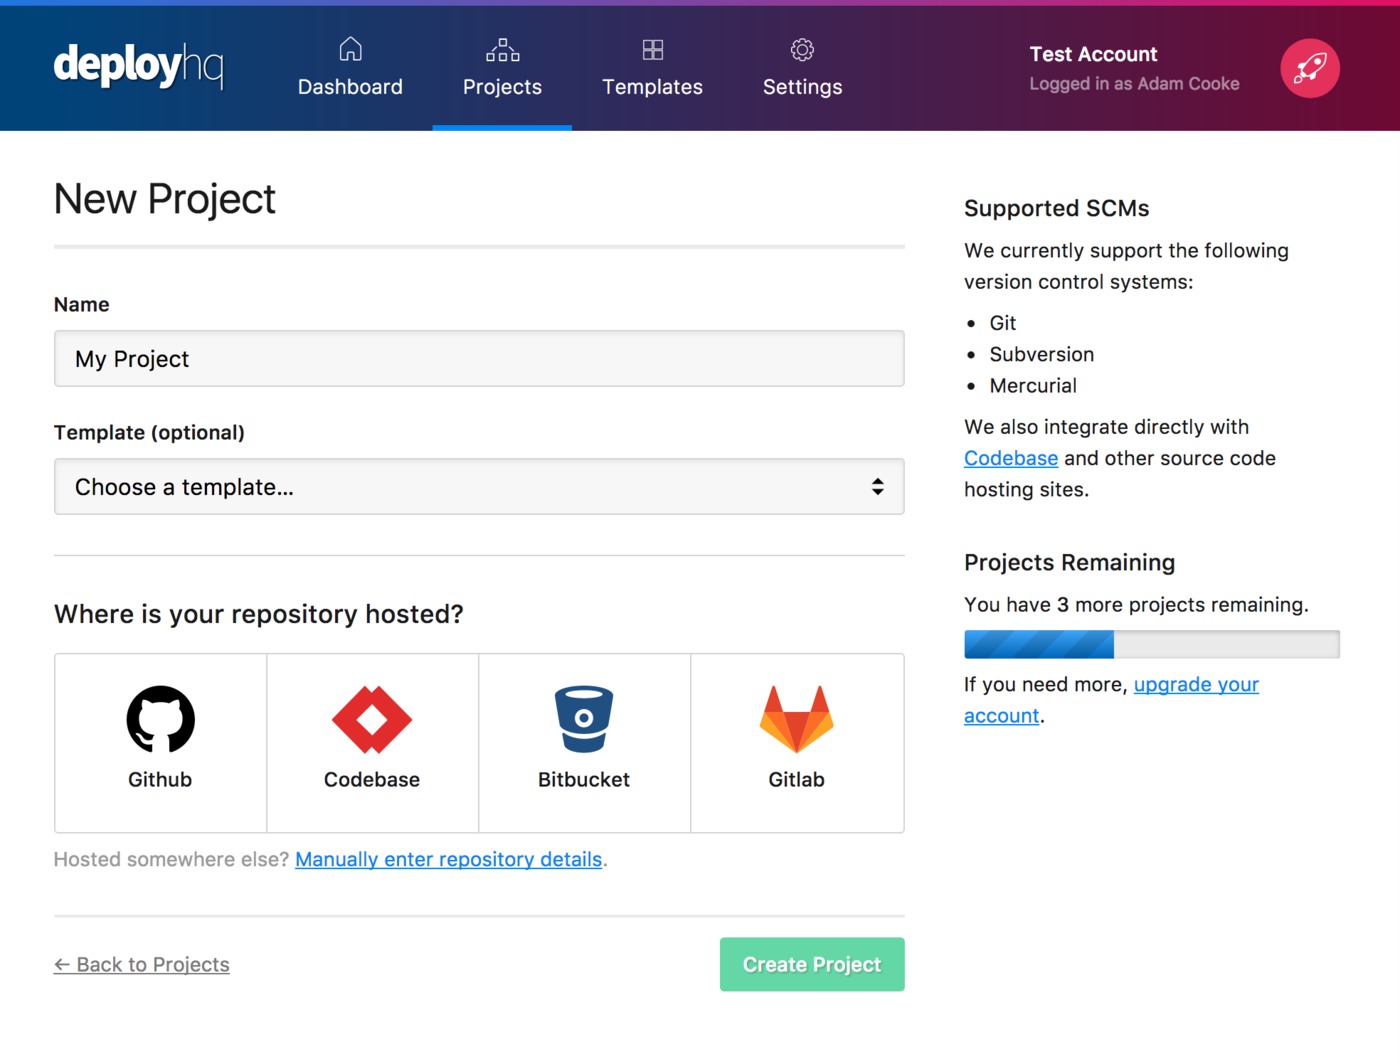
Head to the Projects screen in DeployHQ, then click the New Project button to get started.
You'll be prompted to enter a name for your project, then select where your repository is hosted.
Next, click Create project and you'll be taken to a screen where you can log in with your repository hosting account to authorise access and then choose your repository.
- Adding a Bitbucket repository
- Adding a Codebase repository
- Adding a GitHub repository
- Adding a GitLab repository
- Adding a repository manually
Setting up your GridPane server
Once you've configured your repository, you'll need to connect to your GridPane-managed server.
GridPane uses system users for SFTP access. Each system user is sandboxed and can only access the sites assigned to them.
Create or configure a system user
- Log in to the GridPane dashboard
- Navigate to your server, then go to the System Users page
- Create a new system user (or use an existing one) and assign it to your site
- Set a password for the system user, or add DeployHQ's public SSH key
Next, head to Servers & Groups in DeployHQ, and click the New Server button. Choose SSH/SFTP as the protocol.
Enter the following details:
- Hostname: Your server's IP address (found in the GridPane dashboard under your server's overview)
- Username: The system user you created in GridPane
- Port:
22 - Authentication: Use the password you set, or configure SSH key authentication
Then set the Deployment path. GridPane uses this directory structure:
- WordPress root:
/var/www/yourdomain.com/htdocs/ - wp-config.php:
/var/www/yourdomain.com/wp-config.php(one level above htdocs, for security)
For deploying a WordPress theme, set the path to:
/var/www/yourdomain.com/htdocs/wp-content/themes/your-theme/
For deploying a plugin:
/var/www/yourdomain.com/htdocs/wp-content/plugins/your-plugin/
Under Deployment options, you can enable automatic deployments and set a Deployment subdirectory if needed.
Click Create Server to save, then proceed to your first deployment.
Run your first deployment
By default, DeployHQ will upload your entire repository on the first deployment, since there's no previously deployed commit to compare against.
If your files are already on the server and up to date with the latest commit, you can skip that initial upload:
Otherwise, follow this guide to start your first deployment — after the first run, only changed files will be uploaded:
That's it! You've now set up automated deployments to your GridPane-managed server.
Further reading
- Compile assets with the Build pipeline
- Run commands on your server with SSH commands
- Prevent certain files from uploading using Excluded files
- Keep sensitive config out of your repository using Config files
- Notify your team and integrate with other services via Integrations
Need help with your deployment? Check out our documentation or contact our support team for assistance.